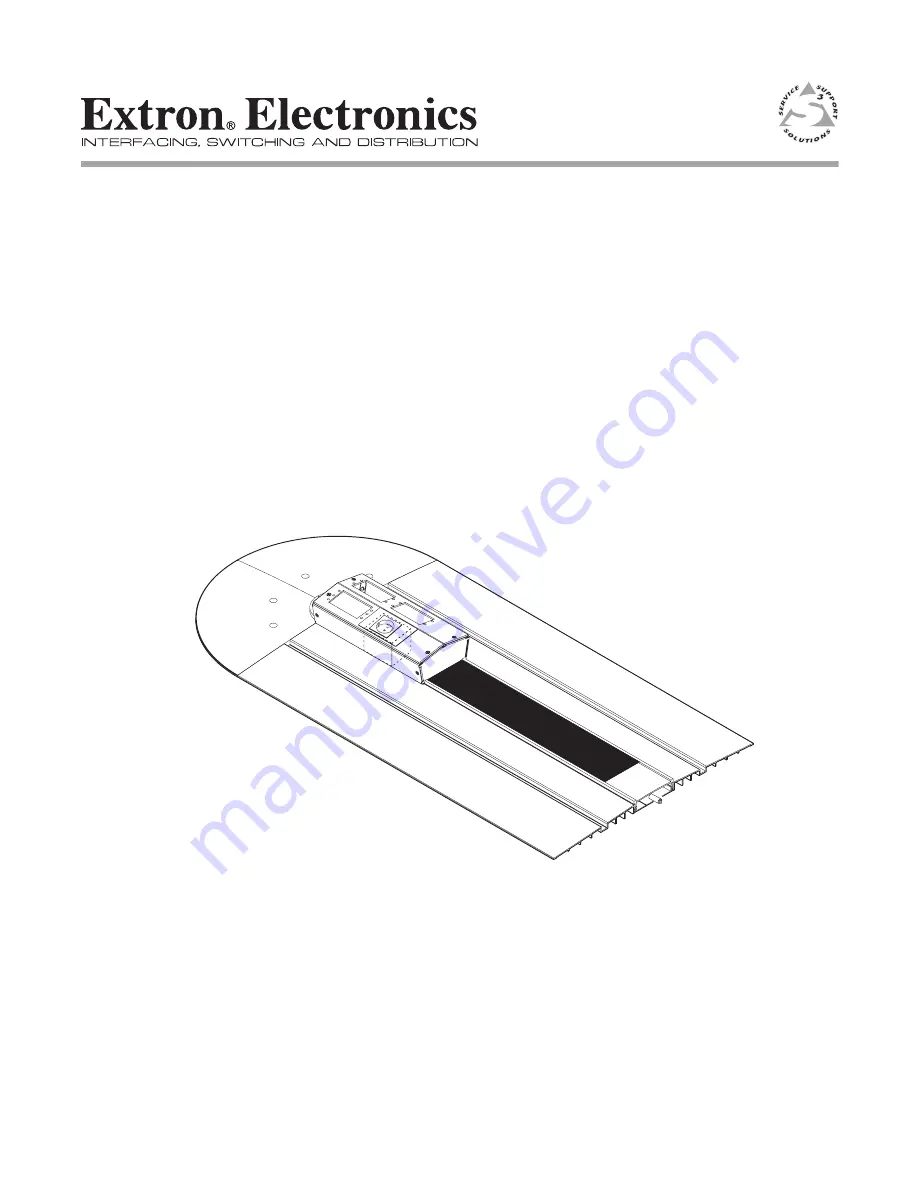
AVTrac
®
International/Universal Models
Floor-mount Raceway with Modular AAP
Connectivity for A/V, Data, and Power
Installation Guide
68-1562-01
Rev. A
09 08
Page 1: ...AVTrac International Universal Models Floor mount Raceway with Modular AAP Connectivity for A V Data and Power Installation Guide 68 1562 01 Rev A 09 08...
Page 2: ...m machen da im Inneren des Geh uses dieses Produktes gef hrliche Spannungen die nicht isoliert sind und die einen elektrischen Schock verursachen k nnen herrschen Achtung Lesen der Anleitungen Bevor S...
Page 3: ...hundreds of connection options creating a fully customizable connectivity solution Models with the AC module accommodate up to seven single space AAPs AAPs are sold separately Wheelchair Accessible Th...
Page 4: ...mponents Check the contents of each box to ensure all items are present Plastic Template 1 Side Ramp 2 Rubber Strip 1 only with 42 122 xx models Aluminum Cover Track 1 Aluminum Base Track 1 Checklist...
Page 5: ...ape 1 roll of 15 for rubber inlay strip 3 16 masonry screws 30 5 32 masonry drill bit 1 Installation guide 1 AC Power Module and Cable 24 7 32 m unwired oval flex power conduit shown CO models Univers...
Page 6: ...iling for power The AC power module is rated at 10 A maximum and no fuse is used on the box Extron recommends that the AC conduit is connected to a junction box that is wired directly to a 10 A main c...
Page 7: ...may help to mark the position of the track using a marker pen or tape The connectivity box must be positioned under a podium or table to avoid creating a tripping hazard AVTrac can be cut or extended...
Page 8: ...h local and national building codes and or local and national electrical codes Extron recommends the following equipment not provided to ensure the AVTrac is properly installed Tools Miter saw with bl...
Page 9: ...ed in a room that is already fitted with carpet rolls the ideal solution is to peel back the entire carpet roll s covering the area where the track will run Prelaid Carpet Rolls Cut Carpet Whenever po...
Page 10: ...gged edges that might damage cables The hole will eventually be covered by the baseboard so it does not have to be perfect 4 10 2 cm 1 3 8 cm Mark wall 2 1 If necessary remove the baseboard from the b...
Page 11: ...Measure and cut the track pieces to the desired length N If the track is to be cut the base track must be 10 25 4 cm longer than the cover track This is the length of the connectivity box which sits...
Page 12: ...se track Using a 1 4 or 6 mm bit for drilling metal not supplied drill at least three mounting holes in the base track to secure the connectivity box To fully assemble the track and attach it securely...
Page 13: ...cm deep pilot holes into the concrete through the predrilled mounting holes in the track and ramps N Do not use the holes that were drilled to secure the connectivity box in step 3 3 3 4 Lay the base...
Page 14: ...floor Masonry Screws The end of the connectivity box with three mounting holes faces back towards the track 4 1 Reposition the connectivity box in the correct orientation over the pre drilled holes in...
Page 15: ...to power module W The blue or black wire must be connected to the neutral slot the brown or red wire must be connected to the live slot and the solid green or green and yellow striped wire must be con...
Page 16: ...nduit or double insulated cable from the AVTrac enters the wall or raceway Attach the end of the conduit or cable securely to the hook on the fish tape and rewind the tape drawing the cable behind it...
Page 17: ...ribed in section 5 3 Attach the cables to the AAPs as described in the installation guide for each AAP module and secure the AAP to the cover of the connectivity box using the screws provided Test the...
Page 18: ...essary feed excess cable back into the wall 7 2 Snap the cover track onto the base track Ensure cables lay flat Fit cover track 7 3 Before cutting and gluing carpet remove all dust and debris with a v...
Page 19: ...d 7 6 For 42 122 xx models attach the provided rubber strip to the cover track raceway using double sided adhesive tape provided For 42 121 xx models cut a strip of the finished carpeting and glue it...
Page 20: ...nstallation AVTrac Installation 18 Step 7 Finishing up cont d The installed AVTrac safely and discretely runs power data and A V cables from a wall to a table podium or other furniture AVTrac installe...
Page 21: ...x 9 36 23 8 cm radius approximately 4 5 slope Side ramps 0 67 1 7 cm H x 7 50 19 0 cm W on either side of track x 96 243 8 cm L approximately 4 5 slope AVTrac 480C track base and top 1 03 H x 3 70 W x...
Page 22: ...m 2 68 6 8 cm AVTrac 480R 3 70 9 40 cm 67 1 70 cm 4 5 7 50 19 05 cm 7 50 19 05 cm 95 2 41 cm 12 0 30 cm 3 24 8 23 cm BACK VIEW TOP VIEW End Ramp Side Ramp Aluminum Track Connectivity AAP Box 9 36 23 7...
Page 23: ...AVTrac Reference Material 21 SIDE VIEW TOP VIEW END VIEW 4 91 12 47 cm 3 55 9 02 cm 10 00 25 4 cm 10 00 25 4 cm 4 91 12 47cm 3 55 9 02 cm 2 98 7 57 cm 67 1 70 cm Connectivity box...
Page 24: ...pin Fit Safety Note Polarity is reversed Polarity is reversed Polarity is reversed No grounding tabs for Schuko plug on Universal AC Outlet No grounding tabs for Schuko plug on Universal AC Outlet Do...
Page 25: ...7 12 PVT CV AAP Composite Video and Stereo Audio Twisted Pair Transmitter 70 579 12 PVT RGB AAP RGB Video and Stereo Audio Twisted Pair Transmitter 70 580 12 CVEQ1 AAP Composite Video and Audio Line D...
Page 26: ...Reference Material AVTrac Reference Material 24 cont d...
Page 27: ...misuse improper handling care electrical or mechanical abuse abnormal operating conditions or non Extron authorized modification to the product If it has been determined that the product is defective...
Page 28: ...lation page 6 Step 2 Install Track Remove existing carpeting page 7 If cables will be run through a drywall cavity cut a hole in drywall page 8 Measure and cut track pieces page 9 Secure the track to...