USER MANUAL
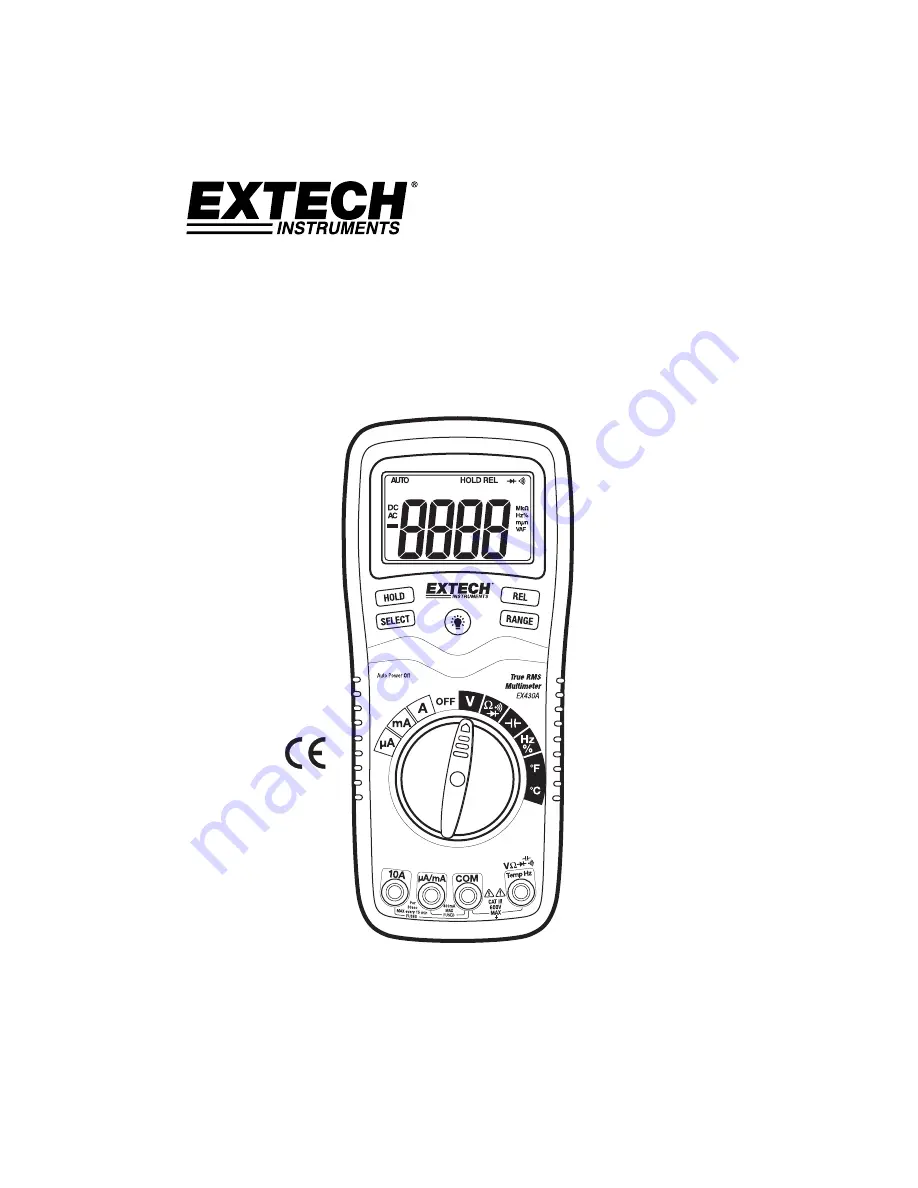
True RMS Multimeter Extech EX430A
www.
GlobalTestSupply
.com
Find Quality Products Online at:
[email protected]
Page 1: ...USER MANUAL True RMS Multimeter Extech EX430A www GlobalTestSupply com Find Quality Products Online at sales GlobalTestSupply com...
Page 2: ...potentially hazardous situation which if not avoided could result in death or serious injury This CAUTION symbol indicates a potentially hazardous situation which if not avoided may result damage to t...
Page 3: ...ion to the recessed electrical contacts Other means should be used to ensure that the terminals are not live If the equipment is used in a manner not specified by the manufacturer the protection provi...
Page 4: ...C DC 500mA 600V fast acting fuse A AC DC 10A 600V fast acting fuse 30 seconds max every 15 minutes Frequency Resistance Capacitance Duty Cycle Diode Test Continuity 250Vrms for 15sec max Temperature 6...
Page 5: ...Symbols and Annunciators Continuity Diode test Battery status Test lead connection error n nano 10 9 capacitance micro 10 6 amps cap m milli 10 3 volts amps A Amps k kilo 103 ohms F Farads capacitanc...
Page 6: ...ut sensitivity The reading will stabilize and give a proper measurement when connected to a circuit DC VOLTAGE MEASUREMENTS CAUTION Do not measure DC voltages if a motor on the circuit is being switch...
Page 7: ...the display DC CURRENT MEASUREMENTS CAUTION Do not make current measurements on the 10A scale for longer than 30 seconds Exceeding 30 seconds may cause damage to the meter and or the test leads 1 Ins...
Page 8: ...en open up the circuit at the point where you wish to measure current 7 Touch the black test probe tip to the negative side of the circuit Touch the red test probe tip to the positive side of the circ...
Page 9: ...than approximately 150 the audible signal will sound If the circuit is open the display will indicate OL DIODE TEST 1 Set the function switch to the green position 2 Insert the black test lead banana...
Page 10: ...lay FREQUENCY MEASUREMENTS 1 Set the rotary function switch to the green Hz position 2 Insert the black lead banana plug into the negative COM jack and the red test lead banana plug into the positive...
Page 11: ...tor will turn off 2 Press the RANGE key to step through the available ranges until you select the range you want 3 To exit the Manual Ranging mode and return to AutoRanging press and hold the RANGE ke...
Page 12: ...n the battery voltage becomes low Replace the battery when this appears WRONG CONNECTION INDICATION The icon will appear in the upper right conner of the display and the buzzer will sound whenever the...
Page 13: ...001A 2 5 reading 5 digits 10A 0 01A AC Current 50 to 400Hz 400Hz to 1KHz 400 A 0 1 A 1 8 reading 8 digits 3 0 reading 7 digits 4000 A 1 A 40mA 0 01mA 400mA 0 1mA 4A 0 001A 3 0 reading 8 digits 3 5 re...
Page 14: ...res Type K thermocouple Input Impedance 7 5M VDC VAC AC Response True rms ACV Bandwidth 50Hz to 1kHz Display 4000 count backlit LCD Over range indication OL is displayed Auto Power Off 15 minutes appr...
Page 15: ...removed to prevent damage to the unit Battery Replacement 1 Remove the Phillips head screw that secures the rear battery door 2 Open the battery compartment 3 Replace the 9V battery 4 Secure the batte...
Page 16: ...ar cover 5 Lift the center circuit board straight up from the connectors to gain access to the fuse holders 6 Gently remove the old fuse and install the new fuse into the holder 7 Always use a fuse of...