background image

11 

EX

-

1187HMVS

-

WT


English


© Copyright 2018 by EXSYS Vertriebs GmbH. All Rights Reserved


 6. Cleaning


 4. Hardware Installation 


Because there are large differences between PC’s, we can give you only a general in-
stallation guide. Please refer your computer’s reference manual whenever in doubt.


1.


Connect the USB cable to the USB B

-

Port at the Hub.


2.


Connect the optional power supply into the terminal block at the Hub.


3.


Now connect the other end from the USB cable (A

-

Plug) to the A

-

Port at your PC.


 5. Driver Installation 


All Operating Systems


After the hardware installation the OS will recognize the device automatically and install 
the drivers.


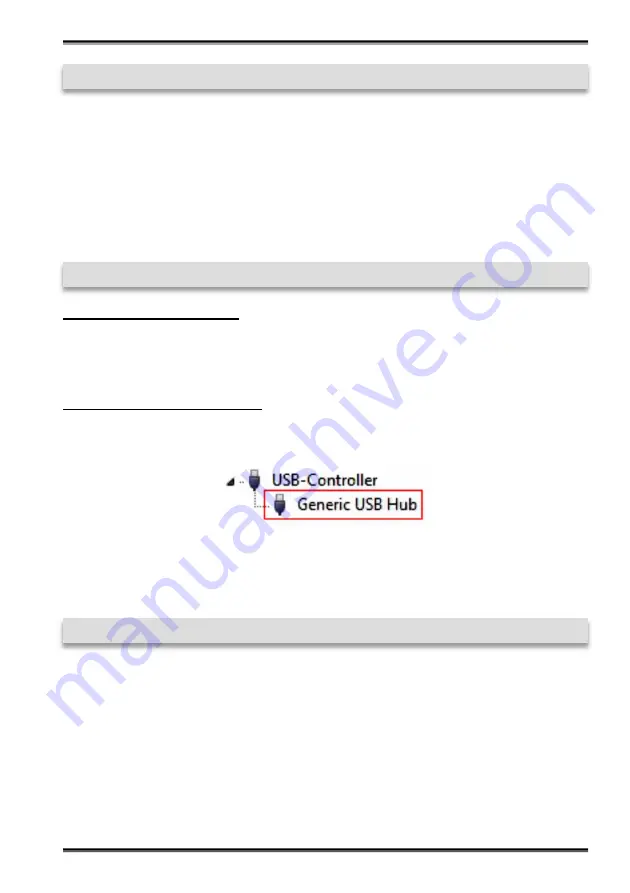
CHECK INSTALLED DRIVER


Open  the  >

Device  manager

<.  Now  you  should  see  at  „

USB

-

Controller


the  following 

new entry's:


If you see this or a similar information the device is installed correctly. 


For cleaning please use only a dry fluff less cloth and remove the dirt with gently pres-
sure.  In  the  area of  the  connectors  please make  sure  that no  fibres  from  the  cloth  re-
main in the connectors. 

Attention! Never use a moist or wet cloth for cleaning!


Summary of Contents for EX-1187HMVS-WT

Page 1: ...Manual 7 Port USB 3 1 Gen1 Metal HUB DIN Rail with 15KV ESD Surge Protection and extended Temperature Range EX 1187HMVS WT 7 Port USB 3 1 Gen1 Metall HUB DIN Rail mit 15KV ESD berspannungsschutz und e...

Page 2: ...n 6 6 Reinigung 6 7 Technische Daten 7 8 Technische Zeichnung 7 1 Description 8 2 Extent of Delivery 8 3 Layout Connections Jumper Settings 9 10 3 1 Layout 9 3 2 Connections 9 10 3 3 Jumper Settings 1...

Page 3: ...X 1187HMVS WT unterst tzt einen Einsatz im Temperaturbereich von 40 C bis 85 C und eignet sich somit ideal zum Einsatz in extrem Temperatur abh ngigen Berei chen Zus tzlich ist der EX 1187HMVS WT mit...

Page 4: ...pyright 2018 by EXSYS Vertriebs GmbH All Rights Reserved 3 2 Anschl sse 7V 24V T Block 7V 24V GND Ground ACHTUNG Schlie en Sie niemals Strom an Ground an dadurch kann Ihre Hardware zerst rt werden 1x...

Page 5: ...chtung Stecker niemals umgekehrt oder mit Gewalt einstecken Die EX 1187HMVS WT wird mit der Einstellung Self Power ausgeliefert Sie haben aber die M glichkeit die EX 1187HMVS WT mit Bus Power zu verso...

Page 6: ...kdose 3 Verbinden Sie nun das andere Ende A Stecker des mitgelieferten USB Kabels mit der A Buchse an Ihrem PC 5 Treiber Installation Alle Betriebssysteme Nach Abschluss der Hardwareinstallation erken...

Page 7: ...fer Rate 5Gbit s Anschl sse 4x USB 3 1 Gen1 A Buchse 1x USB 3 1 Gen1 B Buchse 1x Terminal Block 7 24V Hardwaresystem USB 1 1 2 0 3 0 3 1 Betriebssystem Alle Betriebssysteme Betriebstemperatur 40 bis 8...

Page 8: ...87HMVS WT support a the temperature range of 40 C to 85 C and it is ideal for use in extreme temperature dependent areas In addition the EX 1187HMVS WT is equipped with an 15KV ESD surge protection Th...

Page 9: ...Block 7V 24V GND Ground ATTENTION Never connect power to GND it will destroy your Hardware Attention Never plug in with force or in wrong direction USB 3 1 Gen1 A Port StdB_SSTX StdB_SSTX GND_DRAIN V...

Page 10: ...N StdB_SSTX StdB_SSTX D VBus Attention Never plug in with force or in wrong direction 3 3 Jumper Settings The EX 1187HMVS WT comes with the setting Self Power You also have the possi bility the EX 118...

Page 11: ...from the USB cable A Plug to the A Port at your PC 5 Driver Installation All Operating Systems After the hardware installation the OS will recognize the device automatically and install the drivers C...

Page 12: ...Gen1 A Port 1x USB 3 1 Gen1 B Port 1x Terminal Block 7 24V Hardware System USB 1 1 2 0 3 0 3 1 Operating System All Operating Systems Operating Temperature 40 F to 185 Fahrenheit Storage Temperature...

Reviews: