- 21 -
e)
Clean out any grass build-up from underside of deck and in discharge chute.
6.1.5
Check mower blades.
Service Interval: Daily
a) Disengage
PTO.
b)
Raise deck using lift actuator.
c)
Stop engine, wait for all moving parts to stop, and remove key.
d)
Lift deck and secure in raised position as stated in Section 6.1.4.
e)
Inspect blades and sharpen or replace as required.
For Serial Nos. 510,000 – 539,999:
d)
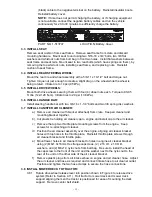
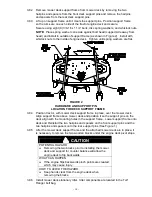
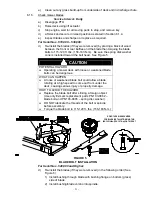
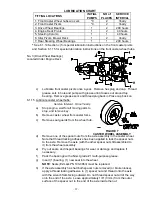
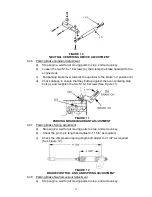
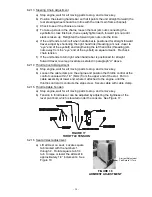
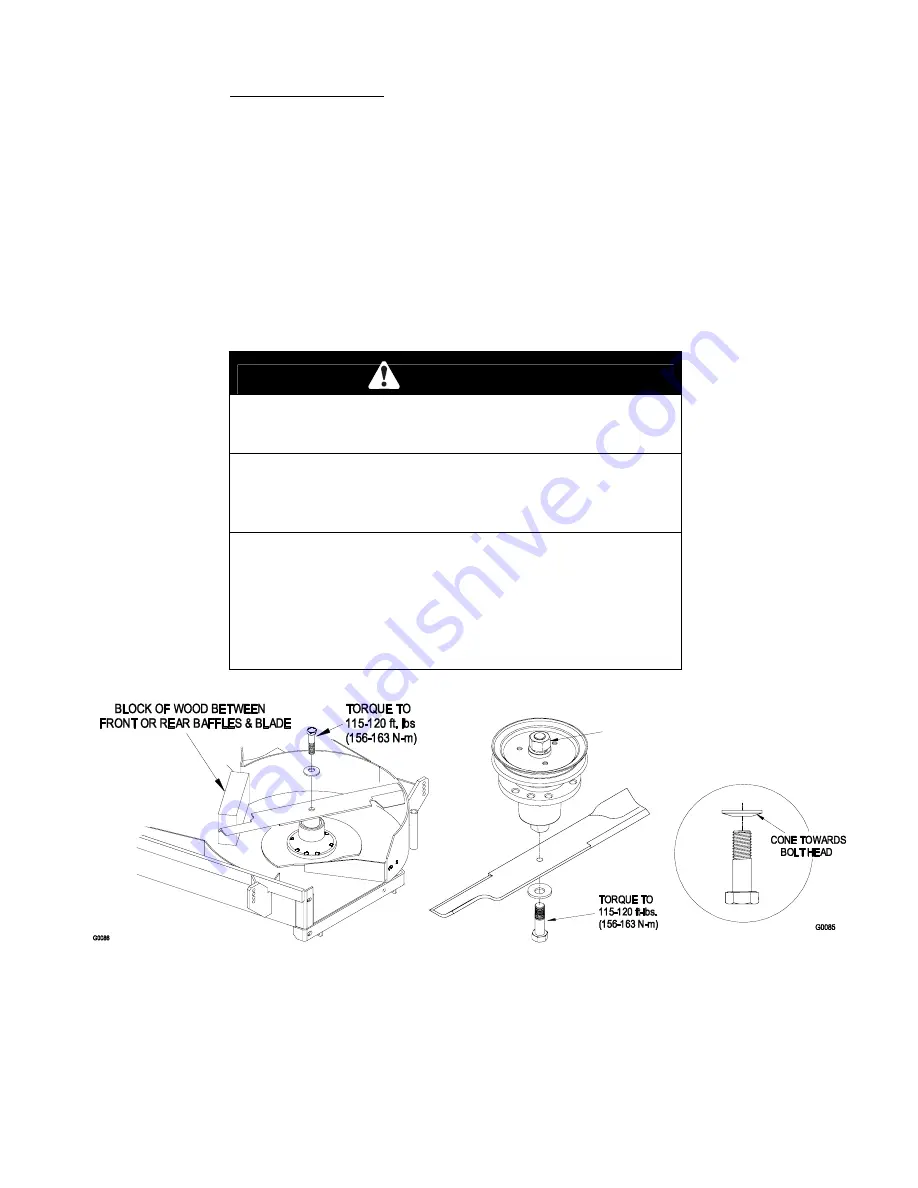
Re-install the blades (if they were removed) by placing a block of wood
between the front or rear baffles and the blade then torquing the blade
bolts to 115-120 ft. lbs. (156-163 N-m). Be sure the spring disk washer
cone is installed toward the bolt head. See Figure 5.
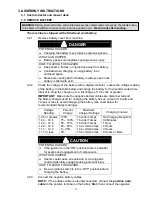
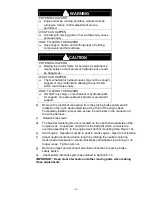
CAUTION
POTENTIAL HAZARD
♦
Operating a mower deck with loose or weakened blade
bolts can be dangerous.
WHAT CAN HAPPEN
♦
A loose or weakened blade bolt could allow a blade
rotating at a high speed to come out from under the
deck, causing serious injury or property damage.
HOW TO AVOID THE HAZARD
♦
Replace the blade bolt after striking a foreign object.
(Use only Exmark replacement parts PN 103-0862 –
blade bolt and PN 103-0865 – spring disc washer).
♦
DO NOT lubricate the threads of the bolt or spindle
before assembly.
♦
Torque the blade bolt to 115-120 ft. lbs. (156-163 N-m)
FIGURE 5
BLADE BOLT INSTALLATION
For Serial Nos. 540,000 and Higher:
d)
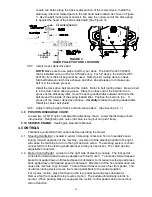
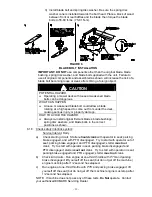
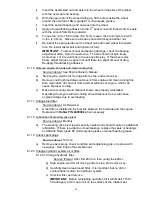
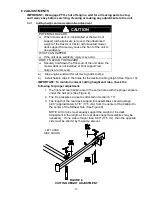
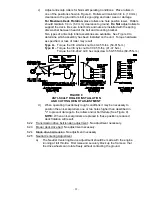
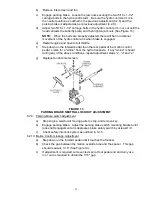
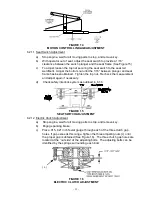
Re-install the blades (if they were removed) in the following order (See
Figure 6):
1) Install bushing through blade with bushing flange on bottom (grass)
side of blade.
2) Install bushing/blade combo into spindle.
DO NOT USE WRENCH HERE.
FOR BLADE INSTALLATION MAINTAIN
140-145 ft-lbs. (190-197 N-m) ON THIS NUT
Summary of Contents for Turf Ranger TR23KC
Page 44: ... 38 NOTES ...
Page 45: ... 38 NOTES ...
Page 46: ... 39 SERVICE RECORD Date Description of Work Done Service Done By ...
Page 47: ... 40 ...


