BATTERIES
Insert two AA batteries.
Batteries near depletion
SYNC
Press and hold the connect
button for 3 seconds. LED
will blink quickly.
Point controller toward
Kinect
™
sensor or press
the connect button on
the console.
The Xbox
®
button will stay
lit when connected.
G
FOR
X B O X O N E E L I T E
®
INSTRUCTION MANUAL
WELCOME TO THE EVIL FAMILY
GETTING STARTED
You are now the proud owner of an Evil Controller!
The Master Mod
®
is our ultimate controller that features
e
®
. This controller
includes 10 easy-to-use Rapid Fire profiles and 10 additional
customizable mod profiles.
The Master Mod
®
compatible
with
Call of Duty
®
,
Battlefield
®
,
Titanfall
™
,
Destiny
®
,
Dead Rising 3
®
,
Watch Dogs
™
,
Halo
®
and many more titles.
Our Adjustable Rapid Fire feature is compatible with all major
first-person shooters and allows you to fine-tune the rate
of fire in your favorite titles. For updates on the latest games
and support, visit
evilcontrollers.com
or call
877-880-3845
.
To maximize your potential, be sure to fully read the instructions
before operating the Master Mod
®
.
LED / RUMBLE
Button combos will trigger
LED
and
Rumble feedback.
The Guide Button LED
will pulse in a heartbeat
pattern when the
Master Mod is activated.
1 Rumble = Mod OFF
2 Rumbles = Mod ON
®
HOW-TO VIDEOS ON
TINYURL.COM/EVIL-INSTRUCTIONS
1
SETUP
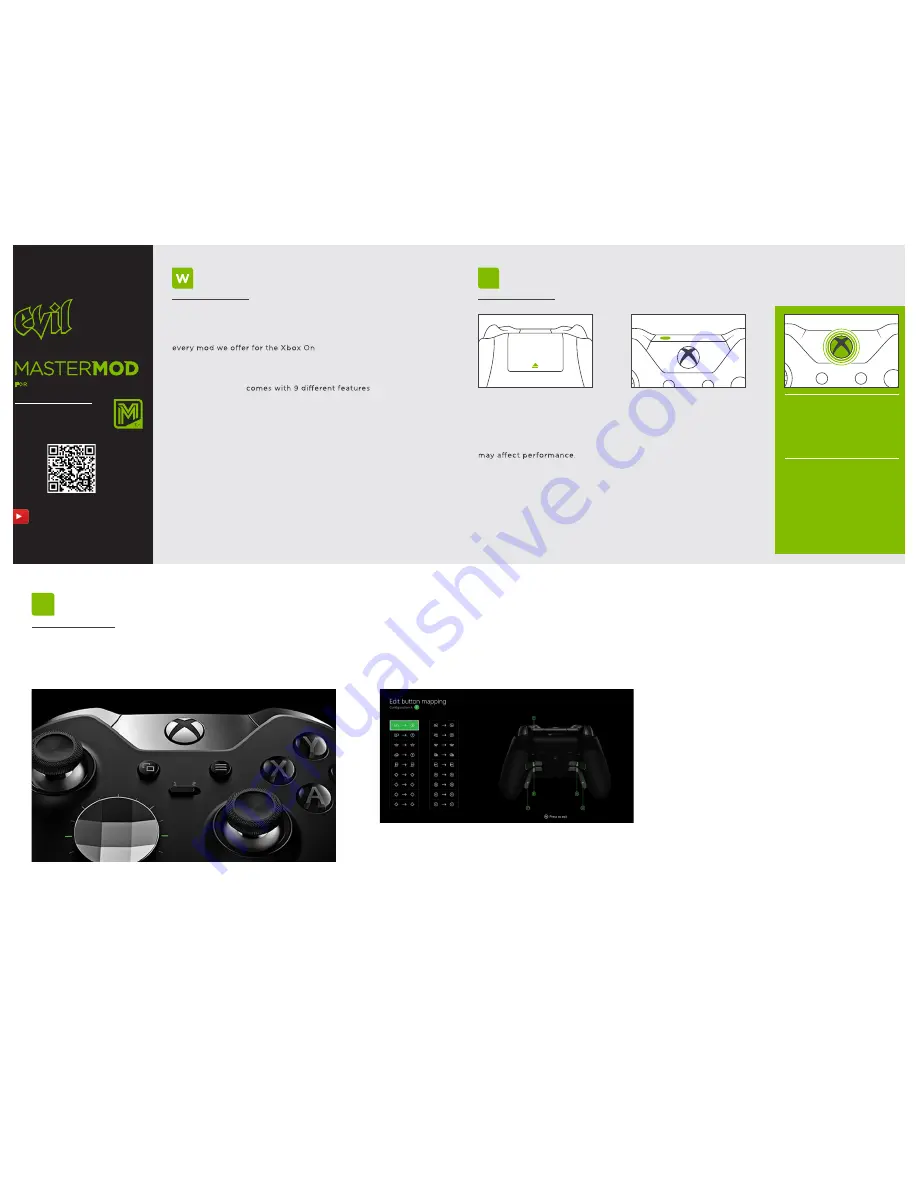
Your new Xbox One Elite controller provides some of the best features of both
worlds. Pro gaming features and incredible gameplay enhancements. However,
to utilize your gameplay mods you will need to follow a few steps.
Step 1:
Set your Xbox One Elite Controller
controller
to
Profile 2
NOTE:
The Master Mod features are ONLY available in controller
Profile 2
Now that your controller is set to controller profile 2 we need to take
one more precaution. In order to make sure that your mods work
properly you will want to enter your Xbox One
Accessories app
on your Xbox One Console.
From the menu within the app you will want to select “
Configure
,”
then select the option “
Button Mapping
.”
If you are experienced with an Elite controller you may already be
familiar with this menu. For the button configuration of profile 2 you
will want to
revert all changes to their “default” settings
. This means
that all buttons are mapped to their default input. A is set to A,
B is set to B, etc.
Paddles MUST also be disabled.
Once these changes have been made, save your changes and exit the app
Now you are good to go!
Step 2:
Res
Settings.
et controller Profile 2 Button Remapping to the default


