background image


Boot Configuration Features 

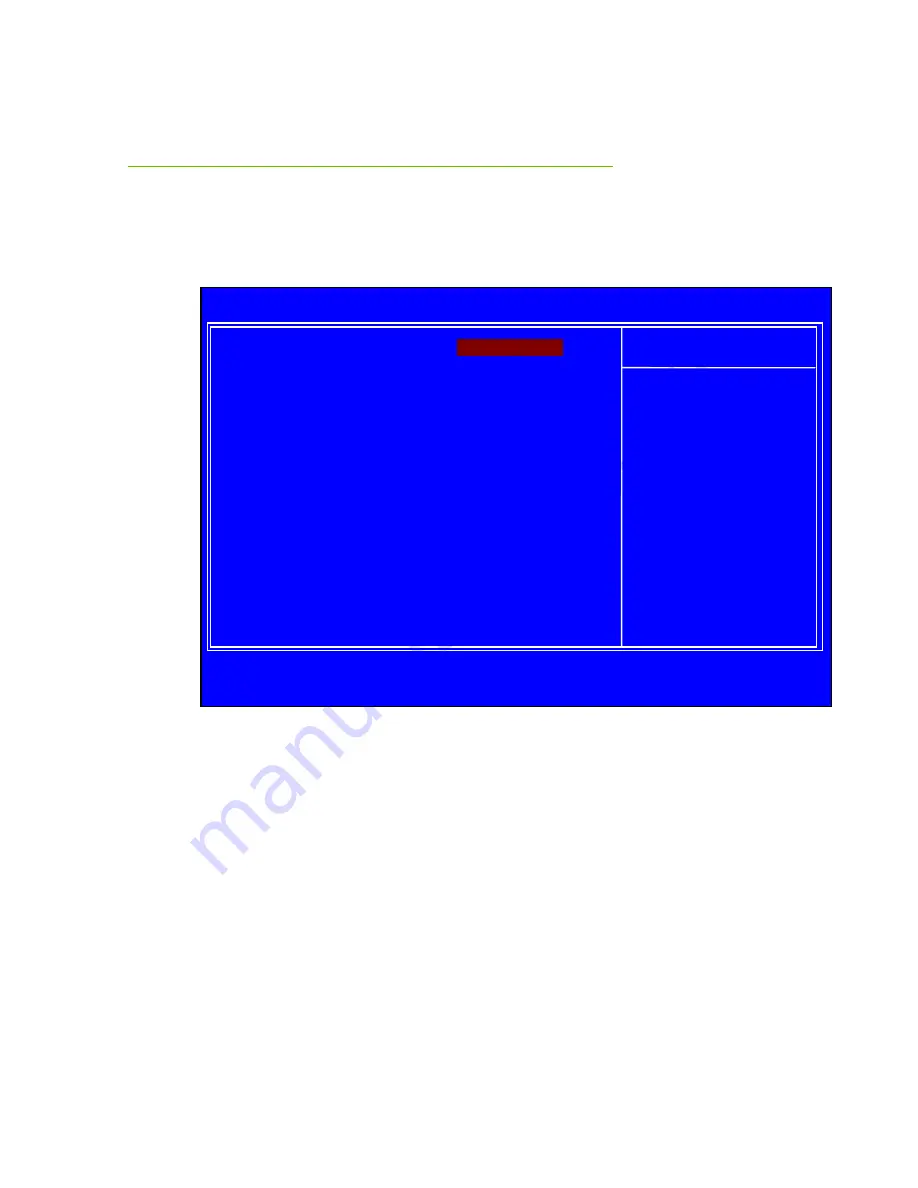
Select Boot Configuration Features from the CMOS Setup Utility menu and 

press 

Enter

 to display the settings. 


Figure 7. 

Boot Configuration Features 

Boot Device Priority 

This option menu will allow specification of the boot device priority sequence. 

Hard Disk Drives 

This option menu allows you specification of the Hard Disk boot priority 

sequence. 



:Move  Enter:Select  +/-/:Value  F10:Save  ESC:Exit  F1:General Help 

F7:Previous Values                                F9:Optimized Defaults 



:Move  Enter:Select  +/-/PU/PD:Value  F10:Save  ESC:Exit  F1:General Help 

F5:Previous Values   F6:Fail-Safe Defaults  F7:Optimized Defaults 


 Boot Device Priority 

[Press Enter]


 Hard Disk Drives 

[Press Enter]


Help Item 

Specifies the 
Boot Device 
Priority sequence. 
 

CMOS Setup Utility – Copyright (C) 1985-2005, American Megatrends 

Boot Configuration Features 


Summary of Contents for 123-CD-E635

Page 1: ...User s Guide EVGA H55 Motherboard...

Page 2: ...nstalling the CPU 10 Installing the CPU Fan 11 Installing System Memory DIMMs 12 Installing the Motherboard 12 Installing the I O Shield 13 Securing the Motherboard into a System Case 14 Connecting Ca...

Page 3: ...iguring the BIOS 25 Enter BIOS Setup 26 Main Menu 26 Standard BIOS Features Menu 28 System Time System Date 29 Advanced BIOS Features 30 IDE Configuration 30 Boot Settings Configuration 31 AHCI Config...

Page 4: ...Configuration 37 SLP_S4 Min Assertion Width 37 Restore on AC Power Loss 37 Hardware Health Configure 38 H W Health Function 38 CPU Fan Mode Setting 38 Frequency Voltage Control Menu 39 Memory Configu...

Page 5: ...27 Figure 3 Standard BIOS Features Menu 28 Figure 4 Advanced BIOS Features 30 Figure 5 Advanced Chipset Features 32 Figure 6 PCI PNP Resource Management 34 Figure 7 Boot Configuration Features 36 Fig...

Page 6: ...Socket 775 Cooling fan PCI Express or PCI Graphics Card Power Supply EVGA assumes you have purchased all the necessary parts needed to allow for proper system functionality For a full list of supporte...

Page 7: ...isplay output interface Supports D SUB DVI and DP Display Port With Intel Core i3 CPU install support D SUB 2048 x 1536 75 Hz DVI 1920 x 1200 60Hz DP 2560 x 1600 60Hz System Memory support Supports tr...

Page 8: ...ar panel port one onboard 1394 header with a rate transmission of 400 Mbps Onboard Audio Realtek High Definition audio Supports 8 channel audio Supports Jack Sensing function Green Function Supports A...

Page 9: ...ing the CPU Installing the CPU fan Installing the memory Installing the motherboard Connecting cables Safety Instructions To reduce the risk of fire electric shocks and injury always follow basic safe...

Page 10: ...install the CPU onto the motherboard Unhook the socket lever by pushing down and away from the socket Pull the socket lever back and the load plate will automatically lift There is a protective socke...

Page 11: ...latch the lever Installing the CPU Fan There are many different fan types that can be used with this motherboard Follow the instruction that came with you fan assembly Be sure that the fan orientatio...

Page 12: ...mory DIMM to ensure the component is installed properly 1 Unlock a DIMM slot by pressing the module clips outward 2 Align the memory module to the DIMM slot and insert the module vertically into the D...

Page 13: ...ck radio frequency transmissions protects internal components from dust and foreign objects and promotes correct airflow within the chassis Before installing the motherboard install the I O shield fro...

Page 14: ...and screws 1 Carefully place the motherboard onto the stand offs located inside the chassis 2 Align the mounting holes with the stand offs 3 Align the connectors to the I O shield 4 Ensure that the fa...

Page 15: ...ure Figure 1 PW1 Motherboard Connector Table 1 PW1 Pin Assignments Connector Pin Signal Pin Signal 1 3 3V 13 3 3V 2 3 3V 14 12V 3 GND 15 GND 4 5V 16 PS_ON 5 GND 17 GND 6 5V 18 GND 7 GND 19 GND 8 PWROK...

Page 16: ...e Ultra ATA master device 3 Connect the gray connector to a slave device If you install two hard disk drives you must configure the second drive as a slave device by setting its jumper accordingly Ref...

Page 17: ...ATA II cables for primary storage devices The current Serial ATA II interface allows up to 300MB s data transfer rate There are eight 8 internal serial ATA connectors on this motherboard These connect...

Page 18: ...connectors to the corresponding pins PWRSW Attach the power button cable from the case to these two pins Pressing the power button on the front panel turns the system on and off rather than using the...

Page 19: ...bracket to either the front or rear panel of the system case not all system cases are equipped with the front panel option Connect the end of the cable to the IEEE1394a header on the motherboard Tabl...

Page 20: ...an optional external bracket containing up to four 4 USB 2 0 ports 1 Secure the bracket to either the front or rear panel of your chassis not all chassis are equipped with the front panel option 2 Co...

Page 21: ...hoices the Front Audio the Rear Audio The front Audio supports re tasking function Table 5 Front Audio Connector Connector Pin Signal Front Audio Connector 1 PORT1_L 2 AUD_GND 3 PORT1_R 4 PRECENCE_J 5...

Page 22: ...x4 Slots These PCI Express slots are reserved for Graphic Cards and PCI Express x1 and x4 devices The design of this motherboard supports multiple Graphic Card technology When installing a PCI Express...

Page 23: ...or on the external I O Panel RESET and POWER Button These onboard buttons allow you to easily turn on off the system These buttons allow for easy debugging and testing of the system during troubleshoo...

Page 24: ...he system has fully booted into the Operating System LED Status Indicators The LEDs near the 24pin ATX connector indicate the system s status POWER LED Green When the System is powered on This LED is...

Page 25: ...f the BIOS parameters are also provided This section includes the following information Enter BIOS Setup Main Menu Standard BIOS Features Advanced BIOS Features Advanced Chipset Features PCI PnP Resou...

Page 26: ...and two exit choices Use the and keys to scroll through the options or press Enter to display the associated submenu Use the arrow keys to position the selector in the option you choose To go back to...

Page 27: ...ures Use this menu to modify the system s boot configuration Power Management Features Use this menu to modify power management power on and sleep features Hardware Health Configure Use this menu to v...

Page 28: ...Menu Move Enter Select Value F10 Save ESC Exit F1 General Help F7 Previous Values F9 Optimized Defaults Help Item Use ENTER TAB Or SHIFT TAB to select a field Use or to Configure system Time CMOS Setu...

Page 29: ...d keys to scroll through dates and times Note that the weekday Sun through Sat cannot be changed This field changes to correspond to the date you enter Note that the hour value is shown in a 24 hour c...

Page 30: ...se this to configure your storage drivers and to switch between IDE and AHCI mode Please note for Windows Vista Windows 7 it is recommended to use AHCI mode for new system installations Move Enter Sel...

Page 31: ...nfiguration Use this option to configure various system options such as Bootup Num Lock status Quiet Boot and other advanced features USB Configuration This option menu allows you to enable Legacy USB...

Page 32: ...al Help F7 Previous Values F9 Optimized Defaults Advanced Chipset Settings ______________________________________________ WARNING Setting wrong values in below sections may cause system to malfunction...

Page 33: ...n Technology for Directed I O This setting can help improve performance in a virtualized environment it is recommended to leave this disabled for standard system setups Internal HDMI Audio This functi...

Page 34: ...ve Enter Select Value F10 Save ESC Exit F1 General Help F7 Previous Values F9 Optimized Defaults Advanced PCI PnP Settings ______________________________________________ WARNING Setting wrong values i...

Page 35: ...unction allows the BIOS to inform the system that an ISA graphics device is installed PCI IDE BusMaster This function allows the BIOS to use PCI BusMastering for reading or writing to IDE drives OffBo...

Page 36: ...menu allows you specification of the Hard Disk boot priority sequence Move Enter Select Value F10 Save ESC Exit F1 General Help F7 Previous Values F9 Optimized Defaults Move Enter Select PU PD Value...

Page 37: ...llows adjustment of the AC Power Loss parameters Move Enter Select Value F10 Save ESC Exit F1 General Help F7 Previous Values F9 Optimized Defaults Move Enter Select PU PD Value F10 Save ESC Exit F1 G...

Page 38: ...Defaults Move Enter Select PU PD Value F10 Save ESC Exit F1 General Help F5 Previous Values F6 Fail Safe Defaults F7 Optimized Defaults Hardware Health Configure H W Health Function Enabled __________...

Page 39: ...ue F10 Save ESC Exit F1 General Help F7 Previous Values F9 Optimized Defaults Memory Configure Press Enter CPU Configuration Press Enter Target CPU Frequency 3466 MHz 133x26 Target Memory Frequency 13...

Page 40: ...drivers LAN Drivers EVGA E LEET Overclocking Utility Adobe Acrobat Reader User s Manual Windows XP Vista 7 Driver Installation 1 Insert the Intel H55 installation CD for the motherboard included in t...

Page 41: ...Table 6 AMI POST Code Code Description 03 Initialize BIOS 04 Check Battery Power and CMOS 05 Initialize interrupt controlling hardware vector table 06 Initialize system timer 07 Fixes CPU POST interf...

Page 42: ...3B Test system memory 3C Initialization of chipset registers 40 Detect coprocessor 52 Update CMOS memory size 60 Initialize NUM LOCK 75 Initialize Int 13 78 Initialize IPL devices 7C Generate and wri...

Page 43: ...uring the BIOS Code Description AA Uninstall POST vector AB Prepare BBS for Int 19 boot AC End of POST initialization B1 Save system context for ACPI 00 Pass control to OS can vary Show CPU Temp if en...

Page 44: ...In line Memory Module DRAM Dynamic random access memory DVD Digital Versatile Disc DVI Digital Video Interface FDC Floppy Disk Controller FSB Front Side Bus FTW For The Win GHz Gigahertz GPU Graphics...

Page 45: ...nced Technology Attachment PCB Printed Circuit Board PCI Peripheral Component Interconnect PCIe Peripheral Component Interconnect Express PCI x Peripheral Component Interconnect Extended POST Power on...

Page 46: ...TCP IP Transmission Control Protocol Internet Protocol USB Universal Serial Bus VDroop V core Voltage Drop VGA Video Graphics Array...

Reviews: