EverFocus VANGUARD II 16x8H Quick Installation Manual Download Page 3


VGA Port 

Connects to a monitor using a VGA cable. 

Terminal 
Block 

The Terminal Block provides alarm inputs, alarm output and RS-485 
connection (see 3.1 Terminal Block). 

HDMI Port 

Connects to a monitor using a HDMI cable. 

10 

LAN 

Connects to the Network. 

11 

USB2.0 Port 

The USB2.0 port for connecting to a mouse or external storage device. 

12 

Power Port 

Connects to a 12VDC power source. 

13 

Power Switch 

Press to turn on or off the power. 


1.3


Packing List 


DVR x 1 


Power Cord + Adaptor x 1 


Mouse x 1 


HDD Screw x 8 


Quick Installation Guide x 1 


IR Remote Control (with 2 AAA batteries) x 1 (see Note 3) 

Note:


1.


Equipment configurations and supplied accessories vary by country. Please consult your 
local EverFocus office or agents for more information. Please also keep the shipping carton 
for possible future use.   

2.


Contact the shipper if any items appear to have been damaged in the shipping process.


3.


Risk of explosion if battery is replaced by an incorrect type. Dispose of used batteries 
according to the instructions.


a.    Use only two AAA dry cell batteries. 
b.    Do not dispose of the batteries in a fire as it may explode. 
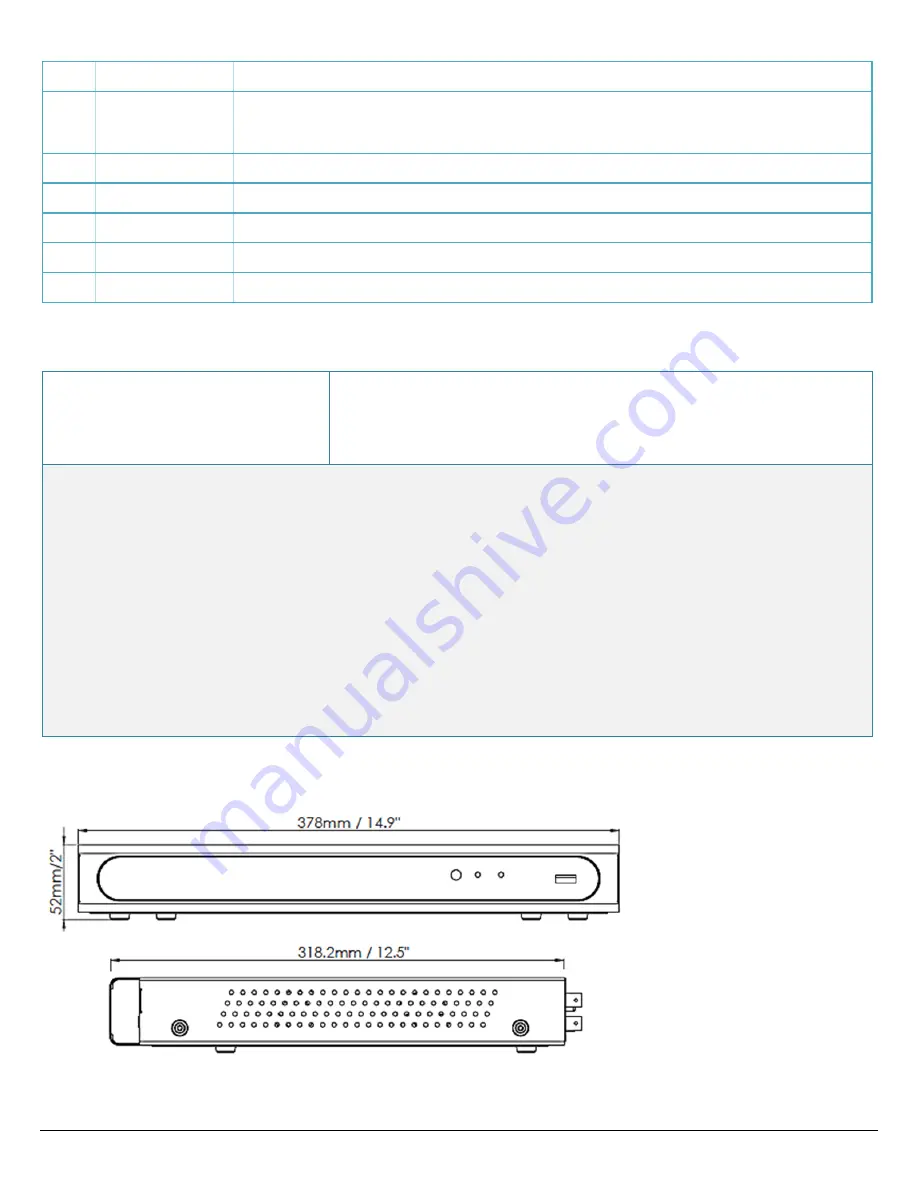
 

1.4


Dimensions 


Summary of Contents for VANGUARD II 16x8H

Page 1: ...screen shots in this document are for example only The images may vary depending on the product and software version Information contained in this document is subject to change without notice EverFocu...

Page 2: ...escription 1 e SATA Port Connects to external HDD 2 Audio Input Connects to audio input devices such as microphones Note that the microphones with a built in amplifier and external power supply are re...

Page 3: ...Power Cord Adaptor x 1 Mouse x 1 HDD Screw x 8 Quick Installation Guide x 1 IR Remote Control with 2 AAA batteries x 1 see Note 3 Note 1 Equipment configurations and supplied accessories vary by count...

Page 4: ...anel 2 on the left and right side each To remove the housing cover from the DVR push the cover backward and then lift it 3 Find the SATA cable and power cable inside the DVR connect the SATA cable to...

Page 5: ...d disks will be compatible Note If using two or more hard disks please choose the hard disks with the same capacity 3 Basic Connection The demonstration below shows the basic connections to the DVR Li...

Page 6: ...en press the Power Switch on the rear panel of the DVR The POWER LED will light up if power is normal and the DVR will enter the System Initialization process When the process is done it s required to...

Page 7: ...Store For iOS users go to Apple Store After the installation process is complete start eFVMS App EverFocus eFVMS eFVMS by EverFocus 2 To add a DVR through P2P tap Menu Device List and then tap the but...

Page 8: ...Channel Select Numeric Keys Enter into Main Menu Exit Key9 0 Numeric Keys Enter into Submenu Multiple Display Mode Mute On Off 1 Volume Increase Decrease 2 Up Down 1 Parameter Value Increase Decrease...

Reviews: