background image


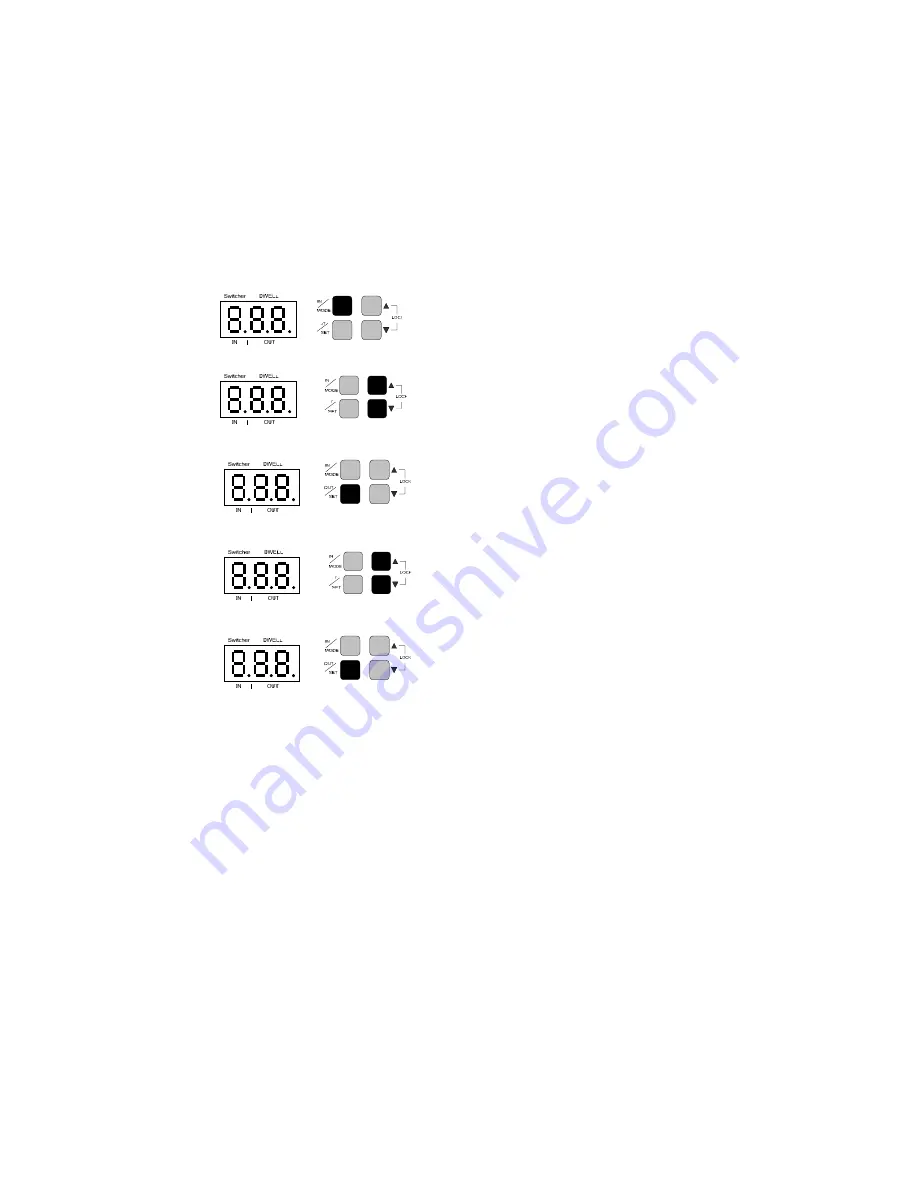
Press IN key. The input number at 
left side will flash. 


Select with the arrow keys the desi-

red input. 


Press OUT key for switching to set 

outputs. 


Select an output (displayed at right 2 
digits) with the arrow keys. 


Confirm selected output with SET key 

and repeat previous step and confir-
mation with SET key for all outputs, 

which shall be assigned to selected 
output. 

Repeat first step and select next output for programming. Repeat  
The other steps to define all IN / OUT assignments. 

4. Switcher mode 

Summary of Contents for EP-TD816PRO

Page 1: ...Installation instruction Installationsanleitung EP TD816PRO Programmierbarer Videoverteilverstärker 8 In 16 Out Programmable Video Distributor Amplifier 8 In 16 Out ...

Page 2: ...ical data 4 The device shall be operated only with power source values according to the technical data 5 Installation has to be effected only by qualified personnel Your EverFocus product is designed and manufac tured with high quality materials and components which can be recycled and reused This symbol means that electrical and electronic equipment at their end of life should be disposed of sepa...

Page 3: ...he EP TD816PRO provides video sequenz switching at one output FEATURES free input output assignment easy programming with front keys and status display lock function for keys camera sequenz output 19 rack mount possibility 1 HE INSTALLATION Connectors Installation 1 Video inputs BNC 1 8 2 Video output BNC 1 16 3 Socket power input 15 20 VDC 1 3 2 ...

Page 4: ...t IN OUT for output 1 16 In Switcher mode setup channel assignment IN OUT for out put 1 15 output 16 is used for switch sequence 2 Button Lock Press both arrow keys 0 5 se conds for lock unlock the keys If the keys are locked the Display will show 3 Distributor mode IN OUT assignment The left digit shows the active input The right 2 digits show the active output ...

Page 5: ... outputs Select an output displayed at right 2 digits with the arrow keys Confirm selected output with SET key and repeat previous step and confir mation with SET key for all outputs which shall be assigned to selected output Repeat first step and select next output for programming Repeat The other steps to define all IN OUT assignments ...

Page 6: ... Select an output displayed at right 2 digits with the arrow keys Confirm selected output with SET key and repeat previous step and confir mation with SET key for all outputs which shall be assigned to selected output Repeat first step and select next output for programming Repeat The other steps to define all IN OUT assignments 4 Switcher mode ...

Page 7: ...7 ...

Page 8: ...8 ...

Page 9: ...able video sequence Video Input Level 0 8 1 2Vp p 75 Ohms Video Bandwidth 10hz 10MHz Display 2 x 7 segment LED display Setup keys 4 with lock function Power Supply 12 VDC 500 mA max Dimensions WxHxD 482 x 44 x 170 mm 19 1 U Ambient temperature 0 50 C Weight 2 6 Kg Material Steel black coated ...

Reviews: