ECE0528i/ECE0548i Mini-ITX Chassis
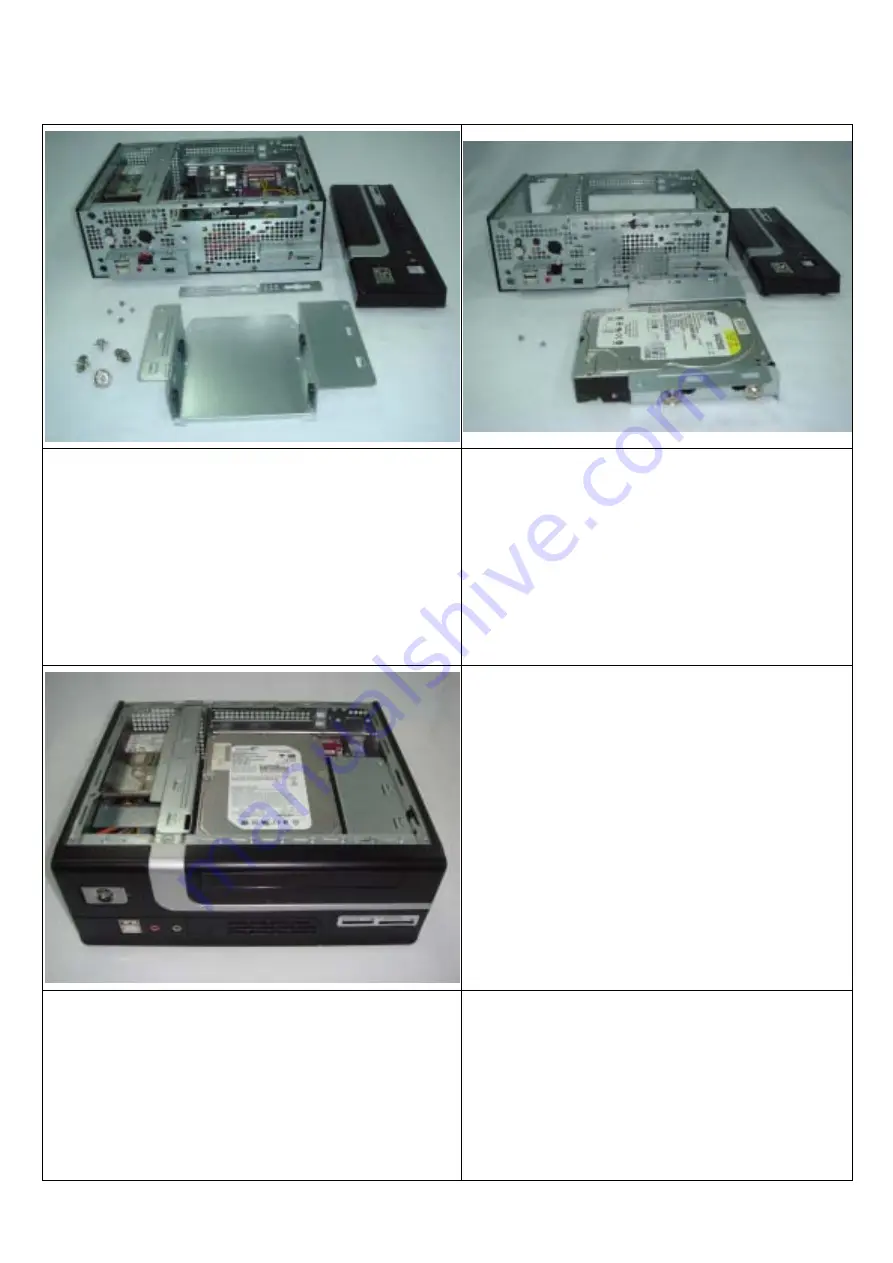
3.5” HDD ASSEMBLY
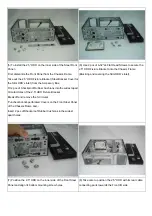
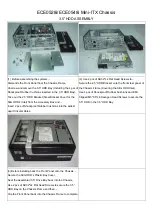
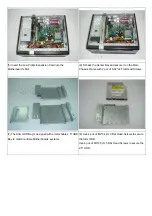
(1) Before assembling the systems, -
Dismantle the Front Panel from the Chassis Frame,
Unscrew and remove the 3.5” HDD Bay (Including the 4 pcs of
Shockproof Rubber Cushions inserted in the 3.5” HDD Bay).
Take out the 2.5” HDD Bracket (Steel Bracket Cover for the
Slim ODD’s Inlet) from the Accessory Box and, -
Insert 2 pcs of Shockproof Rubber Cushions into the widest
apart Circular Holes.
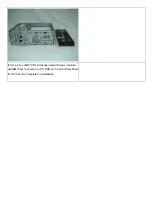
(2) Use 2 pcs of 6#-32*L4 Flat Head Screws to –
Secure the 2.5” HDD Bracket onto the front steel panel of
the Chassis Frame (Covering the Slim ODD Inlet).
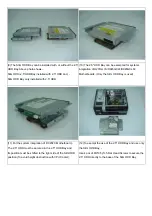
Use 4 pcs of Shockproof Rubber Cushions and EMI
Clipped M3*0.5*L8 Hexagon Head Screws to secure the
3.5” HDD in the 3.5” HDD Bay.
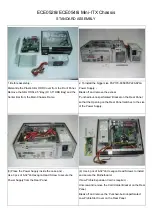
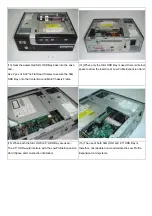
(3) Before installing back the Front Panel onto the Chassis, -
Secure the Slim ODD’s Plastic Bay Cover,
Seat the assembled 3.5” Drive Bay back into the Chassis,
Use 2 pcs of 6#-32*L4 Flat Head Screws to secure the 3.5”
HDD Bay on the Chassis Frame and then, -
Clip the Front Panel back into the Chassis Frame to complete.
.


