www.event-lighting.com.au
4
->
or
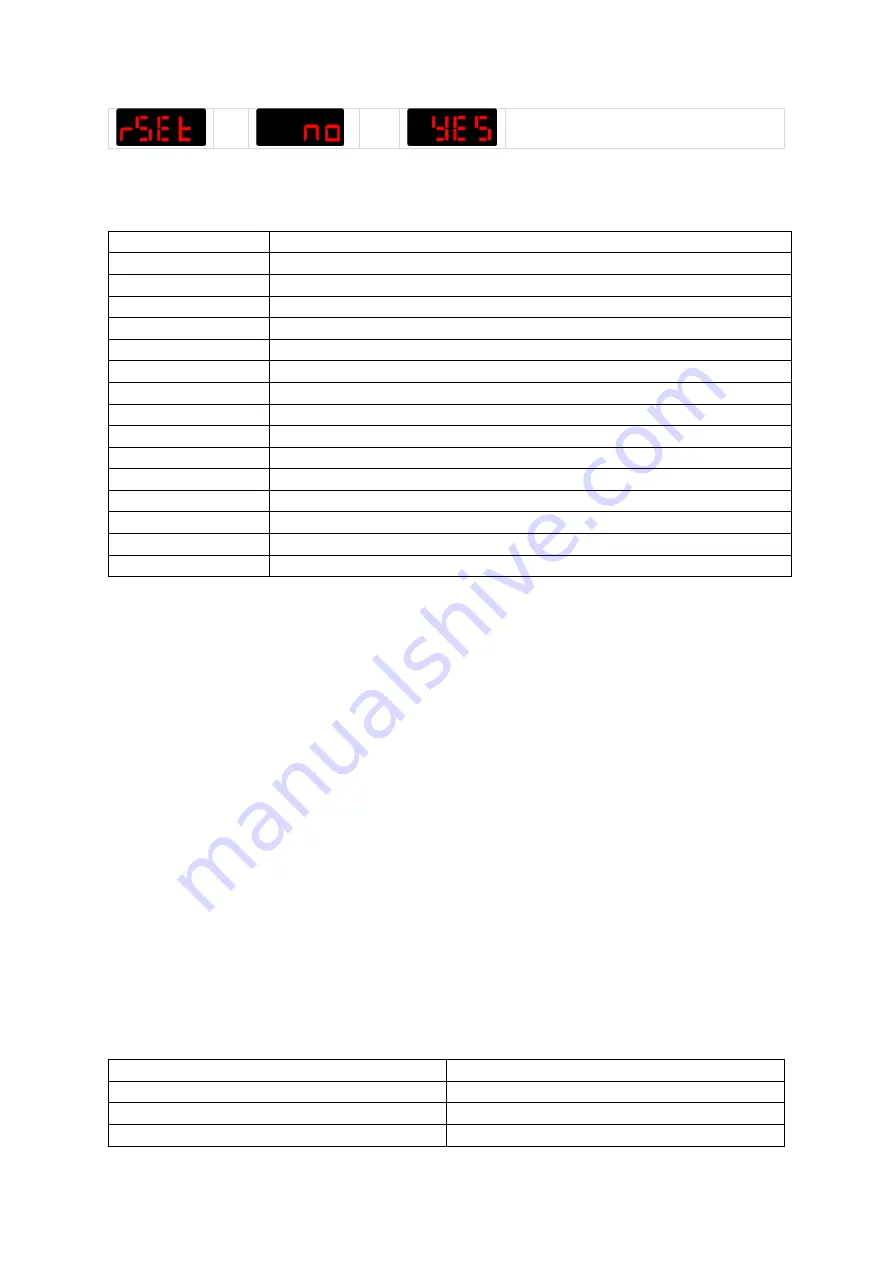
Reset
Static Colour Mode
Value:
Function:
C1
R
C2
G
C3
R + G
C4
B
C5
B + R + UV
C6
G + B
C7
R + G + B + A + UV
C8
W
C9
R + W
C10
G + W
C11
R + A
C12
B + W + UV
C13
R + B + W + UV
C14
G + B + W
C15
R + G + B + W + A + UV
Wireless DMX Mode
Set Up Wireless DMX
PAR4X12B needs to be paired from the Wireless DMX transmitter. Follow the steps below to
pair:
1.
Connect the DMX512 controller to the wireless DMX transmitter.
2.
Switch on PAR4X12B, turn on the wireless DMX control on
from control panel ‘rfon’
3.
Set the PAR4X12B to DMX mode. (AXXX or dXXX)
4.
Switch off PAR4X12B. Then, p
ress and hold the ‘DMX select’ button whilst switching on
PAR4X124B. Once PAR4X12B turns on,
the ‘wireless status’ light will be lit white and the
unit will
be in ‘setup mode’.
5.
The ‘wireless indicator’ will be lit to a specific colour to indicate the protocol being used
for the transmission as shown in TABLE1. Pressing the button will cycle through the
colours.
6.
Once the desired protocol is selected, press the button for more than 1 second to save
the protocol. The transmitters, receivers and transceivers will remember the protocol
used even after a power cycle with their built-in memory chip.
Now, select either WDMX Mode or ELDMX Mode.
Table 1
Protocols
Colour
Protocol
Red
ELDMX Transmit and Receive
Green
WDMX Receive
Blue
WDMX G3 Transmit


