Eve Spectrum ES07D03 User Manual
Friday, 11 March, 2022 Eve Spectrum ES07D03 User Manual Rev. 65
Page 1: ...Eve Spectrum ES07D03 User Manual Friday 11 March 2022 Eve Spectrum ES07D03 User Manual Rev 65...
Page 2: ...a Interface are trademarks or registered trademarks of HDMI Licensing LLC USB Type C and USB C are registered trademarks of USB Implementers Forum Windows is either a registered trademark or trademark...
Page 3: ...considered important but not hazard related for example messages related to property damage A notice alerts the user that failure to follow a procedure exactly as described could result in loss of da...
Page 4: ...nnecting audio devices 19 Installing a security cable 20 One cable solution 21 Setting up your workspace 22 Stay active 22 Adjust your monitor 22 Watch your eyes 23 Low blue light 23 Using the monitor...
Page 5: ...mber and product number 39 Maintaining the monitor 40 Maintenance guidelines 40 Cleaning 41 Shipping 41 Disposal 41 Technical specifications 42 Display 42 Ports 43 Features 44 Adjustment 44 Eve Spectr...
Page 6: ...in such areas could cause an explosion or fire Such areas are often but not always marked and include areas where you would normally be advised to turn off your vehicle engine below deck on boats che...
Page 7: ...lor critical applications with minimal setup These factory calibration settings are saved in monitor memory and work independently from the source device used A one page calibration report is printed...
Page 8: ...Allows you to connect the Spectrum Stand or a VESA compatible mounting device 2 OSD joystick Opens the OSD menu selects an item from the menu or closes the OSD menu 3 Power button Turns the monitor of...
Page 9: ...100W Connect a USB Type C cable to a source device such as a computer Power or charge devices up to 100W This port also enables the downstream USB ports to perform their functions 6 USB Type B port up...
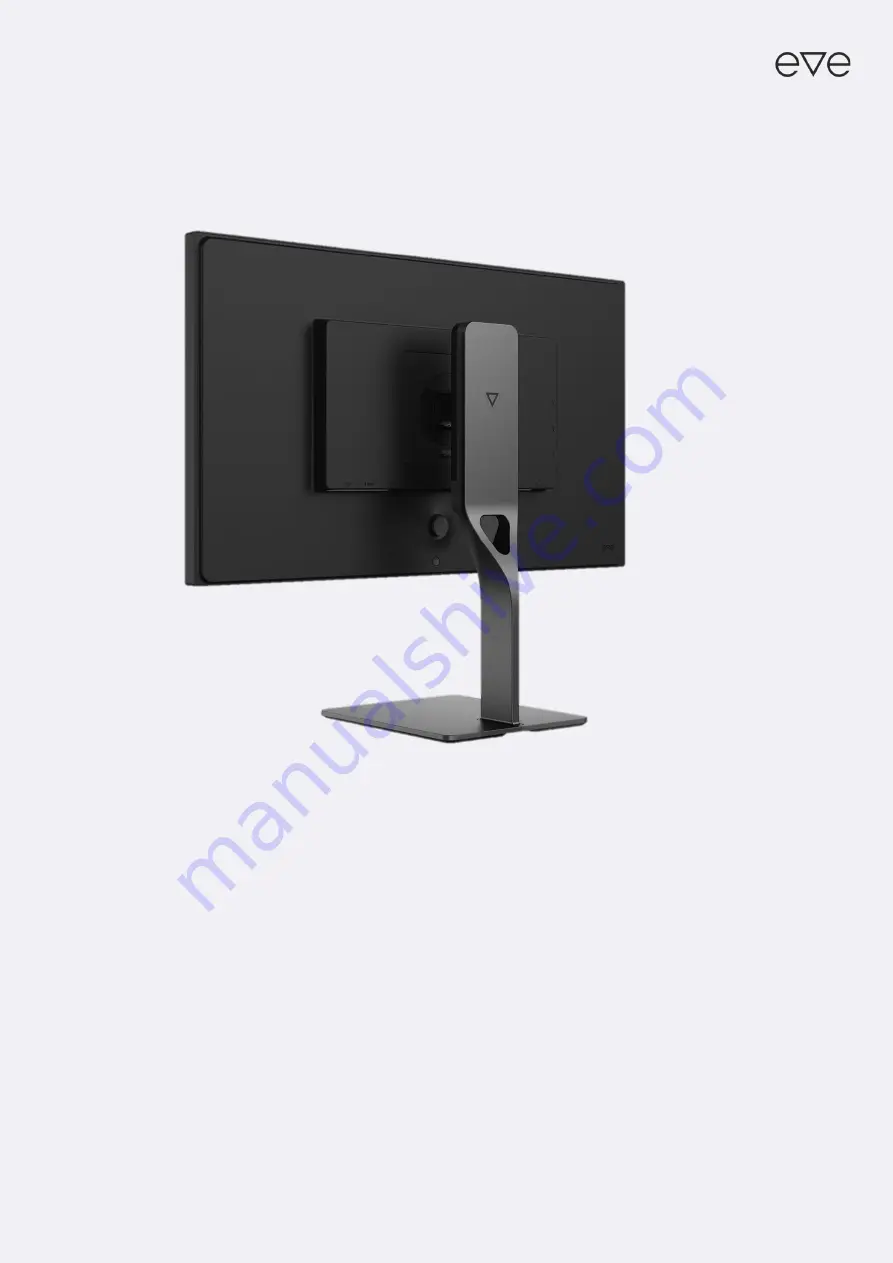
Page 10: ...f this occurs the screen will not recover to its normal condition INSTALLING THE SPECTRUM STAND The Spectrum Stand sold separately was designed from the ground up to be a sleek but sturdy companion to...
Page 11: ...m of the stand arm and then tighten the screw on the underside of the base 3 Insert the top of the stand into the back of the monitor cabinet at an angle then press down The stand will click into plac...
Page 12: ...own on a flat and stable surface IMPORTANT To prevent the screen from getting scratched defaced or broken cover your work surface with protective sheet foam or a non abrasive cloth 3 Slide up the quic...
Page 13: ...back of the monitor 2 Align the screw holes on your mounting device with the four VESA screw holes in the back of the monitor then insert and tighten the four mounting screws through the mounting devi...
Page 14: ...more than half the cables we could have included in the box would have gone to waste That s not good for the environment and it s not good for your wallet either With this in mind we ve shipped the m...
Page 15: ...Do not connect two power sources DC power in and USB Type C to the host device simultaneously CAUTION Use only USB Type C cables that are rated for up to 100W of power delivery The use of inappropriat...
Page 16: ...or Then connect the cable s Type A connector to a USB Type A port on the host device NOTE You must connect either a USB Type B upstream cable or a USB Type C cable from the host device computer laptop...
Page 17: ...ounded earthed outlet Do not disable the power cord grounding pin for example by attaching a 2 pin adapter The grounding pin is an important safety feature Disconnect power from the monitor by unplugg...
Page 18: ...n screen display OSD menu The rear of the monitor provides one USB Type C and two USB Type A downstream ports You can use these to connect devices such as a mouse keyboard phone external hard drive an...
Page 19: ...or Connect the 3 5mm audio jack plug to the audio port on the rear of the monitor to make use of your speakers headphones or other audio device CAUTION To reduce the risk of personal injury adjust the...
Page 20: ...curity cable available from third parties Connect the lock to the Kensington Security Slot on the rear of the monitor and use the key provided to attach and remove the lock IMPORTANT If these instruct...
Page 21: ...that are rated for up to 100W of power delivery The use of inappropriate cables could represent a fire hazard Charging at high power can cause high temperatures consult the documentation that came wi...
Page 22: ...e your creativity alertness and reflexes And that comes in handy whether your goal is a promotion or a better K D A ratio ADJUST YOUR MONITOR 1 Adjust the monitor s height to a comfortable position fo...
Page 23: ...nd clarity of text and images You can learn more about adjusting the image on page 33 Be sure to keep Spectrum clean as dust or stains can affect readability and clarity of text and images You can lea...
Page 24: ...r to turn it on When the monitor is first turned on the monitor automatically scans the signal inputs for an active input and uses that input for the screen The indicator light at the bottom of the mo...
Page 25: ...NOTE If there is no video signal for a prolonged period the monitor will enter standby mode This means that the monitor is not turned off and will resume operation once a video signal is available aga...
Page 26: ...pes of applications may include camera surveillance marketing logos and templates that are displayed on the screen for a prolonged period Displaying the same static image or image elements on the scre...
Page 27: ...itor screen image based on your preferences You can access and make adjustments in the OSD menu using the joystick on the rear of the monitor by reaching underneath the bottom bezel To change Spectrum...
Page 28: ...tick will return to the main menu or if already on the main menu will close the OSD entirely NOTE If no control inputs are given for a prolonged period the OSD menu will close automatically You can ad...
Page 29: ...Pressing up will cycle USB hub input sources Pressing left will enable or disable the frame rate counter overlay Pressing right will enable or disable the crosshair overlay NOTE These quick actions a...
Page 30: ...or the same reason it is not recommended to enable automatic USB hub host switching in the OSD menu if storage devices are attached to Spectrum s downstream ports VOLUME Adjusts the output volume for...
Page 31: ...in standby mode or active This mode slightly reduces power consumption when the monitor is off SPLIT SCREEN MODE Enables showing an image from two display input sources side by side Also known as Pict...
Page 32: ...rames and their duplicates the frame rate counter will in this case show the total number of frames generated by the graphics card 48 This may differ from the number of unique frames as displayed by s...
Page 33: ...curve between light and dark areas of the monitor COLOR TEMPERATURE Adjusts the colors of the monitor to match warm cool or neutral environmental light USER DEFINED TEMPERATURE Allows for individual...
Page 34: ...es This setting is shown as Adaptive Sync when connected through the DisplayPort or USB Type C video input or as VRR when connected through the HDMI video input RESPONSE TIME OVERDRIVE Selects a prese...
Page 35: ...sh Chinese Spanish Espa ol German Deutsch French Fran ais Japanese POSITION Selects the location on the screen where the OSD menu is displayed TRANSPARENCY Adjusts the transparency of the OSD menu ove...
Page 36: ...reen or blue light value shown by the indicator light when the monitor is on STANDBY BEHAVIOR Selects the behavior of the indicator light when the monitor is in standby mode The options are described...
Page 37: ...and can in some cases even add new functionality IMPORTANT Performing a firmware update on Spectrum requires a USB connection to a computer running Windows 10 or Windows 11 IMPORTANT Because firmware...
Page 38: ...keyboard or move the mouse to exit sleep mode Video card is incompatible Replace the video card or connect the video cable to one of the computer s onboard video sources Image appears too dark Bright...
Page 39: ...Name and version of the software you are using CONTACTING SUPPORT To resolve a hardware problem go to https evedevices com pages support Use this site to contact Eve and open a support case LOCATING T...
Page 40: ...ting properly or has been dropped or damaged contact an authorized Eve dealer reseller or service provider This includes situations where o the power cord or plug is damaged cut or frayed o liquid was...
Page 41: ...g pressure IMPORTANT Never spray the cleaning solution directly on the device as it may run behind the bezel and damage the electronics IMPORTANT Do not use cleaners that contain any petroleum based m...
Page 42: ...monitor size 27 diagonal display area 597 336mm aspect ratio 16 9 IMAGE QUALITY native resolution 3840 2160 pixels 4K Ultra HD pixel pitch 0 1557mm pixel density 163ppi brightness 450cd m typical 750c...
Page 43: ...DR mode curved panel No touch enabled No pen enabled No PORTS HDMI 2 HDMI 2 1 video input DisplayPort 1 DisplayPort 1 4 video input USB Type C 1 DisplayPort 1 4 video input SuperSpeed USB USB 3 1 Gen...
Page 44: ...ttings for any game The pre sets have been tuned by Blur Busters for great performance straight out of the box User upgradable firmware allows development to continue to tweak existing features and un...
Page 45: ...th stand 6 7kg weight monitor only 4 7kg 7 9kg with box weight stand only 2 0kg 2 9kg with box ELECTRICAL AND OPERATING REQUIREMENTS operating conditions 0 35 C 20 80 RH storage conditions 20 60 C 20...
Page 46: ...Technical specifications 46 IN THE BOX Eve Spectrum Power adapter Power cable Quick start guide Color calibration report Planned feature pending firmware update Requires firmware version 106 or newer...