OPERATING INSTRUCTIONS
CONSIGNES D’UTILISATION
This appliance is for HOUSEHOLD USE
ONLY and may be plugged into any
120V AC polarized electrical outlet. Do
not use any other type of outlet.
RANGEMENT
REMARQUE :
La fonction anti-goutte
réduit l’égouttage de l’eau et les taches
d’eau. Elle ne prévient pas l’égouttage
et les taches d’eau si vous appuyez sur
le bouton de jet d’eau trop souvent, ou
si la température est trop faible. La
quantité de gouttelettes d’eau diminuera
éventuellement après avoir vidé 2 ou 3
réservoirs durant la vaporisation et le
repassage.
NOTE:
Because of the soleplate design,
ordinary tap water may be used with this
iron. However, in very hard water areas,
we recommend using distilled or
demineralized water.
WARNING
: Never fill the iron with
fabric conditioner, starches or any
other liquid, as these will damage the
steam mechanism. Do not use
contaminated water.
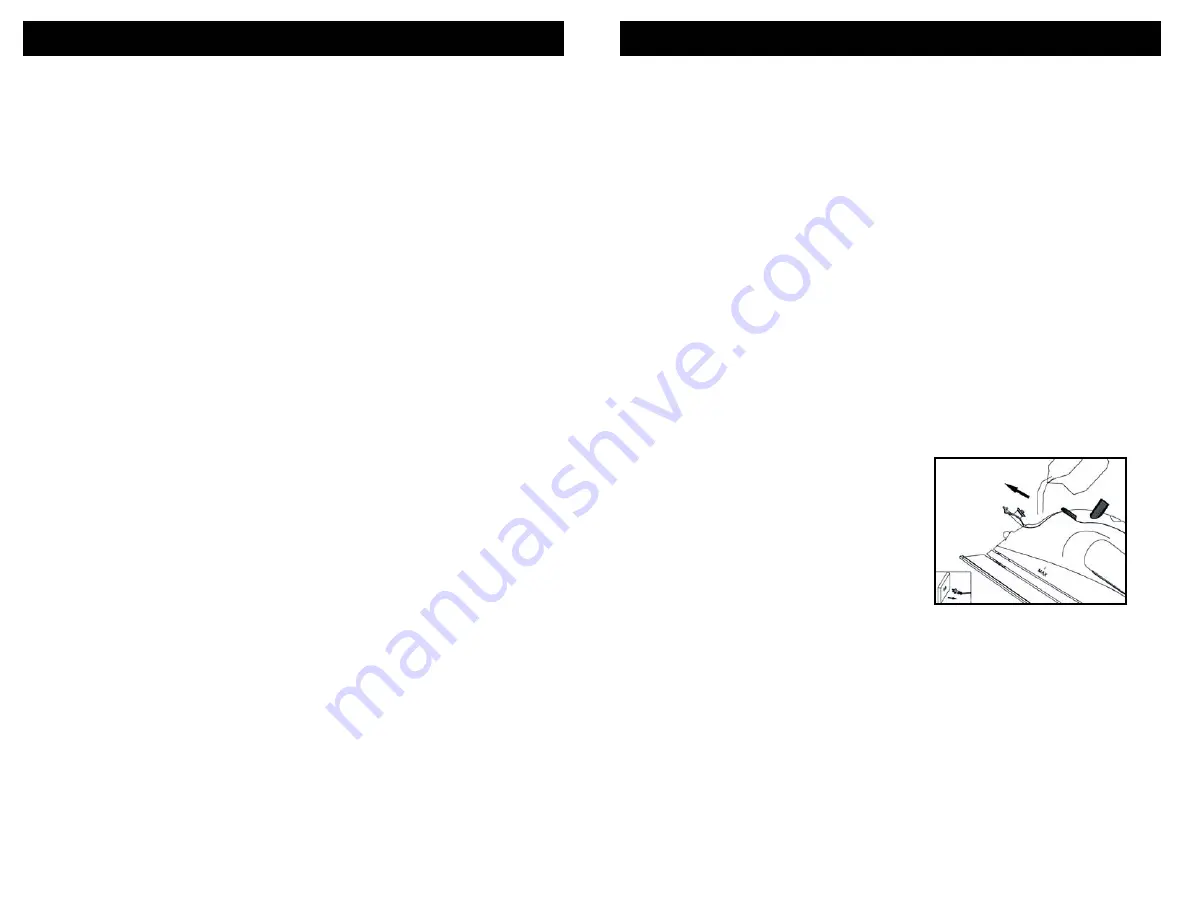
1. Open the water filling inlet cover.
Holding the iron at a slight angle,
pour water slowly into the water
filling inlet. See figure 1. Fill tank to
desired level or to the “MAX” water
level marking using the water filling
flask. (When the iron is upright, the
see-through water tank allows you to
gauge the amount of water.) DO
NOT overfill the tank. When finished
filling the iron with water, close the
water inlet cover before continuing.
1. Tournez toujours le cadran de
contrôle de vapeur variable à « 0 »
après avoir vidé le réservoir.
2. Laissez le fer refroidir.
3. Rangez toujours le fer en position
debout afin de protéger la plaque.
4. Nettoyez régulièrement la surface
externe du fer à l’aide d’un linge
humide et essuyez-la.
5. Si vous utilisez de l’amidon à
vapeur, essuyez la plaque avec un
tissu doux et humide afin d’éviter
l’accumulation de dépôts.
6. Si le fer n’a pas été utilisé pendant
quelques semaines, tenez-le à
l’horizontale et laissez la vapeur
s’écouler pendant 2 minutes avant le
repassage.
FABRIC & TEMPERATURE
INDICATORS
Press on the Electronic Temperature
Control to select the desired fabric
setting. The red lights at the left of the
LED Display Panel will light up.
At the same time, the temperature
indicator lights on the right side of the
LED Display Panel will start to flash.
They will stop flashing when the iron
reaches the selected temperature.
DRY IRONING
For dry ironing, turn the variable steam
control dial all the way to the right to “0”.
This will cut off the steam flow if water is
in the water tank. All marked fabric
settings on the LED Display Panel can
be used for dry ironing.
1. Plug the cord into a polarized, 120V
AC electrical outlet. The power “ON”
light will come on, indicating that the
iron is receiving power.
2. Press on the electronic temperature
control button to select the desired
fabric/temperature setting. Turn the
variable steam control dial to “0”.
(See “Ironing Guide” for a guide to
temperature selection.)
3. Place iron on its heel (on a stable,
protected surface) while iron is
warming to desired temperature.
Fig. 1
STEAM IRONING
2. Plug the cord into a polarized, 120V
AC electrical outlet.
3. Press on the electronic temperature
control button to select the desired
fabric and temperature setting. Turn
the variable steam control dial to
the desired steam setting. (See
“Ironing Guide” for a guide to
temperature selection.)
CAUTION!
DO NOT aim iron at face,
towards yourself, or anyone else
while using or adjusting steam.
Burns or serious injury may occur.
WARNING!
Before filling the iron
with water, be sure the iron is not
plugged into the electrical outlet. The
iron may be filled with water while it
is hot.
CAUTION!
TO PREVENT THE RISK
OF BURNS, use caution when filling
iron with water. Burns can occur
from touching hot metal parts, hot
water, or steam.
4
19


