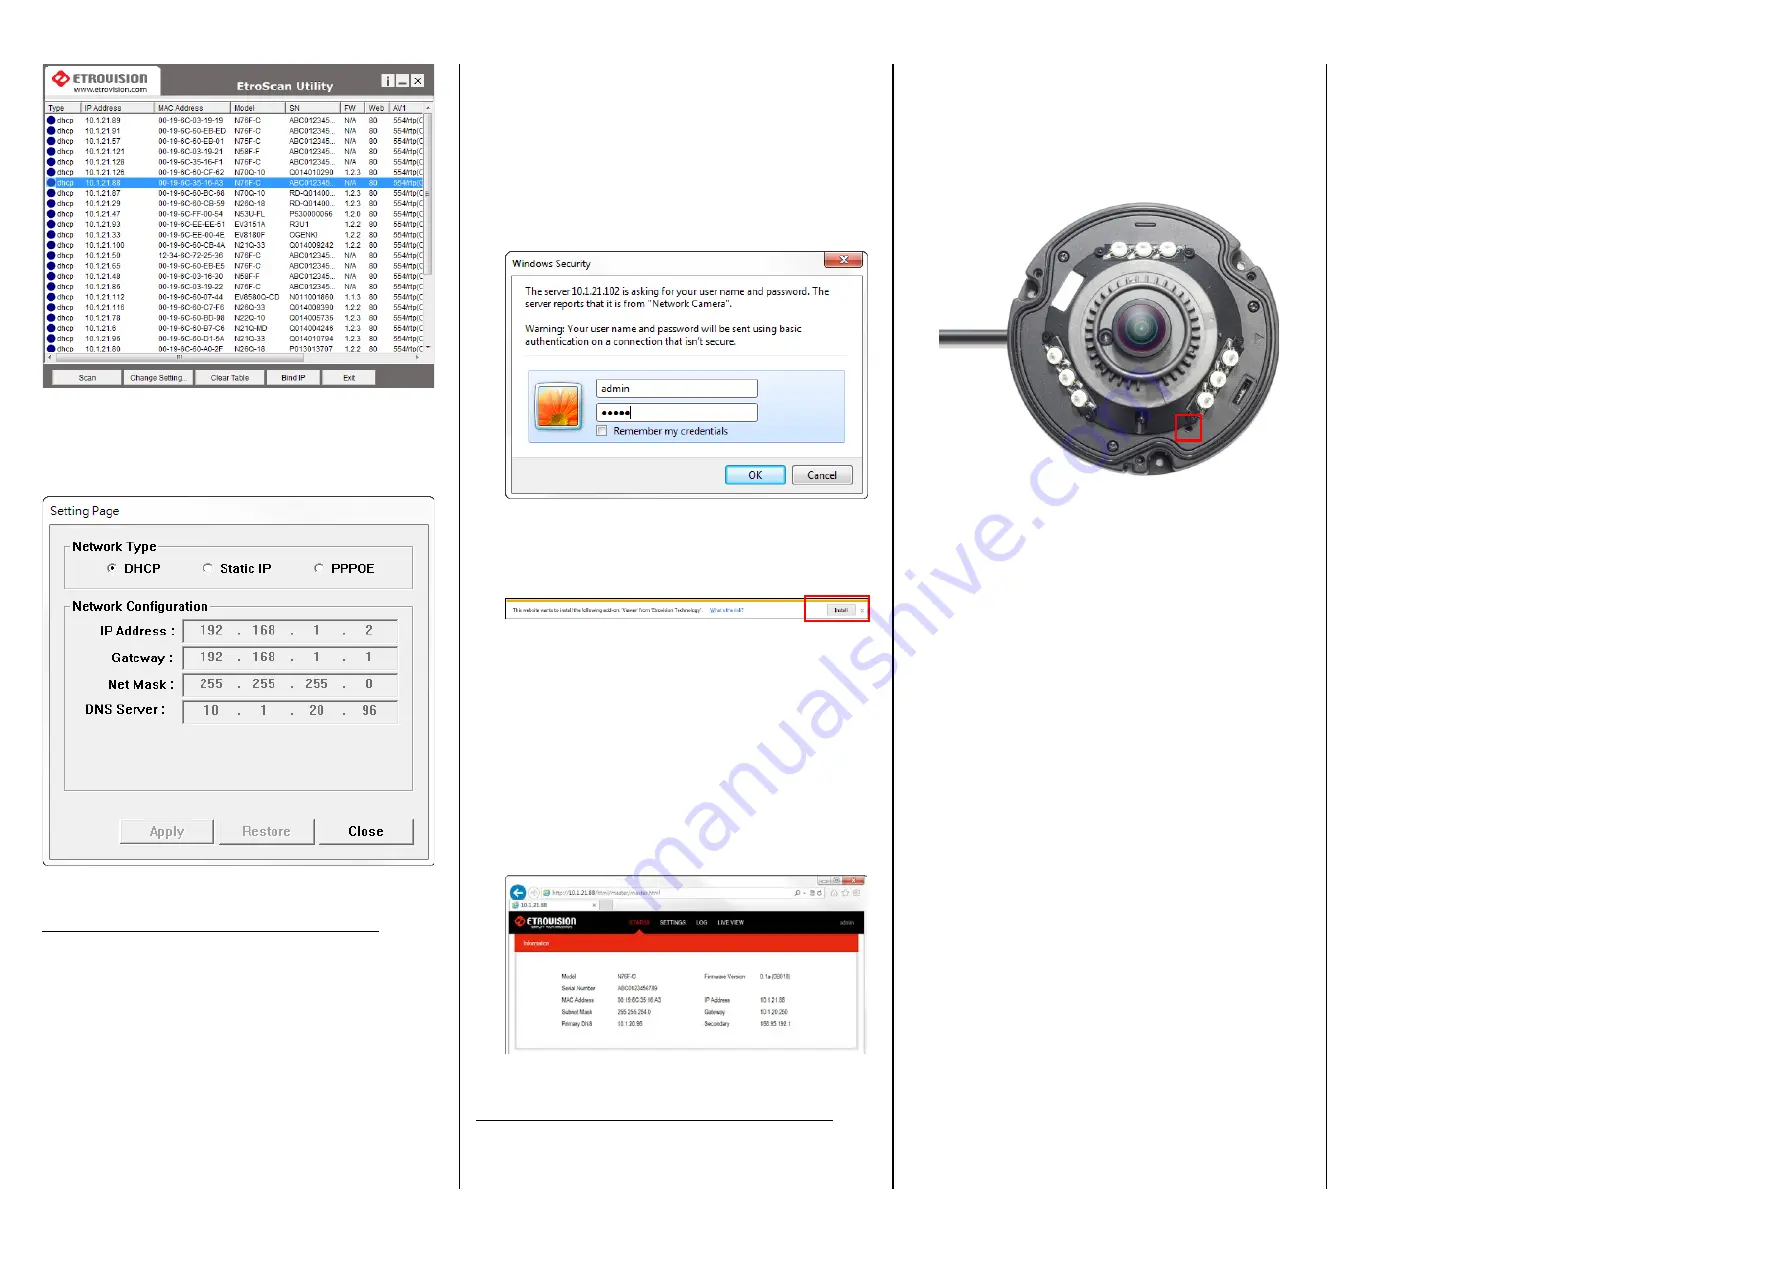
If the camera’s network settings need to be changed (i.e.
assign a static IP), double click the camera in the camera list.
This will display the network setting page for the camera.
After making the changes, the camera will reboot.
Access IP Camera Web Interface
After identifying the device – and if necessary changing the
network settings – the camera web UI can be accessed via a
web browser. The following screen shots assumes Internet
Explorer will be used.
Note: Firefox and other browsers will lack some of the
functionality (mostly in the Live View) since this
functionality is implemented using Microsoft Active X
technology.
1.
Open an IE browser
2.
Type in the IP address in the URL:
-
http://
<
IP ADDRESS
>
-
(e.g.
http://10.1.21.88
)
3.
A login screen will be displayed. Enter the default
administrator credentials.
-
Username:
admin
-
Password:
Admin
4.
At the bottom of the browser window, a message
prompt will ask to install the Viewer Active X add-on.
-
Click
Install
.
Note: Failing to install the add-on will prevent the IE
browser from implementing certain functionality, such
as viewing real-time video.
5.
A Windows User Account Control warning will be
displayed asking Do you want to allow the following
program to make changes to this computer?
-
Click
Yes
6.
The browser will then load the camera web UI and
display the camera’s
STATUS
page
Restoring Factory Default Settings
There are 2 methods for restoring the factory default
settings:
-
Power on the camera, push and hold down the reset
button for 10 seconds. The camera will revert to
factory default settings.
Wait approximately 5 minutes for the reset and reboot
to take place.
-
In the web UI go to the Maintenance section under
SETTINGS
General
Reboot Device
. Please refer to
the firmware users manual for more information.


