N26
Series
Quick
Installation
Guide
www.etrovision.com
+886-2-2655-1518
Technical Support: [email protected]
Sales Contact: [email protected]
Install EtroScan on a Windows PC
-
EtroScan™ is a utility is used to configure network
settings for cameras & video servers. EtroScan™ is
available on the CD-ROM or can be downloaded at
http://www.etrovision.com/Support/
-
Run Setup.exe to install EtroScan.
Basic Installation
1.
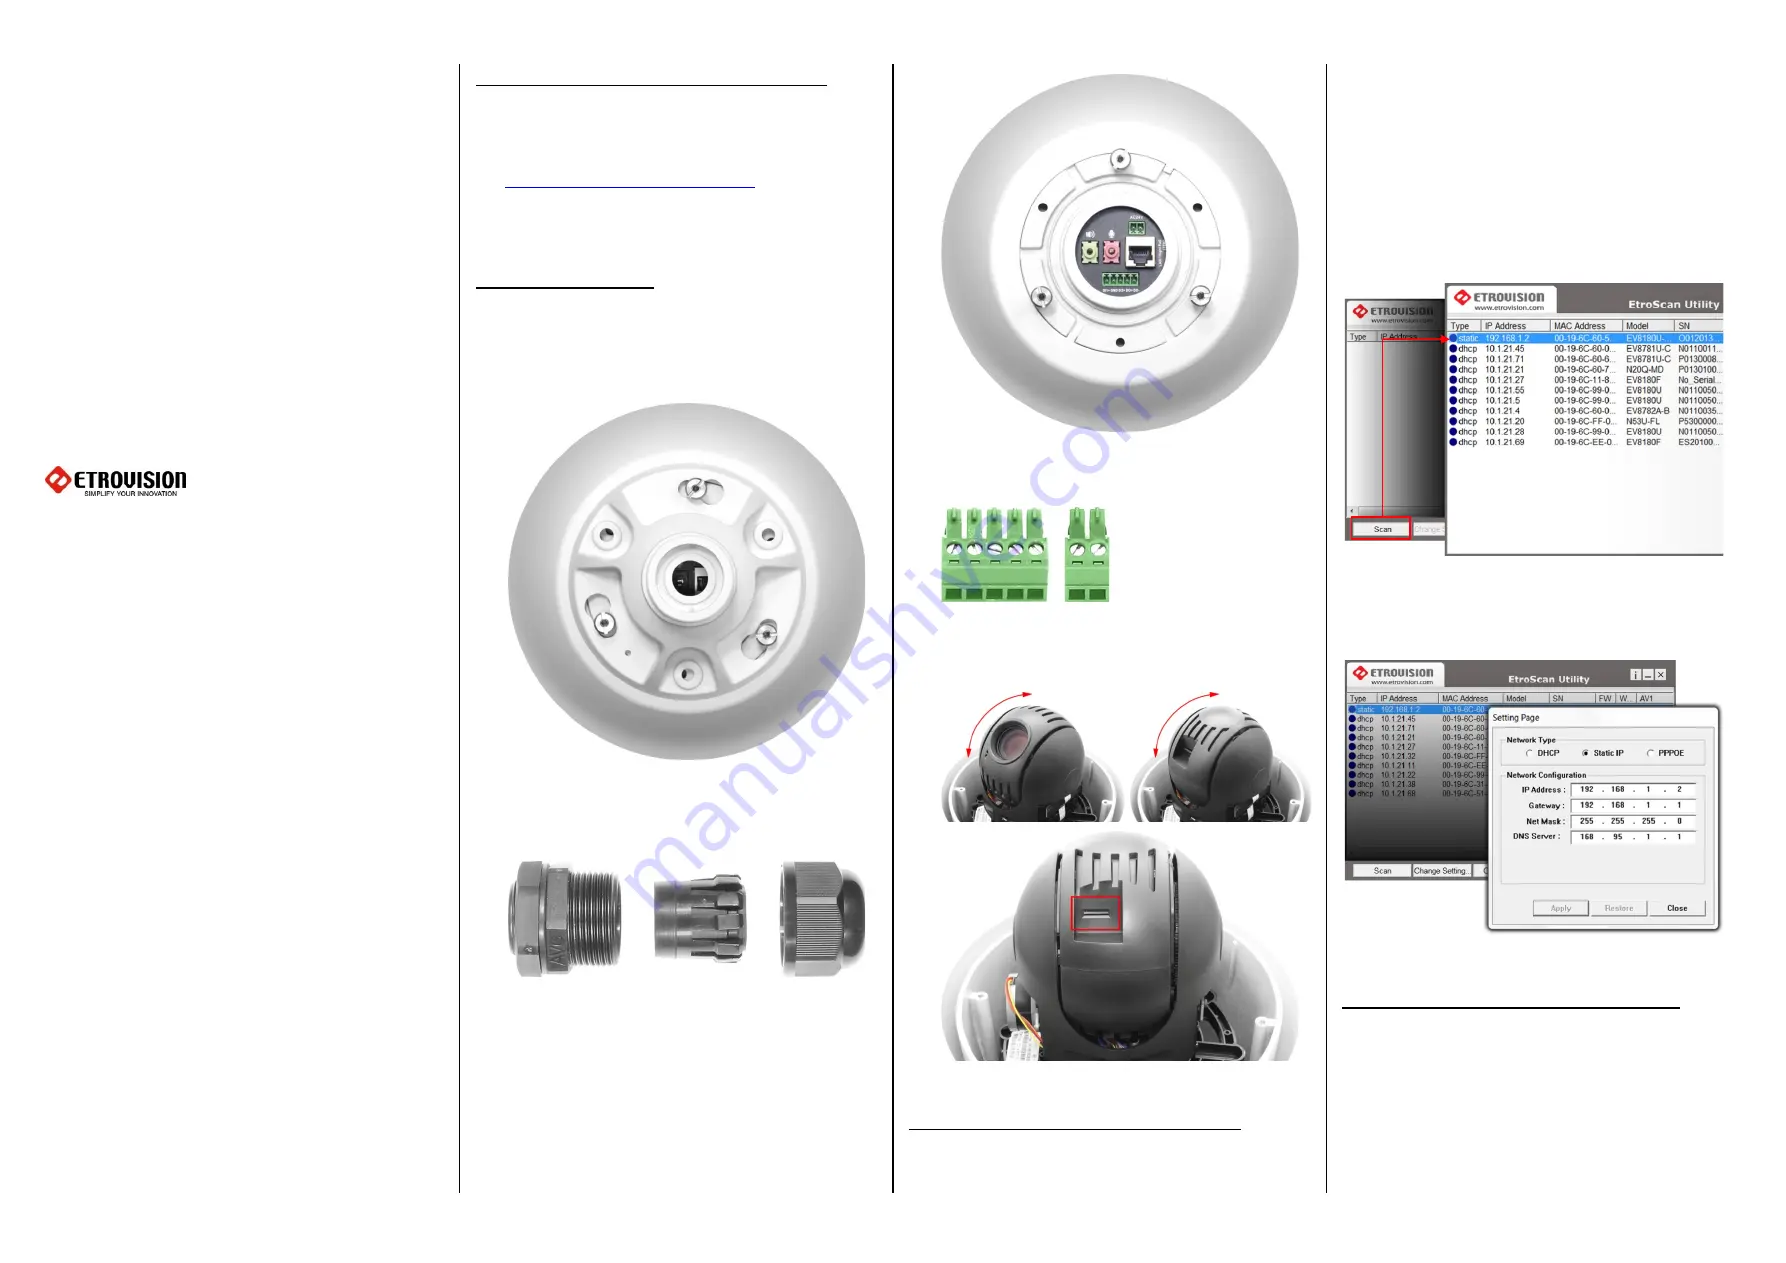
The power, network and other port connections are
located within the top part of the camera. Loosen the
three bolts and remove the screws to remove top
cover.
2.
To run cabling into the camera, remote the plastic
waterproof cable conduit and insert the necessary
cables into the appropriately sized hole.
3.
The various connection ports are labeled. Connect the
RJ45 network cable, power and any other cabling that
is required.
The power and DI/DO requires terminal block
connectors which are provided with the camera.
4.
The SD card slot can be found by removing the outer
plastic cover and rotating the camera lens to expose
the SD card slot.
Configure the Network Settings
The factory default IP address settings:
IP Address
: 192.168.1.2
Subnet Mask
: 255.255.255.0
Gateway
:
192.168.1.1
Run EtroScan
™
(program available via Start
All
Programs
Etrovision Technology menu).
Scan displays all devices on the network. Use 192.168.1.2 IP,
Model, and MAC Address to identify a specific
camera/video server.
Use Change Setting to change network settings. After
clicking Apply, enter “pass” for the root password when
prompted.
Access IP Camera Web Interface
When accessing an IP camera using the web interface for
the first time (or when the IP address changes), some
configuration for ActiveX controls are required.
1.
Open an IE browser
2.
Type in the IP address in the URL: http://<IP ADDRESS>
(e.g. http://10.1.21.53)


