ADDRESS> (e.g. http://10.1.21.53)
3.
On first connecting to a camera, IE will probably
prompt to install Active X components which are used
in the camera web UI. Click Install to continue.
Following this step, a User Access Control window will
also appear to confirm installation.
4.
Once the process is complete, the Live View will be
displayed.
Restoring Factory Default Settings
There are 2 methods for restoring the factory default
settings:
1.
Power on the camera, push and hold down the reset
button for 6 seconds. The camera will revert to factory
default settings (e.g. IP will reset to 192.168.1.2).
2.
The web UI Setup (System -> Factory Default) ;
network and user account data can be saved if desired.
Please refer to the User’s Manual for more
information on the web UI Factory Default
functionality.
Video Out Using BNC Adapter
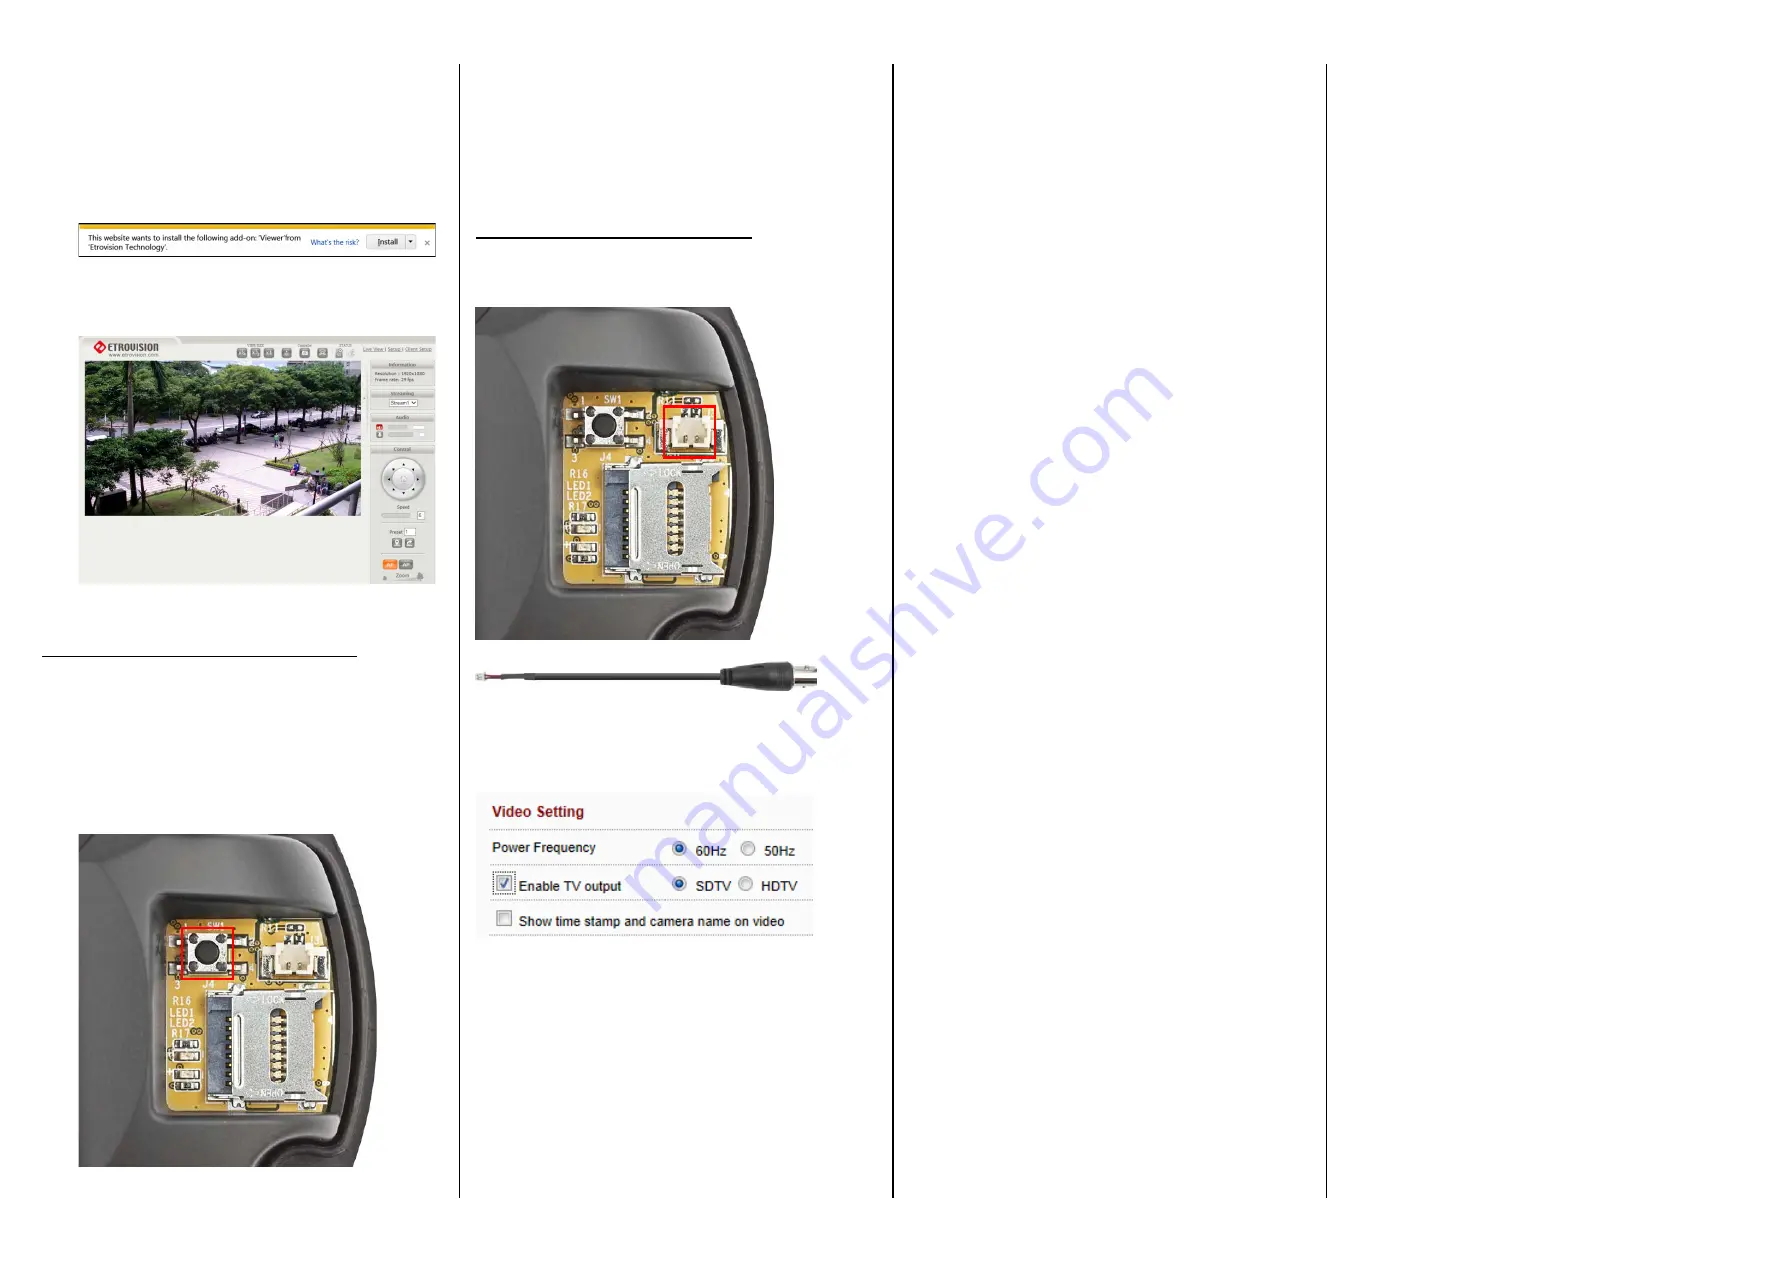
Using the supplied BNC adapter, connect the adapter to the
2-pin port shown below
Enable the TV output in the camera’s web UI settings (refer
to the Video/Audio – Video Setting section of the firmware
users manual for more detail)
Reset
Button.
Video
Output
port


