The Clever Metering Company
5
Scan for a specific Radio Band (this feature is only available on the 3G versions, ETM770-2 and ETM770-3):
1.
Return to main menu.
2.
Select Services and press OK.
3.
Select Radio Band and press OK.
4.
Select the radio band you want to scan.
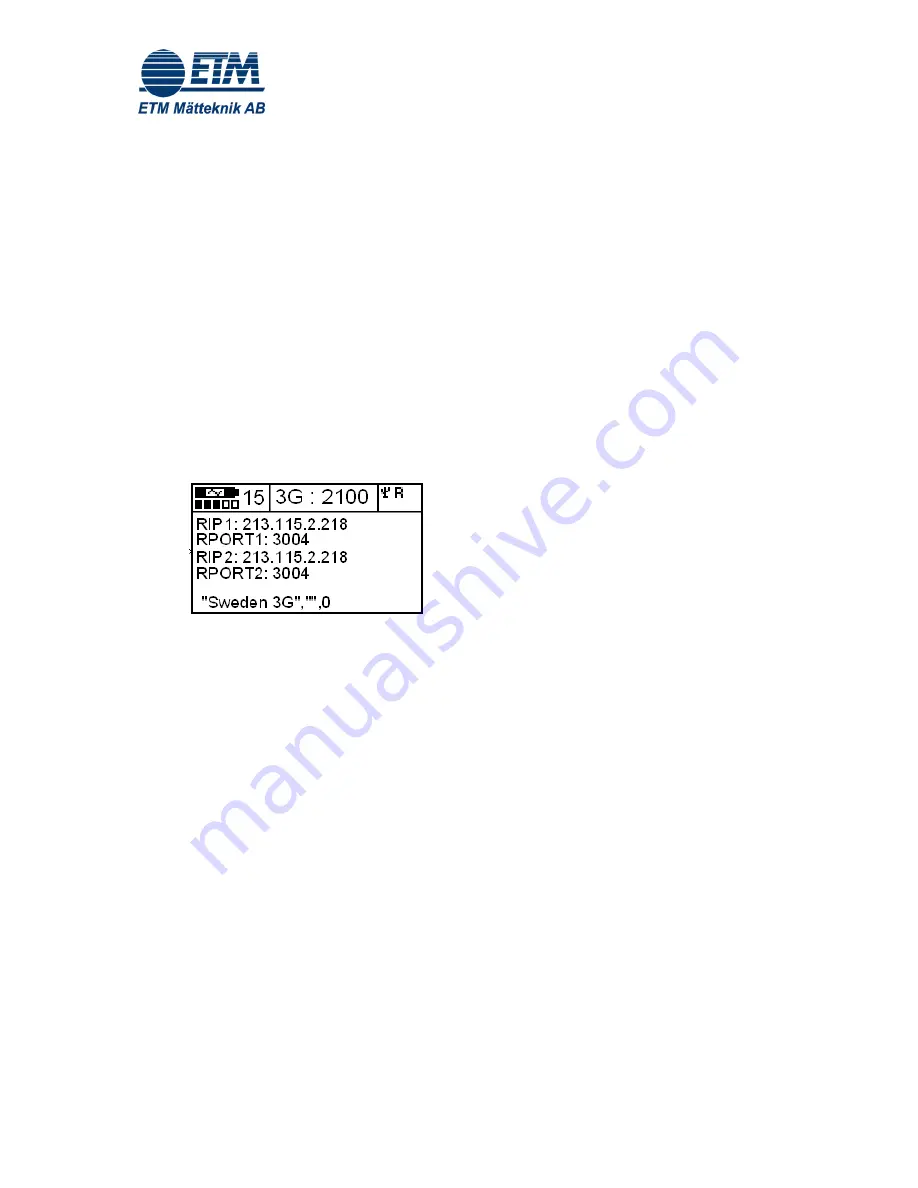
View IP setting:
1.
Return to main menu.
2.
Select status and press OK.
3.
Select Settings and press OK.
4.
If you have set an ISP connection up (described in chapter “Set up an ISP connection to PING
a server”) the display shall look something similar to the picture below.
View last scan:
1.
Return to main menu.
2.
Select Status and press OK.
3.
Select Last scan and press OK.
4.
Display will show the scanned operator, the minimum and maximum signal strength value
and the average signal strength value.
View number of neighbor cells:
1.
Return to main menu.
2.
Select Signal Scanning and press OK.
3.
Select Neighbor cells and press OK.
4.
The device will show the text scanning…and after the scanning is finished the number of cells
will be written on the display.
5.
Note: The number of cells is an instantaneous value. This means that two scans after one
another can show different results and that these values shall be seen as an indication more
than an absolute value.
RIP1: Remote IP address 1
RPORT1: Remote Port 1
RIP2: Remote IP address 2*
RPORT2: Remote Port 2*
*
Remote IP address 2 and remote port only
shows if you have configured them too.


