E T C
®
S e t u p G u i d e
Gadget USB to DMX/RDM Interface
Gadget USB to DMX/RDM Interface
Page 1 of 2
Electronic Theatre Controls, Inc.
Corporate Headquarters
3031 Pleasant View Road, P.O. Box 620979, Middleton, Wisconsin 53562-0979 USA
Tel +608 831 4116
Fax +608 836 1736
London, UK
Unit 26-28, Victoria Industrial Estate, Victoria Road, London W3 6UU, UK
Tel +44 (0)20 8896 1000
Fax +44 (0)20 8896 2000
Rome, IT
Via Pieve Torina, 48, 00156 Rome, Italy
Tel +39 (06) 32 111 683
Fax +44 (0) 20 8752 8486
Holzkirchen, DE
Ohmstrasse 3, 83607 Holzkirchen, Germany
Tel +49 (80 24) 47 00-0
Fax +49 (80 24) 47 00-3 00
Hong Kong
Rm 1801, 18/F, Tower 1 Phase 1, Enterprise Square, 9 Sheung Yuet Road, Kowloon Bay, Kowloon, Hong Kong
Tel +852 2799 1220
Fax +852 2799 9325
Service:
(Americas)
(UK)
(DE)
(Asia)
Web:
Copyright © 2013 ETC. All Rights Reserved.
Product information and specifications subject to change.
4267M2200
Rev C
Released 2013-10
ETC intends this document to be provided in its entirety.
Overview
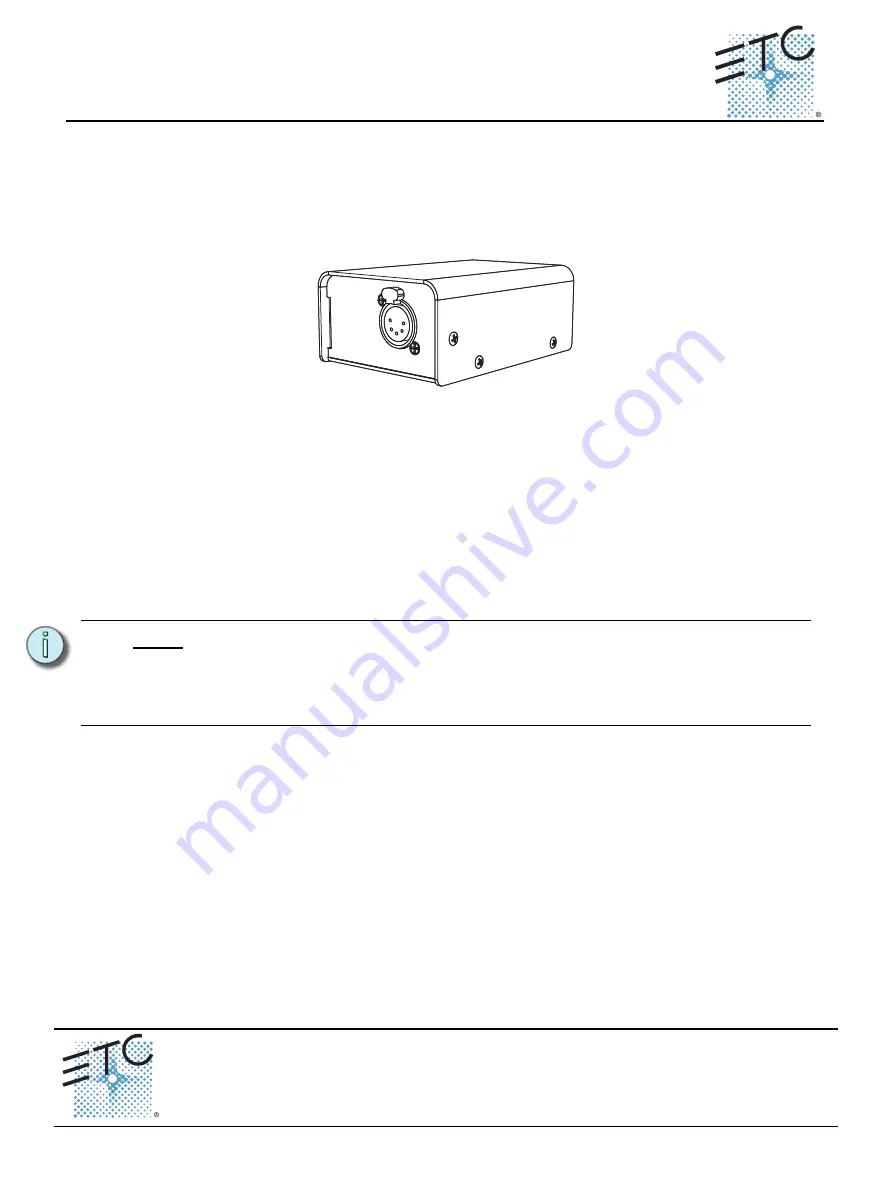
Gadget provides a connection from a PC to your lighting system’s DMX/RDM devices. Gadget provides
DMX control level output, configuration, and monitoring for RDM devices including fixtures, dimmers,
and more. You can also upgrade software for most DMX-based ETC products using UpdaterAtor or
Net3 Concert software.
Supported USB Operating Systems
Gadget is supported on computers running the following operating systems.
• Windows
®
XP (32-bit only)
• Windows 7 (32-bit and 64-bit)
• Windows 8 (32-bit and 64-bit)
Supported DMX Output
When used as a DMX output device, Gadget supports
software configurable DMX/RDM
speeds: max,
fast (default), medium, and slow.
Connections
To Connect Gadget to a PC and the DMX/RDM network
Step 1:
Install the Gadget device driver on your computer (download available from the ETC
website www.etcconnect.com).
Step 2:
Connect the USB-A cable end to your computer.
Step 3:
Connect the USB-B cable end to Gadget.
Step 4:
Connect a standard DMX cable from Gadget’s DMX Output to your DMX/RDM fixtures or
devices.
An indicator LED is located next to the USB connection. The LED indicates the connection status
between Gadget and your computer. The LED illuminates red when power is applied and blinks to
indicate activity.
N o t e :
Before plugging in Gadget, install a software package that supports Gadget to ensure
the drivers are loaded on the PC.
When installing on a Windows XP computer, you will be prompted to install drivers
manually when connection Gadget for the first time. You must follow the Installation
Wizard to connect Gadget correctly.


