2017-10-04EN0000000366V.002X.35.4, X.39.1
93531-001
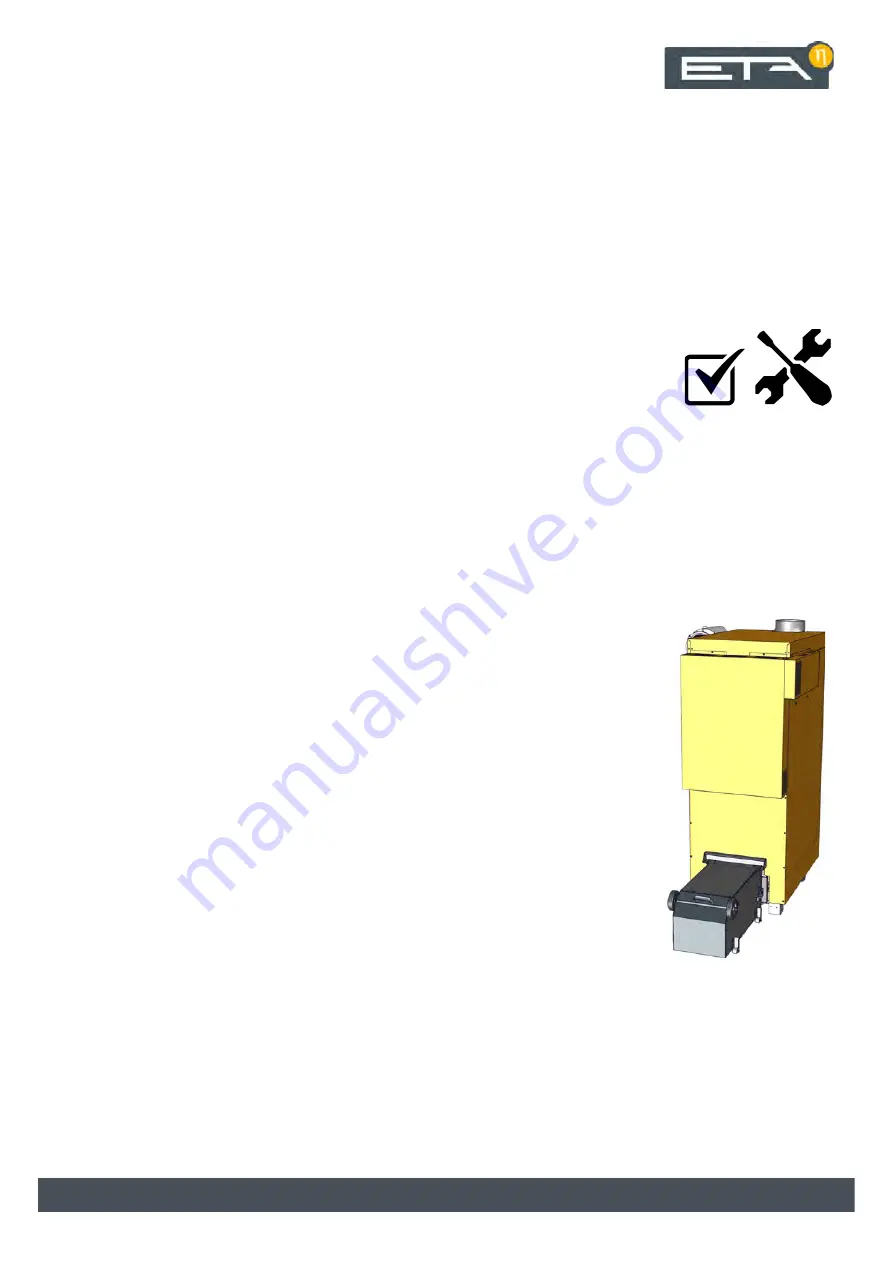
Precipitator
EEP 200
Service manual
Page 1: ...2017 10 04 EN 0000000366 V 002 X 35 4 X 39 1 93531 001 Precipitator EEP 200 Service manual ...
Page 2: ...ETA Heiztechnik Gewerbepark 1 A 4716 Hofkirchen an der Trattnach Tel 43 0 7734 22 88 0 Fax 43 0 7734 22 88 22 info eta co at www eta co at ...
Page 3: ... this document are property of ETA Heiztechnik GmbH and are protected by copyright Any reproduction transfer to third parties or use for other purposes is prohibited without written permission from the owner Subject to technical changes We reserve the right to make technical modifications without notice Printing and typesetting errors or changes of any kind made in the interim are not cause for cl...
Page 4: ...en may not operate clean or maintain the product Clean and maintain the precipitator together with the boiler The intervals for cleaning and maintaining the precipi tator correspond to those for the boiler Therefore clean and upkeep the precipitator in the course of cleaning and upkeeping the boiler Clean the precipitator before the emission measurement We recommend cleaning the precipitator befor...
Page 5: ...Cleaning and maintenance Maintenance notes 5 Do not use cleaning brushes to clean the components ...
Page 6: ... left side 1 Maintenance cover 2 Position switch for the electrode dedusting 3 Drive chain for the electrode dedusting 4 Draught fan 5 Maintenance cover for the internal flue gas ducts 6 Left drive chain for the sliding rake and ash screw as seen from the front side to the back side of the boiler 7 Position switch for the sliding rake 8 Right drive chain for the sliding rake and ash screw 9 Ash bo...
Page 7: ...Cleaning and maintenance Maintenance openings 7 1 Maintenance cover for optional flue gas recircula tion 2 Flue gas temperature sensor 3 Maintenance cover for the piping between boiler and precipitator ...
Page 8: ...as ducts X X Customer or specialist Clean flue gas recirculation if installed X X Customer or specialist Clean the precipitator Check and remove ash accumulations Clean the flushing air opening Clean and inspect the electrode holder Check the alignment of the electrodes Check maintenance cover seal X X Customer or specialist Check idle position Check idle position of the electrode dedusting Check ...
Page 9: ... so that the boiler can perform a final de ashing Empty the ash bin inspect the seals If the boiler s ash bins are already empty also empty the precipitator s ash bin This prevents an additional boiler switch off Open both side fasteners by pressing their locks in the direction of the arrow Fig 2 1 Ash bin Remove the ash bin from the precipitator Open both fasteners on the cover and empty the ash ...
Page 10: ...in and attach the ash bin to the precipitator with the two fasteners Fig 2 5 Ash bin Once the ash bin is attached precipitator de ashing starts automatically in order to transport the remaining ash to the ash bin Switch the boiler on via the mains switch and start de ashing Restore the boiler s power supply from the mains switch Start de ashing so that the boiler can perform de ashing Switch the b...
Page 11: ...ins switch Switch off the electricity to the boiler via the mains switch This prevents injuries caused by switching the boiler on inadvertently 2 5 2 Clean piping Clean the piping between boiler and precipitator Open the maintenance cover in the piping Fig 2 6 Maintenance cover Only clean out the piping with an ash vacuum Fig 2 7 Clean out piping WARNING Never brush ash into the precipitator Only ...
Page 12: ...er Clean the flue tube from the precipitator to the chimney Sweep the flue tube from the precipitator to the chimney and remove flue ash from the chimney using a vacuum cleaner Fig 2 9 Flue tube Brush the ash into the chimney and not the pre cipitator Clean out the internal flue gas ducts Remove the covers from the rear of the precipitator Fig 2 10 Covers Remove the insulation over the maintenance...
Page 13: ...Only clean out the accessible ducts with an ash vacuum Fig 2 12 Clean out ducts Re install the maintenance cover with the seals Then put the insulation back over the maintenance cover Fig 2 13 Maintenance cover Re install the covers Fig 2 14 Covers ...
Page 14: ...nal Clean flue gas recirculation if installed Remove the flue gas recirculation from the back side of the maintenance cover Fig 2 15 Maintenance cover Brush out the pipes with a cleaning brush and remove the ash with a vacuum Fig 2 16 Pipes Re install the maintenance cover Fig 2 17 Maintenance cover ...
Page 15: ...intenance cover Check and remove ash accumulations Inspect the inner walls of the precipitator for ash accu mulations Cleaning is not functioning correctly if there is too much ash on the inner walls or on the electrodes The cause must be found and eliminated Fig 2 20 Ash accumulations Use the cleaning brush to carefully scrape the ash ac cumulations from the inner walls Especially the area above ...
Page 16: ... the electrode holder Clean both electrode holders with a soft cloth Fig 2 24 Electrode holder Then inspect the status of the electrode holders The best way to do this is to check the electrode holder manually especially the area around the flushing air openings If cracks or small holes can be felt there is damage In this case contact ETA Customer Support Check the alignment of the electrodes The ...
Page 17: ...with damaged seals Never operate the precipitator with damaged seals Otherwise leak air is sucked in disturbing the combustion process and causing increased wear Always replace seals immediately when they are damaged Re attach maintenance cover and panels Place the maintenance cover and tighten the screws evenly and cross wise Fig 2 27 Maintenance cover Finally place the insulating cover and re at...
Page 18: ...2 5 5 Establish operational readiness Switch the boiler on via the mains switch and start de ashing Restore the boiler s power supply from the mains switch Start de ashing so that the boiler can perform de ashing Switch the boiler back on with the On Off switch ...
Page 19: ...rms an ember burnout and then changes to the Switched off operating mode Then start de ashing so that the boiler can perform a final de ashing WARNING Switch off the electricity to the boiler via the mains switch Switch off the electricity to the boiler via the mains switch This prevents injuries caused by switching the boiler on inadvertently DANGER Caution high voltage The electrode inside the p...
Page 20: ...lever gear teeth can support the striking weight in idle position The gap must be 3 mm If not the delay time parameter Electrode dedusting delay must be adjusted in the control system Fig 2 34 Idle position Check the idle position of the sliding rakes A screw is located on every sliding rake drive wheel which actuates the position switch for the idle position of the sliding rakes Fig 2 35 Screw fo...
Page 21: ...ng drive chain Check whether the position switch is actuated Fig 2 38 Position switch Check the drive chains and the position switches of both sliding rakes Check the chain tension The chain may sag by 1 2 cm without effort Tension the chain by shifting the motor Lubricate the drive chains with chain spray Fig 2 39 Drive chains of both sliding rakes Check whether both position switches are actuate...
Page 22: ...h the panel on the bottom Fig 2 42 Panel 2 6 4 Clean draught fan Clean the draught fan Unplug the power supply and remove the draught fan by removing the screws Fig 2 43 Draught fan Remove the ash from the fan housing on the precipita tor Fig 2 44 Clean the fan housing ...
Page 23: ...tant lubricant and reattach the draught fan to the fan housing Tighten the screws evenly The plug connection must point to the right when viewed from behind the precipitator 2 6 5 Clean temperature sensor Clean flue gas temperature sensor To clean loosen the screw and pull out the flue gas temperature sensor Clean the sensor with a soft cloth and then re install it When fixing the temperature sens...
Page 24: ... Check the function of the ash bin position switch It must be actuated when the ash bin is attached Fig 2 47 Position switch for the ash bin 2 6 7 Check safety switch Remove panel Remove the panel from the front Fig 2 48 Panel Check safety switch Check the function of the safety switch for the maintenance cover Fig 2 49 Safety switch ...
Page 25: ...N Avoid operation with damaged seals Never operate the precipitator with damaged seals Otherwise leak air is sucked in disturbing the combustion process and causing increased wear Always replace seals immediately when they are damaged Install panels Reattach the panel on the front Fig 2 51 Panel Re attach maintenance cover and panels Place the maintenance cover and tighten the screws evenly and cr...
Page 26: ... the panels Fig 2 53 Panels and insulating cover 2 6 8 Establish operational readiness Switch the boiler on via the mains switch and start de ashing Restore the boiler s power supply from the mains switch Start de ashing so that the boiler can perform de ashing Switch the boiler back on with the On Off switch ...
Page 27: ...Cleaning and maintenance Maintenance expert 27 ...
Page 28: ...Clean the piping between boiler and precipitator Clean the flue tube from the precipitator to the chimney Vacuum the internal flue gas ducts Clean flue gas recirculation if installed Clean the precipitator Check and remove ash accumulations Clean the flushing air opening Clean and inspect the electrode holder Check the alignment of the electrodes Check maintenance cover seal performed on _________...
Page 29: ...ping between boiler and precipitator Clean the flue tube from the precipitator to the chimney Vacuum the internal flue gas ducts Clean flue gas recirculation if installed Clean the precipitator Check and remove ash accumulations Clean the flushing air opening Clean and inspect the electrode holder Check the alignment of the electrodes Check maintenance cover seal performed on _____________________...
Page 30: ...an the precipitator Check and remove ash accumulations Clean the flushing air opening Clean and inspect the electrode holder Check the alignment of the electrodes Check maintenance cover seal Check idle position Check idle position of the electrode dedusting Check the idle position of both sliding rakes Check de ashing Check the drive chains and position switches of the electrode dedusting Check t...
Page 31: ...ping between boiler and precipitator Clean the flue tube from the precipitator to the chimney Vacuum the internal flue gas ducts Clean flue gas recirculation if installed Clean the precipitator Check and remove ash accumulations Clean the flushing air opening Clean and inspect the electrode holder Check the alignment of the electrodes Check maintenance cover seal performed on _____________________...
Page 32: ... the piping between boiler and precipitator Clean the flue tube from the precipitator to the chimney Vacuum the internal flue gas ducts Clean flue gas recirculation if installed Clean the precipitator Check and remove ash accumulations Clean the flushing air opening Clean and inspect the electrode holder Check the alignment of the electrodes Check maintenance cover seal performed on ______________...
Page 33: ...precipitator Check and remove ash accumulations Clean the flushing air opening Clean and inspect the electrode holder Check the alignment of the electrodes Check maintenance cover seal Check idle position Check idle position of the electrode dedusting Check the idle position of both sliding rakes Check de ashing Check the drive chains and position switches of the electrode dedusting Check the driv...
Page 34: ... the piping between boiler and precipitator Clean the flue tube from the precipitator to the chimney Vacuum the internal flue gas ducts Clean flue gas recirculation if installed Clean the precipitator Check and remove ash accumulations Clean the flushing air opening Clean and inspect the electrode holder Check the alignment of the electrodes Check maintenance cover seal performed on ______________...
Page 35: ...ping between boiler and precipitator Clean the flue tube from the precipitator to the chimney Vacuum the internal flue gas ducts Clean flue gas recirculation if installed Clean the precipitator Check and remove ash accumulations Clean the flushing air opening Clean and inspect the electrode holder Check the alignment of the electrodes Check maintenance cover seal performed on _____________________...
Page 36: ...an the precipitator Check and remove ash accumulations Clean the flushing air opening Clean and inspect the electrode holder Check the alignment of the electrodes Check maintenance cover seal Check idle position Check idle position of the electrode dedusting Check the idle position of both sliding rakes Check de ashing Check the drive chains and position switches of the electrode dedusting Check t...
Page 37: ...ping between boiler and precipitator Clean the flue tube from the precipitator to the chimney Vacuum the internal flue gas ducts Clean flue gas recirculation if installed Clean the precipitator Check and remove ash accumulations Clean the flushing air opening Clean and inspect the electrode holder Check the alignment of the electrodes Check maintenance cover seal performed on _____________________...
Page 38: ... the piping between boiler and precipitator Clean the flue tube from the precipitator to the chimney Vacuum the internal flue gas ducts Clean flue gas recirculation if installed Clean the precipitator Check and remove ash accumulations Clean the flushing air opening Clean and inspect the electrode holder Check the alignment of the electrodes Check maintenance cover seal performed on ______________...
Page 39: ... precipitator Check and remove ash accumulations Clean the flushing air opening Clean and inspect the electrode holder Check the alignment of the electrodes Check maintenance cover seal Check idle position Check idle position of the electrode dedusting Check the idle position of both sliding rakes Check de ashing Check the drive chains and position switches of the electrode dedusting Check the dri...
Page 40: ... the piping between boiler and precipitator Clean the flue tube from the precipitator to the chimney Vacuum the internal flue gas ducts Clean flue gas recirculation if installed Clean the precipitator Check and remove ash accumulations Clean the flushing air opening Clean and inspect the electrode holder Check the alignment of the electrodes Check maintenance cover seal performed on ______________...
Page 41: ...ping between boiler and precipitator Clean the flue tube from the precipitator to the chimney Vacuum the internal flue gas ducts Clean flue gas recirculation if installed Clean the precipitator Check and remove ash accumulations Clean the flushing air opening Clean and inspect the electrode holder Check the alignment of the electrodes Check maintenance cover seal performed on _____________________...
Page 42: ...ean the precipitator Check and remove ash accumulations Clean the flushing air opening Clean and inspect the electrode holder Check the alignment of the electrodes Check maintenance cover seal Check idle position Check idle position of the electrode dedusting Check the idle position of both sliding rakes Check de ashing Check the drive chains and position switches of the electrode dedusting Check ...
Page 43: ...ping between boiler and precipitator Clean the flue tube from the precipitator to the chimney Vacuum the internal flue gas ducts Clean flue gas recirculation if installed Clean the precipitator Check and remove ash accumulations Clean the flushing air opening Clean and inspect the electrode holder Check the alignment of the electrodes Check maintenance cover seal performed on _____________________...
Page 44: ... the piping between boiler and precipitator Clean the flue tube from the precipitator to the chimney Vacuum the internal flue gas ducts Clean flue gas recirculation if installed Clean the precipitator Check and remove ash accumulations Clean the flushing air opening Clean and inspect the electrode holder Check the alignment of the electrodes Check maintenance cover seal performed on ______________...
Page 45: ... precipitator Check and remove ash accumulations Clean the flushing air opening Clean and inspect the electrode holder Check the alignment of the electrodes Check maintenance cover seal Check idle position Check idle position of the electrode dedusting Check the idle position of both sliding rakes Check de ashing Check the drive chains and position switches of the electrode dedusting Check the dri...
Page 46: ... the piping between boiler and precipitator Clean the flue tube from the precipitator to the chimney Vacuum the internal flue gas ducts Clean flue gas recirculation if installed Clean the precipitator Check and remove ash accumulations Clean the flushing air opening Clean and inspect the electrode holder Check the alignment of the electrodes Check maintenance cover seal performed on ______________...
Page 47: ...ping between boiler and precipitator Clean the flue tube from the precipitator to the chimney Vacuum the internal flue gas ducts Clean flue gas recirculation if installed Clean the precipitator Check and remove ash accumulations Clean the flushing air opening Clean and inspect the electrode holder Check the alignment of the electrodes Check maintenance cover seal performed on _____________________...
Page 48: ...ean the precipitator Check and remove ash accumulations Clean the flushing air opening Clean and inspect the electrode holder Check the alignment of the electrodes Check maintenance cover seal Check idle position Check idle position of the electrode dedusting Check the idle position of both sliding rakes Check de ashing Check the drive chains and position switches of the electrode dedusting Check ...
Page 49: ......
Page 50: ...www eta co at ...
Page 51: ......
Page 52: ...www eta co at www eta co at downloads DOWNLOAD ...