


24
3. BASIC FUNCTIONS
In the main menu, tap on
„Radio“
.
3.1 RADIO (FM/AM)
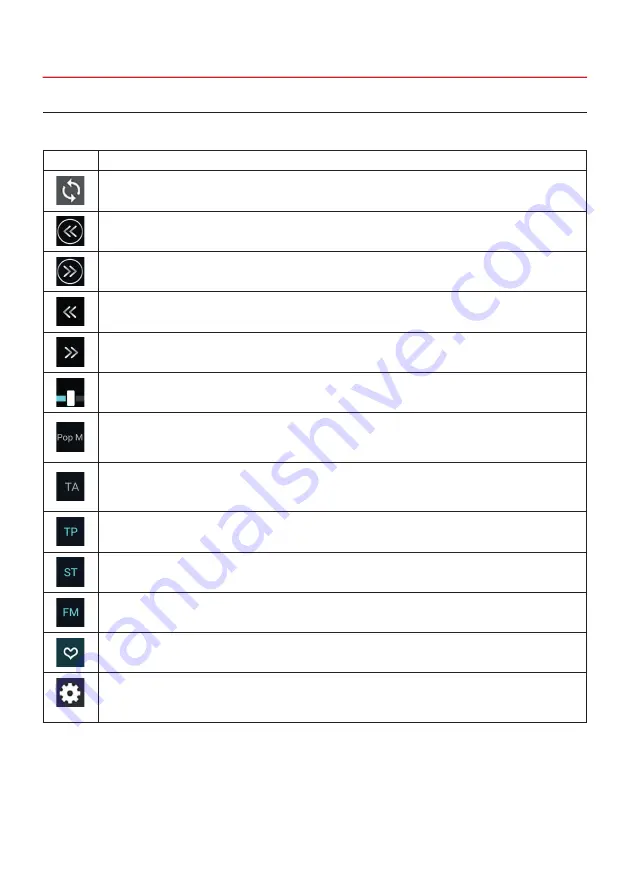
Symbol Function
Tap here to automatically search for all radio stations in the reception area.
Fine tuning of the radio frequency downwards.
Fine tuning of the radio frequency upwards.
Tap here to switch to the next station preset to the left.
Tap here to switch to the next station preset to the right.
With the controller below you can choose between the station presets directly
The PTY function is a classification of radio stations in different categories. Every
program on a radio station is categorized. After you have selected a category, the ESX
device automatically searches for suitable radio stations.
Tap TA to activate the TA function. This function enables the interruption of media play-
back (e.g. audio player) for traffic announcements. After the announcement, the previous
media playback starts again.
TP indicates the active traffic information of a radio station.
Tap here to switch between mono and stereo operation. With weak stations, the reception
quality usually improves in mono mode.
Tap here to switch between FM (ultra-short wave) and AM (long wave).
Tap on the heart icon in the box to mark the station as a favorite.
Tap on AF to activate the AF function. This function enables automatic switching when
leaving the reception area of a radio station. The ESX device automatically switches to
another frequency if the same program is also available in a different reception area.


