background image


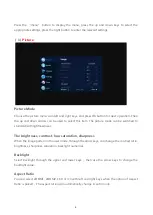
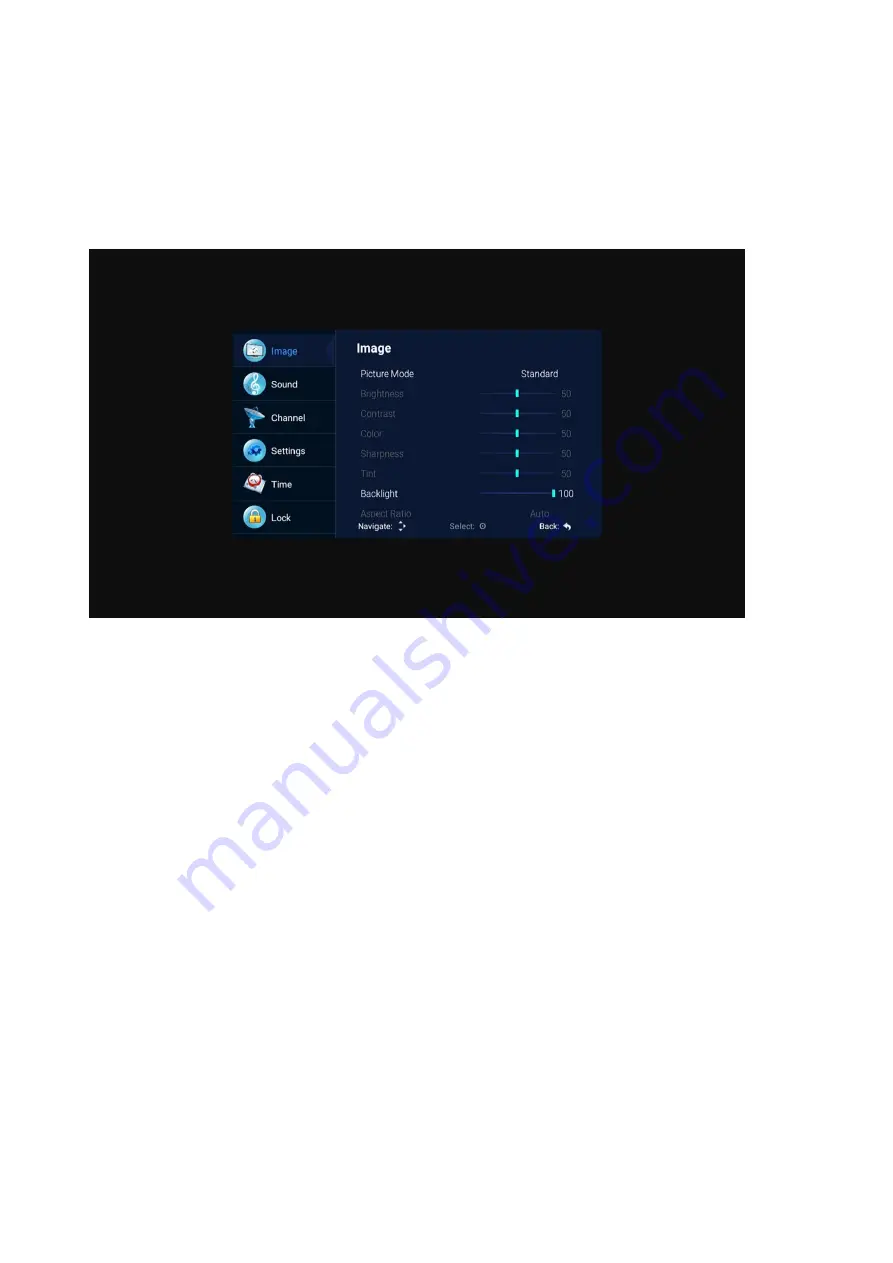
Press  the  “menu”  button  to  display  the  menu,  press  the  up  and  down  keys  to  select  the 
appropriate settings, press the right button to enter the relevant settings. 


(1)

Picture


Picture Mode 


Choose the picture menu with left and right keys, and press OK button for next operation. Then 
the up and down arrows can be used to select this item. The picture mode can be switched to 
standard/soft/lightness/user. 

The brightness, contrast, hue, saturation, sharpness 

When the image pattern in the user mode, through the arrow keys, can change the contrast ratio, 
brightness, sharpness, saturation, backlight numerical.     

Backlight 

Select  backlight  through  the  upper and  lower keys,  then  use  the arrow  keys  to  change  the 
backlight value. 

Aspect Ratio 

You can select ZOOM1, ZOOM2, 16:9 or 4:3 with left and right keys when the option of Aspect 
Ratio is picked.。The aspect ration will automatically change in auto mode. 

8

Summary of Contents for LEDTV40D5T2

Page 1: ...LED TV IMPORTANT Please read this manual carefully before installing and operating the TV Keep this manual handy for further reference USER MANUAL ...

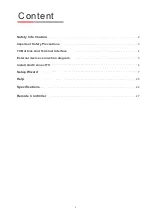
Page 2: ...lp Specifications Remote Controller Setup Wizard 6 Install And Connect TV 5 External device connection diagram 4 TV Buttons And Terminal Interface 3 Safety Information Important Safety Precautions 2 25 26 27 1 7 ...

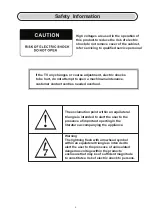
Page 3: ...r contact centres needed overhaul The exclamation point within an equilateral triangle is intended to alert the user to the presence of important operting in the literature accompanying the appliance Warning The lightning flash with arrowhead symbol within an equilateral triangle is inten ded to alert the user to the presence of uninsulated dangerous voltage within the products enclosure that may ...

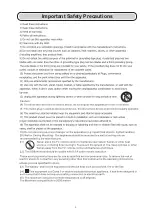
Page 4: ...Important Safety Precautions 3 ...

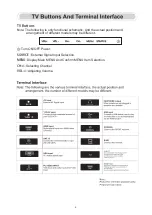
Page 5: ...Signal Input Selection MENU Display Main MENU And Confirm MENU Item Selection CH Selecting Channel VOL Adjusting Volume Note The following is only functional schematic And the actual position and arrangement of different models may be different 4 ...

Page 6: ...put connection VIDEO R L INPUT AV input connection AV output connection VIDEO R L INPUT Y Pb Pr INPUT Y Pb Pr input connection USB connection RJ45 connection AV input connection VGA input connection RJ45 TV connection External device connection diagram 5 ...

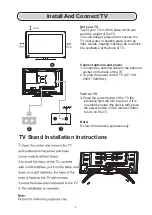
Page 7: ... ventilation at the back of TV Connect antenna and power 1 Connect the antenna cable to the antenna socket on the back of the TV 2 To plug the power cord of TV AC 100 240V 50 60Hz 1 3 Turn on TV 3 Press the power button of the TV the indication light will turn to green if it is on standby mode the light is red press the power button on the remote control to turn on the TV Note Picture for referenc...

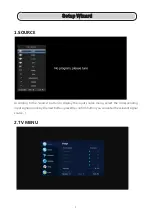
Page 8: ...rding to the source button to display the input source menu select the corresponding input signal source by the next button press the confirm button you can enter the relevant signal source 2 TV MENU Setup Wizard 7 ...

Page 9: ...e mode can be switched to standard soft lightness user The brightness contrast hue saturation sharpness When the image pattern in the user mode through the arrow keys can change the contrast ratio brightness sharpness saturation backlight numerical Backlight Select backlight through the upper and lower keys then use the arrow keys to change the backlight value Aspect Ratio You can select ZOOM1 ZOO...

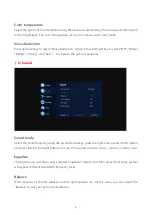
Page 10: ...o improve the picture sharpness 2 Sound Sound mode Select the sound menu by using the up and down keys press the right click sound mode option and press the left and right buttons to switch the sound mode to music movie motion user Equalizer Through the up and down keys selected equalizer option and then press the OK key system will appear different bandwidth frequency level Balance If the volumes...

Page 11: ...ic volume control function this method is also suitable for adjusting the surround sound SPDIF Mode This is used to select SPDIF Mode This option is only used in HDMI DTV mode 3 Channel DVB T Auto Search Select option of Auto Tuning under the up and down keys Then press OK button and the auto tuning will begin 10 ...

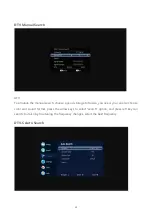
Page 12: ... choose a good storage to Taiwan you need you can also choose color and sound format press the arrow keys to select search option and press left key can search but also by fine tuning the frequency changes select the best frequency DTV S Auto Search 11 ...

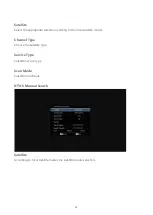
Page 13: ...e according to the local satellite model Channel Type Choose the Satellite type Service Type Satellite Service type Scan Mode Satellite Scan Mode DTV S Manual Search Satellite According to local satellite model the satellite model selection 12 ...

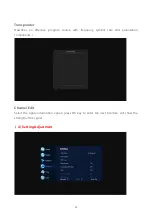
Page 14: ...fective program source with frequency symbol rate and polarization components Channel Edit Select the signal information option press OK key to enter the next interface will show the strength of the signal 4 Setting Adjustment 13 ...

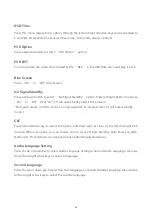
Page 15: ...uto standby after 10 minutes in No Signal states In VGA mode if no any operation 15 seconds later TV will enter standby mode CEC Press up and down key to select the option and then open or close by the left and right CEC function When cec opens you can choose to turn on or off Auto Standby Auto Power on ARC Device List TV shutdown cec devices will also automatically shut down Audio Language Settin...

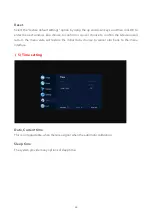
Page 16: ...se to confirm or cancel choose to confirm the television will restart the menu data will restore the initial data choose to cancel also back to the menu interface 5 Time setting Date Current time This is not adjustable when there is a signal when the automatic calibration Sleep time The system provide many options of sleep time 15 ...

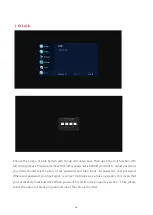
Page 17: ...f you want to adjust password you firstly should select option of set password and then input old password new password When new password you input again is correct and make sure above operation this mean that you successfully reset password When you want to shield some programs you don t like please select the option of block program and input the channel number 16 ...

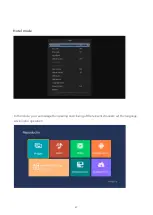
Page 18: ...In the mode you can manage the opening and closing of the relevant channels set the language screen ratio operation 17 Hotel mode ...

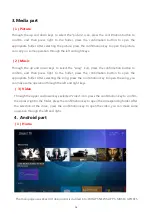
Page 19: ...e Through the up and down keys to select the picture icon press the confirmation button to confirm and then press right to the folder press the confirmation button to open the appropriate folder After selecting the picture press the confirmation key to open the picture can carry on some operation through the left and right keys 2 Music Through the up and down keys to select the song icon press the...

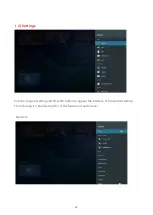
Page 20: ... 2 Settings Pick the image of setting and Press OK button to appear the interface of the android setting The following is a brief description of the function of each menu 19 Network ...

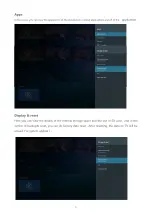
Page 21: ...the Wi Fi connection function there are 4 types of connection select focus and enter the password in the list of connections use without password protected connection manually add hot name to connect and point to point direct connection Sound Set key tone 20 ...

Page 22: ......

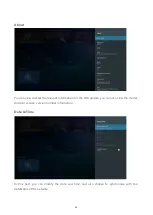
Page 23: ...elevant information for the OTA update you can also view the model Android version version number information Date Time In this part you can modify the date and time and also choose to synchronize with the date time of the network 22 ...

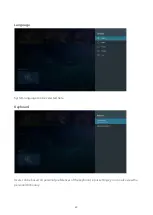
Page 24: ...Language System language can be selected here Keyboard Users can be based on personal preferences of the keyboard input settings you can also view the personal dictionary 23 ...

Page 25: ...function in the menu whether to allow the installation of unknown source program application program verification limit the application to access your account allowing Android device manager to lock device or erase the data on the device has been lost 24 ...

Page 26: ...25 ...

Page 27: ...26 ...

Page 28: ...27 ...

Page 29: ...28 ...

Reviews: