bc05d005
−
7
−
bc05d18e
NOTE!
If the rollers slip or wire feed is unsatisfactory in any other way it may be necessary
to adjust the tension. This can be done using the tensioning screw on the pressure
arm.
WARNING!
Rotating parts can cause injury, take great care.
6
OPERATION
General safety regulations for the handling of the equipment can be found on
page 3. Read through before you start using the equipment!
S
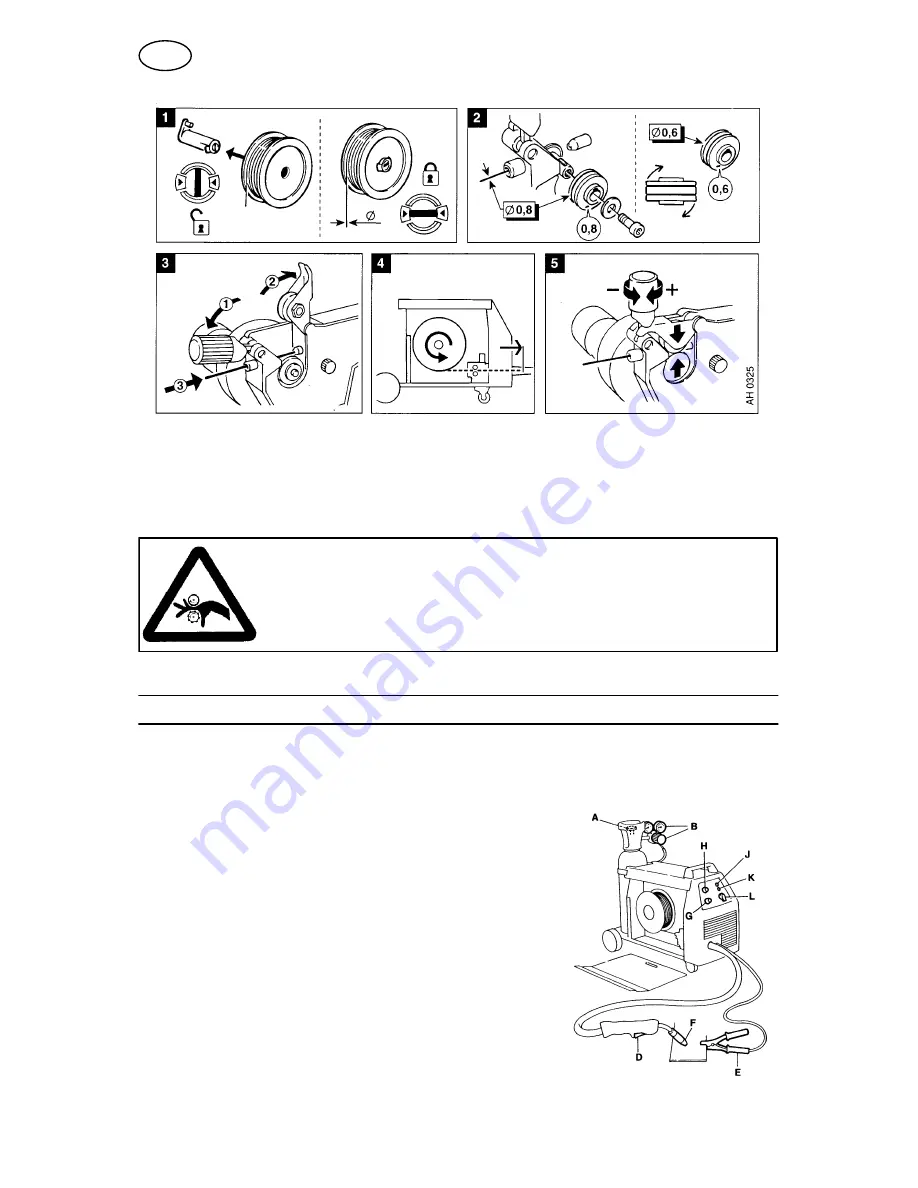
Connect the return cable (E) to the work piece.
S
When welding with solid wire, open the gas valve (A)
and adjust the gas flow with the reduction valve (B).
The flow should be between 8
−
12 l/min.
S
Switch on the power source using the knob (L).
The white indicator lamp (K) should light up.
S
Press the trigger (D) on the welding torch until wire
is fed out of the contact tip (F).
S
Select suitable welding settings using the
woltage selector knob (L) and the wire feed
knod (H) as indicated by the table on page 9.
S
Start welding and adjust the settings if necessary.
S
Indication lamp (J) light up if the Power source
becomes to hot.
GB
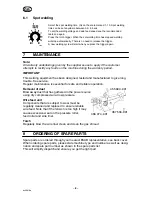
Summary of Contents for LKA 180
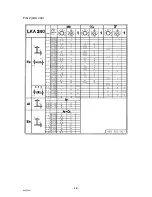
Page 9: ... 9 bc05t11a Selection table FIG 1 LKA 180 ...
Page 10: ... 10 bc05t11a FIG 2 LKA 240 ...
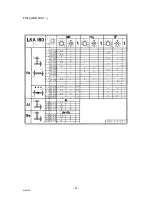
Page 11: ... 11 bc05t11a FIG 3 LKA 180 1 ...
Page 12: ...Diagram bc05e001 12 bc05e11a ...
Page 13: ... 13 bc05e11a ...
Page 14: ...bc05e005 14 bc05e11a ...
Page 15: ...bc05e003 15 bc05e11a ...
Page 16: ...bc05e004 16 bc05e11a ...
Page 17: ... 17 page ...
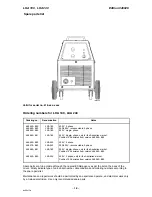
Page 20: ...LKA 180 LKA 240 Edition 040928 20 bc05s11a ...
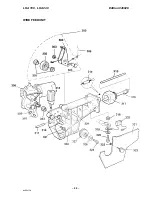
Page 22: ...LKA 180 LKA 240 Edition 040928 22 bc05s11a WIRE FEED UNIT ...


