Ergotron DM16-1004 Manual Download Page 8

8 of 11

ENGLISH

888-24-249-G-00 rev A • 01/13

NOTE: complete the Tablet Charging instructions explained on the previous pages
before starting the Syncing Instructions. iPad devices should be charged at least 
50% before starting the syncing process.

Power Indicator 

– communicates sync and charge status with the following signals

:

 Off  


      =     No power to the module.


On - solid 

      =     iPad devices are charging.


On - slow blink       =     Computer is plugged into auxillary USB outlet and iPad device


are ready to sync or are syncing. 


On - fast blink        =     Fault Status. Please make sure all cables are seated correctly


within cable drawer and cart is operating within specifi ed


operating temperature. Contact Ergotron Customer Support

    if 

problem 

continues.

The iPad devices will mount as USB devices when the included USB cable is connected to a host 
notebook via the USB port on the exterior of the module.

Apple iPad or iPod touch® devices will sync to a host notebook using iTunes®. If the Macintosh or 
PC notebook power is on, and  the notebook is running iTunes or Apple Confi gurator, the devices 
will sync to the notebook automatically when the USB cable is connected from the notebook to 
the USB port on the exterior of the module.

Please see included separate instructions for specifi c setup of iTunes and your Apple devices.
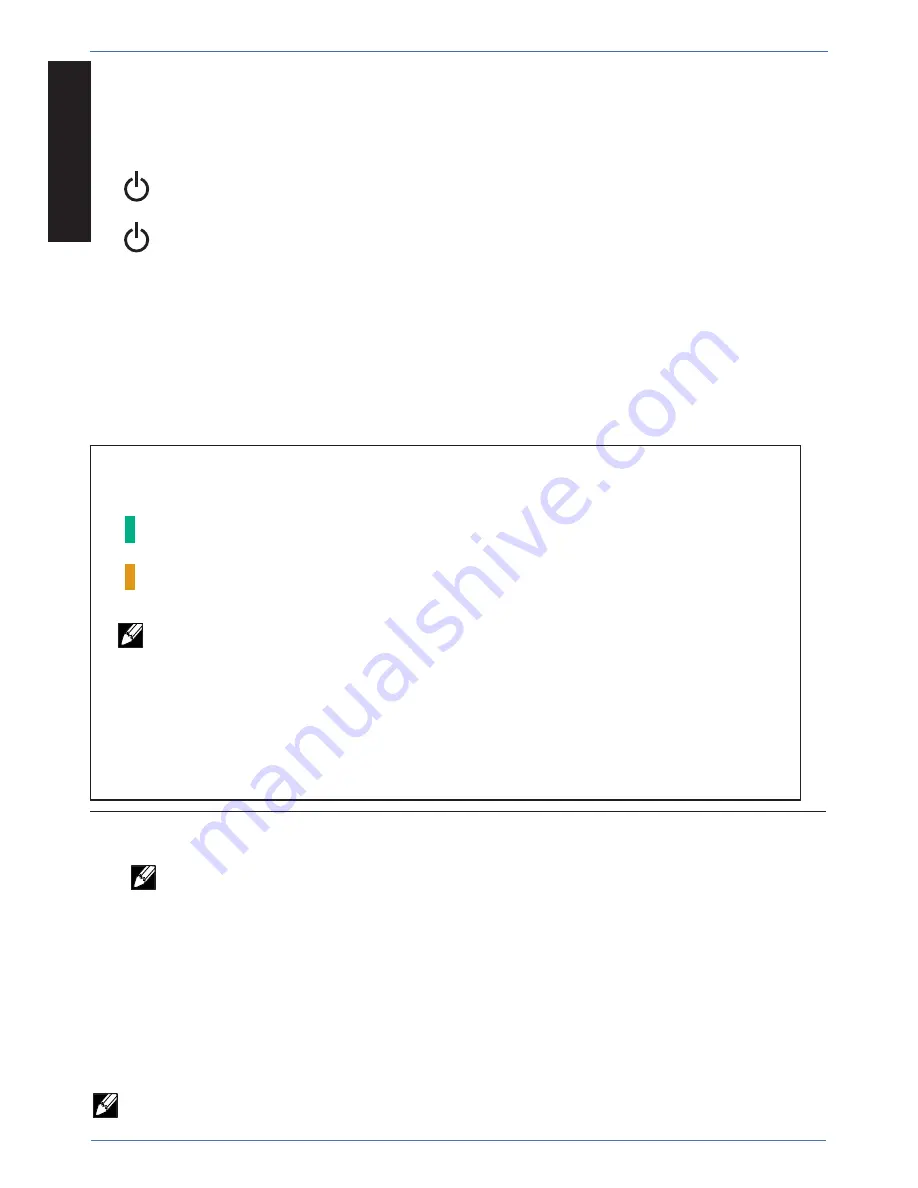
 LED - Indicators

Syncing

Optional Feature

Individual Status Indicators (ISI) 


sequentially numbered LEDs corresponding to each tablet in the module:


Green  =   Fully charged.


Amber  =   Charging in progress.

NOTE: if module is syncing all ISIs will be green.

1–16

1–16

When used with the iPad (1st generation) and iPad 2, the ISI lights will continue to stay lit showing 
the color green indefi nitely after the unit is completely charged. When used with an iPad mini, an 
iPad with Retina Display (4th generation), or an iPad 3 and iOS 6.0 or later, the ISI will stay lit for 
approximately 15 minutes after the unit is completely charged. At this time, the iPad will turn off  to 
conserve battery life, so the ISI will turn off  also.

Summary of Contents for DM16-1004

Page 1: ...ols Review 2 Components Tools 2 Features 2 Optional Security Mount 3 Charging Set up 4 LED and Syncing 8 Cleaning and Maintenance 9 Specifications 11 Service andWarranty Information 11 Apple iPad iPhone iPod iPod touch iTunes and Macintosh are trademarks of Apple Inc registered in the U S and other countries ...

Page 2: ...iately to Safety Alerts should not use the Module without adult supervision Symbol Signal Word Level of Hazard NOTE A NOTE indicates important information that helps you make better use of your Cart CAUTION A CAUTION indicates either potential damage to hardware or loss of data and tells you how to avoid the problem WARNING AWARNING indicates either potential for property damage personal injury or...

Page 3: ... and 17 3 44 mm apart Drill two mounting holes using a 0 266 OD drill bit Use the security wrench to insert provided M6 screws and washers Security Mounting Kit Option For mounting the Module to a work surface desktop countertop table etc 1 2 3 4 CAUTION mounting surface cannot exceed 1 25 4 mm thick 1 25 4mm Mounting Hole Mounting Hole Wall Wall Mounting Hole Mounting Hole 17 32 44 mm 11 417 29 m...

Page 4: ...Phillips screwdriver to remove the two screws located on the interior sides of the module save screws to reinsert later Charging Set up Partially slide out the module drawer You ll need to unplug two cables before sliding the drawer completely out Open the strap to access the two cables 1 2 3 NOTE the Module power cord acts as the connect disconnect device switching power off and on ...

Page 5: ...e top Line up a tablet USB cable along numbers 1 to 8 on the drawer as a way to measure out slack represented by dashed line Route the tablet USB cable through the slots to the back of the drawer maintaining the slack measured in previous step Charging Set up 4 5 6 Both the 30 pin and Lightning cable designs are compatible with the Tablet Management Desktop unit Please use the cable which is appro...

Page 6: ...24 249 G 00 rev A 01 13 Turn over the drawer Wrap the excess USB cable around the cable organizer Connect the USB cable to the corresponding USB port Repeat USB cabling steps 5 through 8 for the rest of the iPad devices going into this module Slide the drawer partially into the module Reconnect the USB and DC cables and wrap the straps around the cables Charging Set up 7 8 9 ...

Page 7: ...ted UNLESS a Macintosh or PC notebook USB cable is connected to the cart for syncing Tablet Syncing instructions begin on the next page NOTE the Module power cord acts as the connect disconnect device switching power off and on Slide the drawer completely into the module Insert the screws removed in step 2 and tighten Insert iPad devices into module Connect the tablet USB charging cables to the iP...

Page 8: ...ces will sync to a host notebook using iTunes If the Macintosh or PC notebook power is on and the notebook is running iTunes or Apple Configurator the devices will sync to the notebook automatically when the USB cable is connected from the notebook to the USB port on the exterior of the module Please see included separate instructions for specific setup of iTunes and your Apple devices LED Indicat...

Page 9: ...cables into the notebook Connect the notebook power cord to a wall outlet Switch on the notebook power to begin syncing Syncing 4 3 Connect the notebook USB cable to the port on the side of the module 1 2 Place your notebook power adaptor and a USB cable on the module work top ...

Page 10: ...ace the Module in close proximity to flammable liquids or gases Module Use Safety There are specific risks associated with the use of Module when moving or stationary for charging or storage You must be aware of and avoid these risks when the Module is located in close proximity to children WARNING Failure to observe the following Module Use Safety notices may result in serious personal injury or ...

Page 11: ... tablet weight up to 2 2 lb 1 kg LED status indicators ISI Optional feature Lights indicate power status and syncing activity 16 Unit Desktop Module 16 LED lights Cooling ventilation One 5 volt DC continuous operation fan in each module Shipping dimensions 21 2W x 18 6 D x 12 8 in H 53 8 x 47 3 x 32 5 cm Shipping weight 33 5 lb 15 0 kg Power System 100 240V 2 0A 50 60 Hz Environmental Temperature ...

Reviews: