


Placing Originals on the Product
Follow the instructions here to place your original documents or photos on the product.
Caution:
Do not place anything on top of your product or use its cover as a writing surface to avoid
damaging it.
Placing Originals on the Scanner Glass
Placing Originals in the Automatic Document Feeder
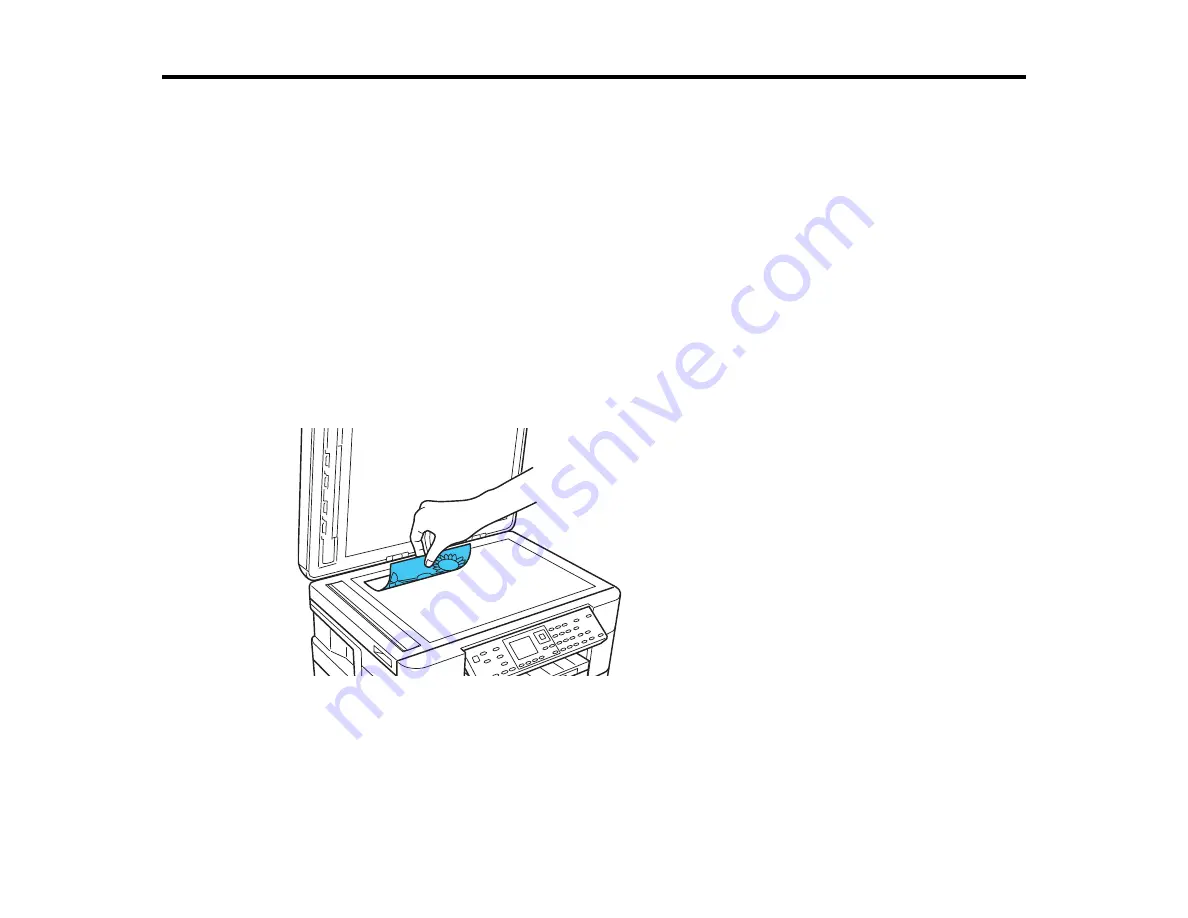
Placing Originals on the Scanner Glass
You can place originals up to this size on the scanner glass: 11.7 × 16.5 inches (297 × 420 mm)
1.
Open the document cover.
2.
Place your original facedown on the scanner glass with the top facing as shown. Slide the original to
the edges of the indicated corner.
Note:
You can place multiple originals on the scanner glass. Just make sure they are at least 0.2
inch (5 mm) away from each other.
3.
Close the document cover gently to keep your original in place.
Parent topic:
Placing Originals on the Product
53
Summary of Contents for WorkForce WF-7510
Page 1: ...WorkForce WF 7510 WF 7520 User s Guide ...
Page 2: ......
Page 29: ...4 Slide the edge guide shown below to your paper size 29 ...
Page 34: ...3 Slide the edge guides outward 4 Slide the edge guide shown below to your paper size 34 ...
Page 39: ...3 Slide the edge guides outward 4 Slide the edge guide shown below to your envelope size 39 ...
Page 57: ...Related topics Copying Scanning 57 ...
Page 131: ...131 ...
Page 171: ...You see this window 5 Select Fax Settings for Printer You see this window 171 ...
Page 237: ...Related topics Loading Paper 237 ...
Page 256: ...256 ...
Page 261: ...261 ...
Page 287: ...Caution Do not touch the flat white cable inside the printer 4 Lower the scanner unit 287 ...
Page 289: ...7 Open the rear cover and remove any additional jammed paper 289 ...
Page 296: ...5 Remove any jammed paper 296 ...
Page 297: ...6 Lower the document cover and close the ADF cover 7 Carefully remove the jammed paper 297 ...


