


6.
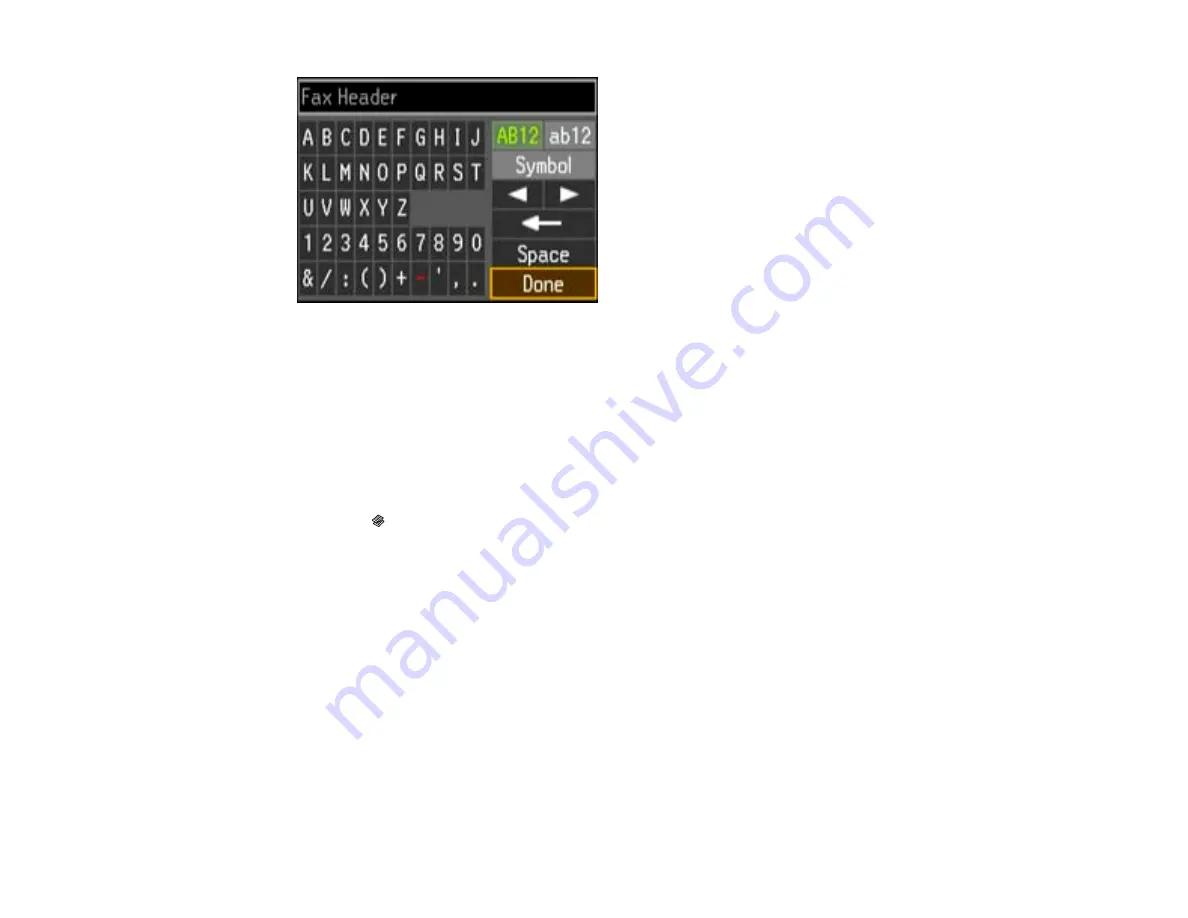
Use the keypad to enter the sender name for your fax source, such as your name or a business
name. You can enter up to 40 characters.
7.
Select
Done
and press the
OK
button to return to the Header menu.
8.
Select
Your Phone Number
and press the
OK
button.
9.
Use the numeric buttons on the control panel to enter your fax number, up to 20 characters. You do
not need to use dashes.
10. Press the
OK
button to return to the Header menu.
11. Press the
Copy
button to exit.
Parent topic:
Setting Up Fax Features Using the Product Control Panel
Related tasks
Entering Numbers and Characters for Faxing
Entering Numbers and Characters for Faxing
Follow these guidelines to enter numbers and characters for setting up your fax settings. You can use
the LCD keypad described here or the numeric buttons on the product control panel.
184
Summary of Contents for WorkForce Pro WP-4590
Page 1: ...WorkForce Pro WP 4590 User s Guide ...
Page 2: ......
Page 13: ...WorkForce Pro WP 4590 User s Guide Welcome to the WorkForce Pro WP 4590 User s Guide 13 ...
Page 25: ...4 Click Add a network wireless or Bluetooth printer You see a window like this 25 ...
Page 30: ...8 Click Next You see this window 30 ...
Page 36: ...4 Load a stack of paper printable side down in the cassette as shown 36 ...
Page 62: ...62 ...
Page 68: ...Parent topic Placing Originals on the Product 68 ...
Page 105: ...105 ...
Page 152: ...152 ...
Page 205: ...5 Select Fax Settings for Printer Select your product if prompted You see this window 205 ...
Page 206: ...6 Select Speed Dial Group Dial List You see this window 206 ...
Page 246: ...246 ...
Page 251: ...251 ...
Page 278: ...6 Lower the document cover 7 Raise the ADF input tray 8 Carefully remove the jammed pages 278 ...
Page 328: ...Parent topic Technical Specifications Related references PCL5 Mode Fonts PCL6 Mode Fonts 328 ...