251
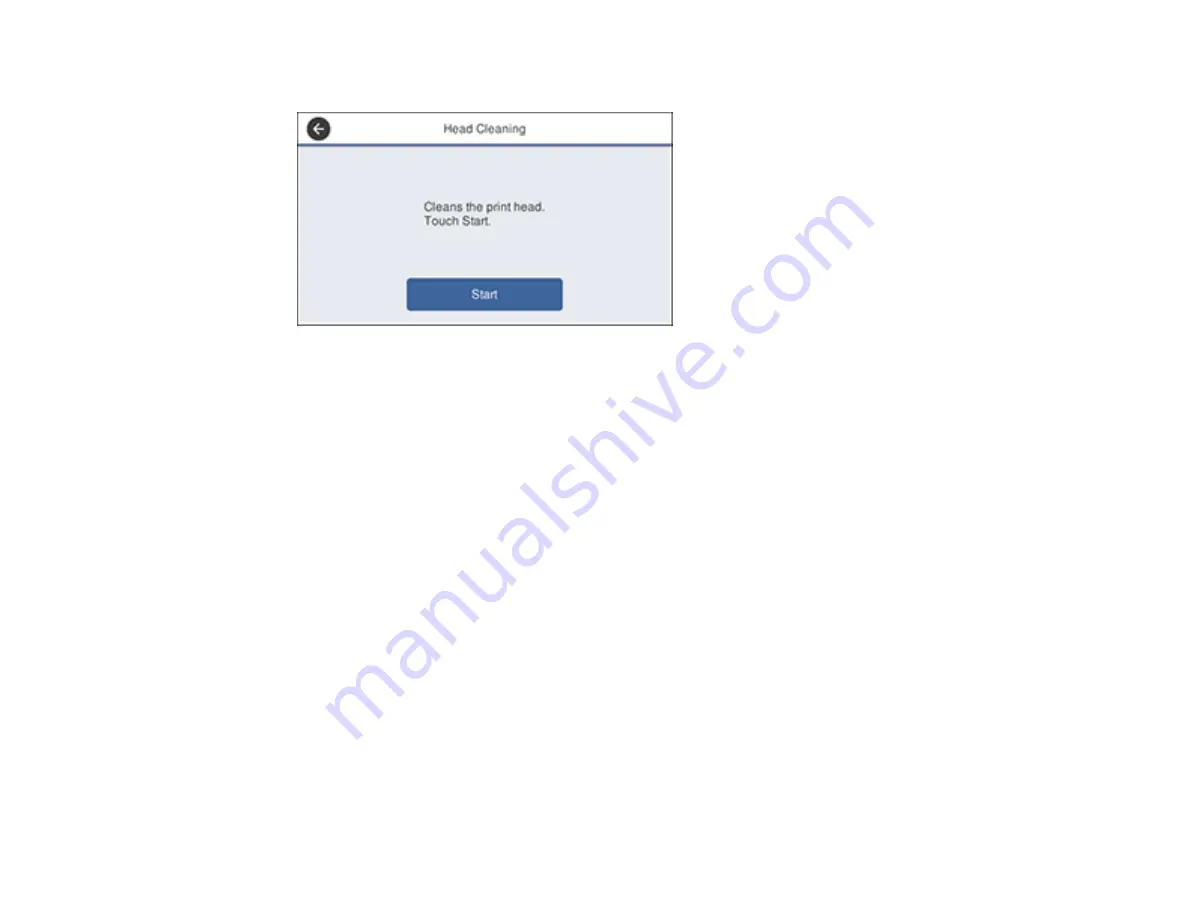
You see a screen like this:
6.
Select
Start
to clean the print head.
When the cleaning cycle is finished, you see a message on the screen.
Caution:
Never turn off the product or open the front cover during a cleaning cycle or you may not
be able to print.
7.
Select
Yes
.
8.
Select
Start
to print a nozzle check pattern and confirm that the print head is clean.
If you don’t see any improvement after cleaning the print head up to 4 times, wait at least 6 hours without
printing or longer if printing. Then try cleaning the print head again. If quality still does not improve,
contact Epson.
Parent topic:
Related tasks
Loading Paper for Documents in the Cassette
Cleaning the Print Head Using a Computer Utility
Cleaning the Print Head Using a Computer Utility
You can clean the print head using a utility on your Windows computer or Mac.
1.
Make sure there are no errors on the LCD screen.
2.
Load a few sheets of plain paper in the cassette (or in Cassette 1 if your product has two cassettes).
Summary of Contents for WF-7710 series
Page 1: ...WF 7710 WF 7720 User s Guide ...
Page 2: ......
Page 67: ...67 3 Slide the edge guides outward 4 Slide the edge guide to your paper size ...
Page 76: ...76 3 Open the rear paper feed slot and push it back 4 Slide out the edge guides ...
Page 94: ...94 4 Slide the ADF edge guide against the originals but not too tightly ...
Page 152: ...152 You see an Epson Scan 2 window like this ...
Page 154: ...154 You see an Epson Scan 2 window like this ...
Page 156: ...156 1 Start Epson Scan 2 You see this window ...
Page 167: ...167 DSL connection 1 Telephone wall jack 2 DSL filter 3 DSL modem ...
Page 168: ...168 ISDN connection 1 ISDN wall jack 2 Terminal adapter or ISDN router ...
Page 248: ...248 You see a window like this 5 Click Print ...
Page 286: ...286 Front 6 Open the duplexer ...
Page 287: ...287 7 Carefully remove any jammed paper stuck inside 8 Reinstall the duplexer ...


