2.
If you see a message telling you that you can temporarily print with only black ink, click the
Delete
or
button to cancel your print job. If you see an error message, click
OK
.
Note:
If the message screen appears on another computer on a network, you may need to cancel
the print job using the product control panel.
3.
In the Apple menu or the Dock, select
System Preferences
.
4.
Select
Print & Fax
,
Print & Scan
, or
Printers & Scanners
, select your product, and select
Options
& Supplies
.
5.
Select
Driver
or
Options
.
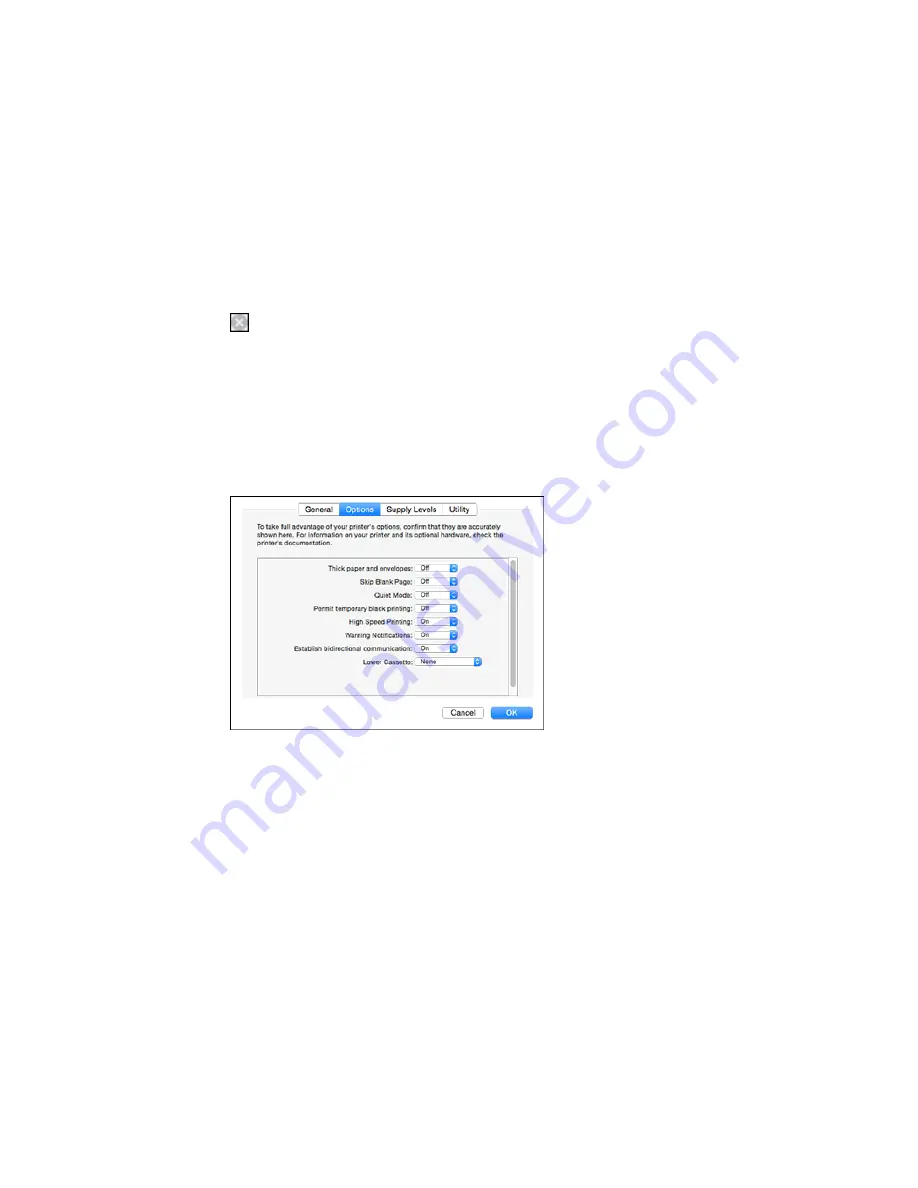
You see a screen like this:
6.
Select
On
as the
Permit temporary black printing
setting.
7.
Click
OK
.
8.
Close the utility window.
9.
Load plain paper or an envelope in your product.
10. Access the print settings in your print application.
11. Select
Print Settings
from the pop-up menu.
12. Select
Plain Paper/Bright White Paper
or
Envelope
as the paper type setting.
168


