


23
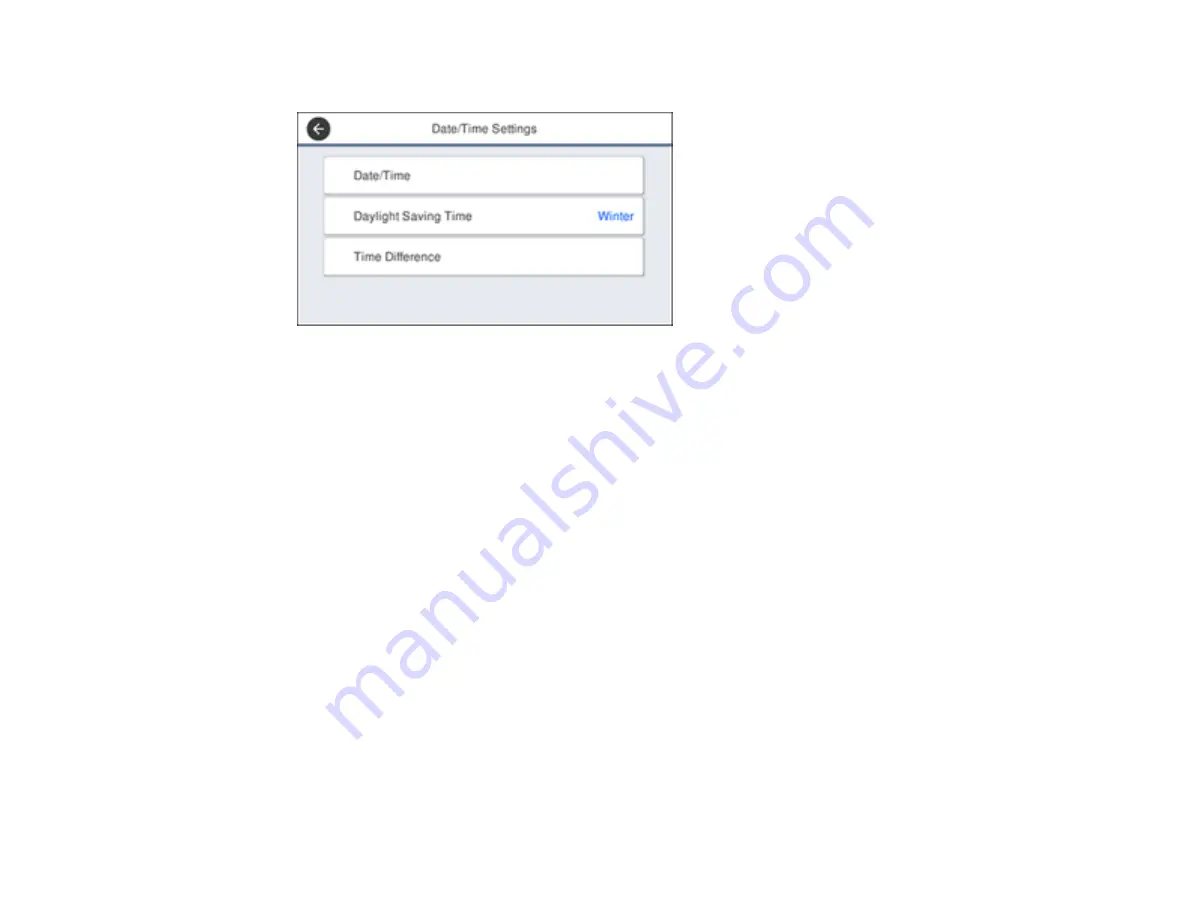
You see a screen like this:
6.
Select
Daylight Saving Time
.
7.
Select the setting that applies to your area:
•
Winter
: it is winter or your region does not use Daylight Saving Time (DST)
•
Summer
: it is spring or summer and your region uses Daylight Saving Time (DST)
Note:
If your region uses Daylight Saving Time (DST), you must change this setting to match the
season. When you change from
Winter
to
Summer
, your product automatically sets its clock ahead
one hour. When you change from
Summer
to
Winter
, it sets its clock back one hour.
8.
Select
Date/Time
.
9.
Select the date format you want to use.
10. Use the numeric keypad to enter the current date.
11. Select the time format you want to use.
12. Use the numeric keypad to enter the current time.
Parent topic:
Selecting Your Country or Region
Before using your product, select the country or region in which you are using your product.
Summary of Contents for WF-4820 Series
Page 1: ...WF 4820 WF 4830 Series User s Guide ...
Page 2: ......
Page 14: ......
Page 34: ...34 Product Parts Inside 1 Document cover 2 Scanner glass 3 Control panel ...
Page 49: ...49 Related topics Wi Fi or Wired Networking ...
Page 97: ...97 1 Open the document cover ...
Page 160: ...160 3 Select Scan You see a screen like this 4 Select Computer You see a screen like this ...
Page 176: ...176 You see an Epson Scan 2 window like this ...
Page 178: ...178 You see an Epson Scan 2 window like this ...
Page 192: ...192 You see a screen like this 2 Click the Save Settings tab ...
Page 197: ...197 You see this window ...
Page 251: ...251 Parent topic Printing Fax Reports ...
Page 293: ...293 Related tasks Loading Paper in the Cassette ...
Page 295: ...295 5 Open the document cover ...
Page 297: ...297 8 Open the ADF cover ...
Page 324: ...324 3 Open the ADF cover 4 Carefully remove any jammed pages ...


