4
Enter a test project name and click
OK.
5
Open the
Tools menu and select Robot Manager.
6
When the control panel appears, click
Reset to clear the
emergency stop condition.
7
Make sure no one is standing near the robot, then select
MOTOR ON and select Yes to continue.
The light on the end of the J3 axis turns on.
Warning:
When the J3 axis light is on, the robot can move at any
time. To prevent injury, keep away from the robot before turning
on the motor and whenever the light is on.
8
Click the
icon to open the Command Window.
9
In the Command Window, enter the following command:
>PULSE 0,0,0,0,0,0
10
Press
Return and close the Command Window.
The robot moves to the zero position.
11
Select the
Jog & Teach tab (1) and click the Continuous
radio button (2).
12
Click one of the directional arrows to move the robot in
the indicated direction.
13
When you finish testing, close the control panel window
and select
File > Exit to exit the Epson RC+ 7.0 software.
The robot is now ready to program and use. See the online
Epson RC
+ 7.0 User’s Guide to get started with programming.
Where to Get Help
For technical support, do one of the following:
• Visit
www.epsonrobots.com/customer-service anytime.
• Call 1-866-ROBOTS1 (1-866-762-6781, U.S. only, toll free) or
1-562-290-5900 (U.S. and elsewhere, toll or long distance
charges may apply), 6
am
to 4:30
pm
, Pacific Time, Monday
through Friday.
Training
To help you get the most from your Epson product, Epson
offers programming, maintenance, and vision classes. Visit
www.epsonrobots.com/training for more information.
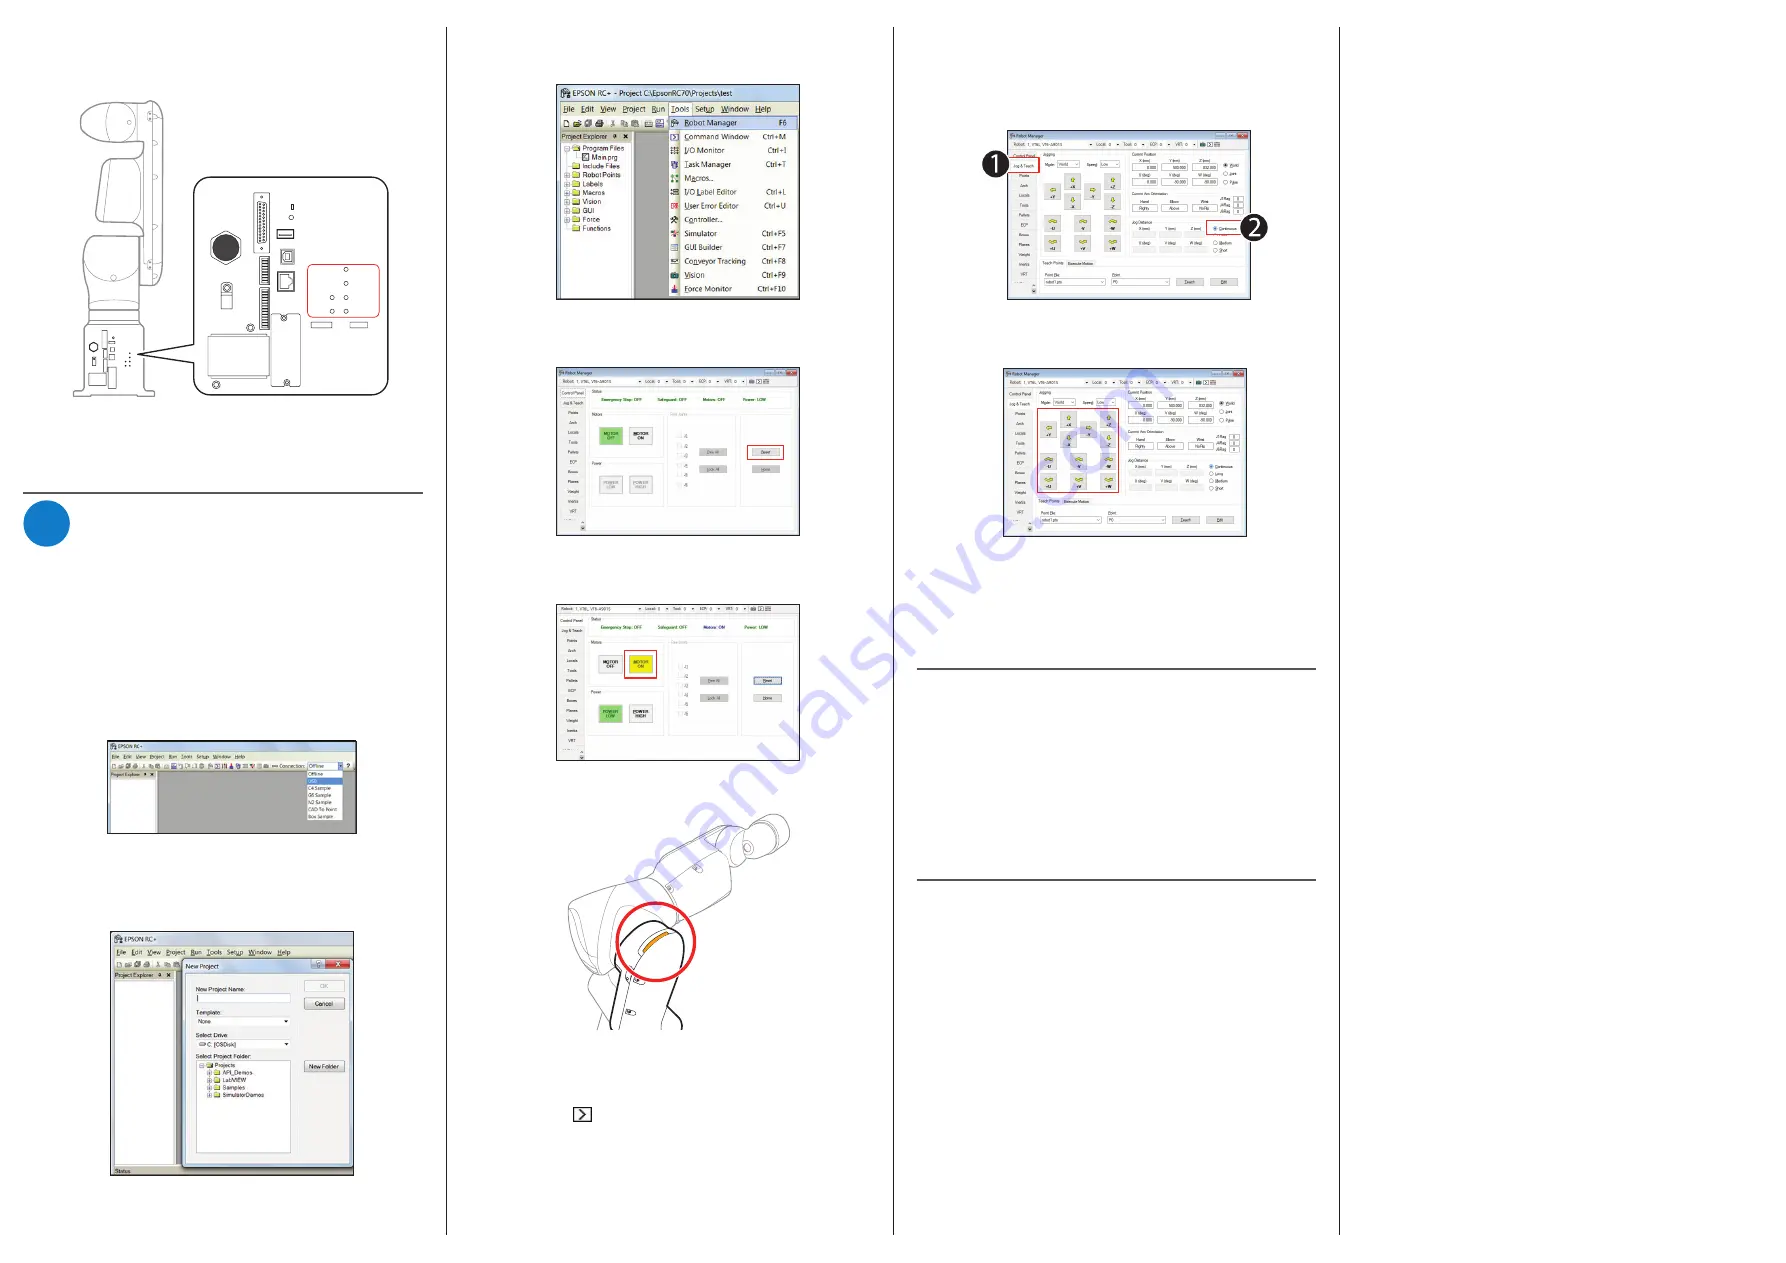
2
Plug the robot’s power cable into a power outlet.
The lights on the back of the robot flash for about 30
seconds as the robot initializes.
EMERGENCY
POWER
TP
Bypass
Plug
RESET
MEMORY
PROGRAM
AUTO
TEACH
TEST
MODE
PC
LAN
ESTOP
ERROR
STATUS
I/O-OUT
I/O-IN
OPTION
AC100V-240V
Initialization is finished when just the
AUTO and
PROGRAM lights flash alternately in a steady pattern.
6
Testing the Robot
Now you can create a test project and test the robot using the
Epson RC+ 7.0 software.
Note:
See the online Epson Safety and Installation Manual for details
on using the Epson RC+ 7.0 software.
1
On your computer, double-click the
EPSON RC+ 7.0 icon
on your Windows desktop to start the Epson RC+ 7.0
software.
2
In the
Connection list, select USB.
The robot’s
PROGRAM light starts flashing.
3
Open the
Project menu and select New to create a test
project.
EPSON is a registered trademark and EPSON Exceed Your Vision is a registered logomark of
Seiko Epson Corporation.
Windows is a registered trademark of Microsoft Corporation in the United States and/or other
countries.
General Notice: Other product names used herein are for identification purposes only and may
be trademarks of their respective owners. Epson disclaims any and all rights in those marks.
This information is subject to change without notice.
© 2019 Epson America, Inc., 4/19
Printed in U.S.A.
CPD-57301


