


2-10
Setting up the Printer with Your Macintosh
R4C5980
Rev. C
A5 size
MAC.FM
7/12/01
Pass 3
L
Proof Sign-off:
DAI A. Kobayashi T. Morita
K. Nishi
DAI K. Ramsey
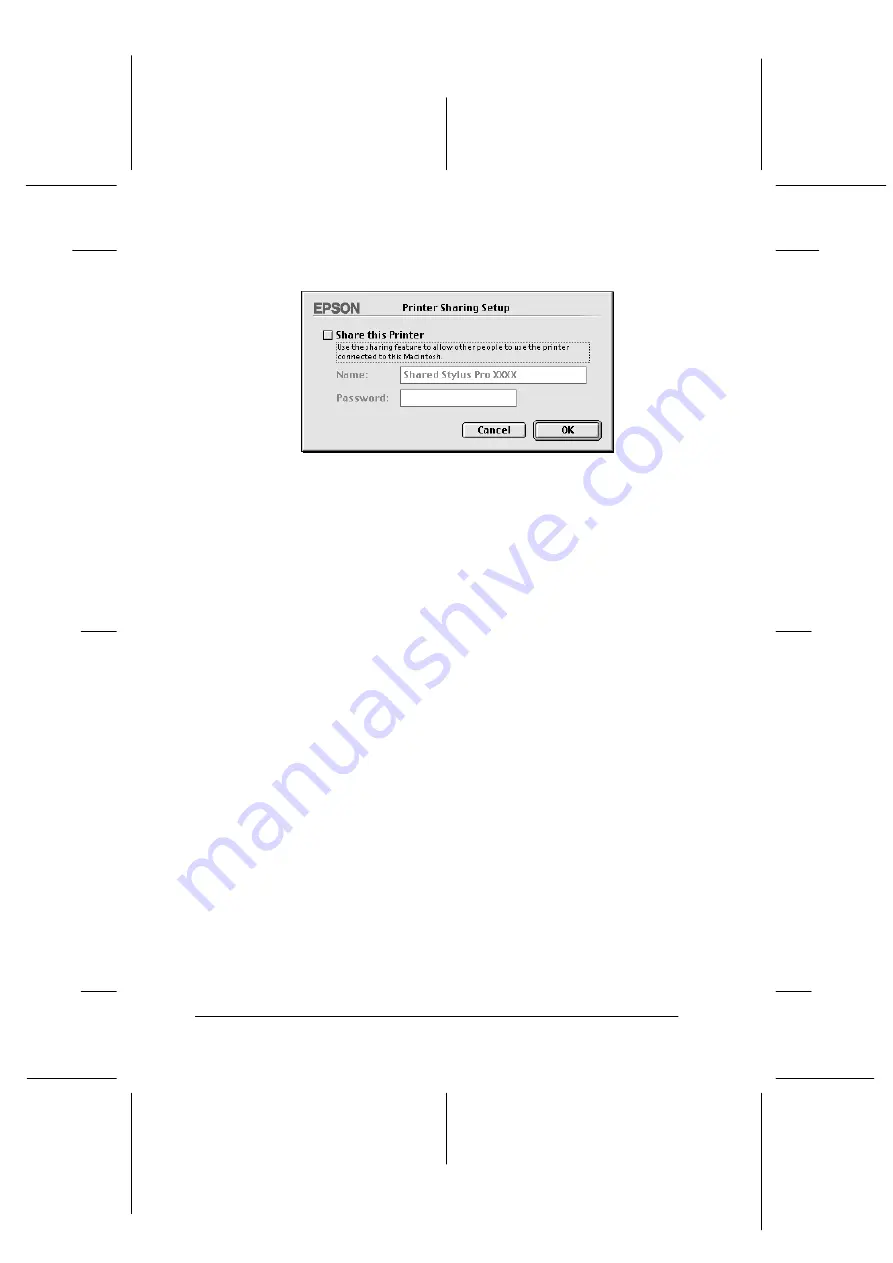
3. Click the
Setup
button. The following dialog box appears.
4. Select the
Share this Printer
check box, then type the printer
name and password information as needed.
5. Click
OK
. The name of the shared printer appears in the port
list in the Chooser.
6. Close the Chooser.
Accessing the printer through a network
To access your printer from another computer on the network,
follow these steps.
1. Turn on your printer.


