


15
R4C475
short.bk
Rev_C
A5 size
SOFTW.FM
2/15/00
Pass 3
R
Proof Sign-off:
M.Hida
_______
N.Nomoto
_______
editor name
_______
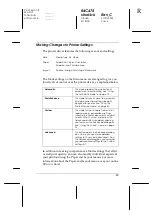
Making Changes to Printer Settings
The printer driver features the following menus and settings.
The Mode settings on the Main menu are arranged to give you
four levels of control over the printer driver, as explained below.
In addition to making comprehensive Mode settings that affect
overall print quality, you can also modify individual aspects of
your printout using the Paper and Layout menus. For more
information about the Paper and Layout menus, see your online
Reference Guide
.
Main:
Media Type, Ink, Mode
Paper:
Paper Size, Copies, Orientation,
Paper Source, Printable Area
Layout:
Reduce/Enlarge, Multi-Page, Watermark
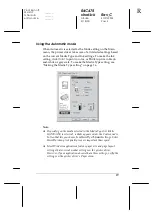
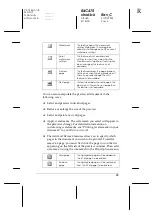
Automatic
This mode provides the quickest and
easiest way to start printing. See “Using
the Automatic mode” on page 19.
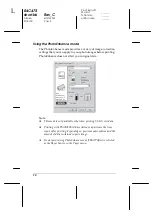
PhotoEnhance
This mode lets you choose from a variety
of image-correction settings specially
designed for photos. See “Using the
PhotoEnhance mode” on page 20.
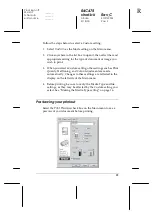
Custom
This mode lets you choose from a list of
ready-made or personalized settings
suited to the kind of document you want
to print. When Custom is selected, the
Advanced button is enabled, allowing
you to access the Advanced dialog box.
See “Using the Custom mode” on page
22.
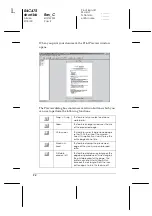
Advanced
This button opens the Advanced dialog
box, where you can make detailed
settings to fit your individual needs. From
the Advanced dialog box, you can add
your personalized settings to the Custom
Settings list.