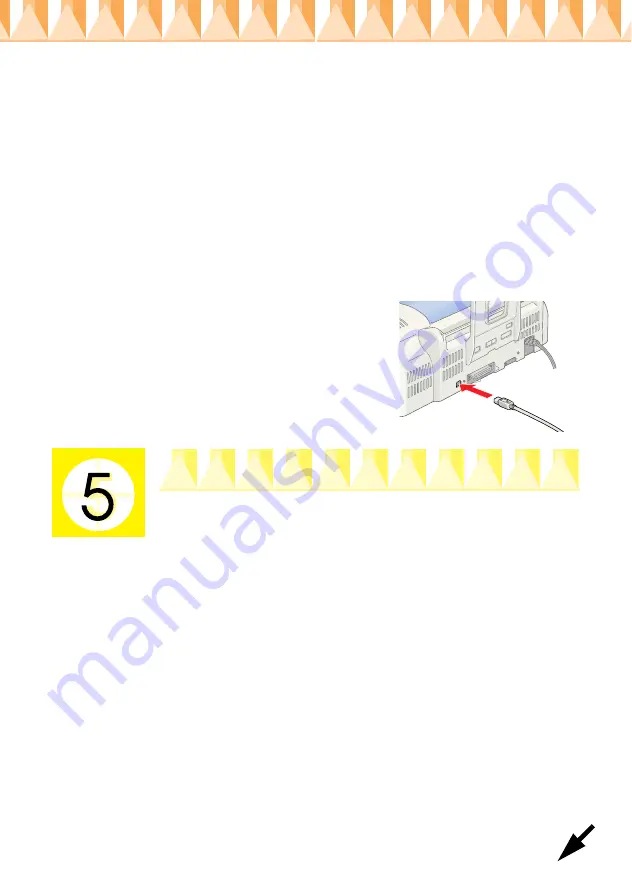
Using a USB interface for Windows and Macintosh
users
To connect the printer to a USB port, you need a standard shielded USB
cable. Follow these steps.
Note:
❏
For best results, you should connect the printer directly to the computer’s
USB port. If you must use multiple USB hubs, we recommend that you
connect the printer to the first tier hub.
❏
If your computer has more than one USB port, you may plug the cable in
wherever is convenient.
1. Make sure that both the printer and the computer are turned off.
2. Plug the appropriate end of the cable
into the USB port on the back of the
printer. (The end that fits the printer
has a different shape from the end that
fits the computer.)
3. Connect the other end of the cable to the
computer’s USB port.
Installing the Printer Software
After connecting the printer to your computer, you need to install the
software included on the “Printer Software for EPSON Stylus PHOTO
790” CD-ROM shipped with your printer.
Your printer software includes:
❏
Printer driver and utilities
The printer driver runs, or “drives,” your printer; use it to make
settings such as print quality, speed, media type, and paper size. The
Nozzle Check, Head Cleaning, and Print Head Alignment utilities
help you keep your printer in top operating condition. EPSON
Status Monitor 3 (for Windows) or EPSON StatusMonitor (for
Macintosh) notifies you of printer errors and displays printer status
information such as the amount of ink remaining. The Status
Monitor also guides you through the ink cartridge replacement
process.
Summary of Contents for Stylus Photo 790
Page 1: ...4013104 00 xxx ...


