D
Follow the on-screen instructions. When using
the media in the Auto Take-up Reel Unit, press
Feed to Take-up Position
.
See the following for information on loading
media in the Auto Take-up Reel Unit.
U
“Using the Auto Take-up Reel Unit” on
Press
Complete
if you are not using the Auto
Take-up Reel Unit.
After a while, the message
Ready to print.
is
displayed on the screen and you can start
printing. Transmit the data to be printed from
the computer.
Using the Auto Take-up
Reel Unit
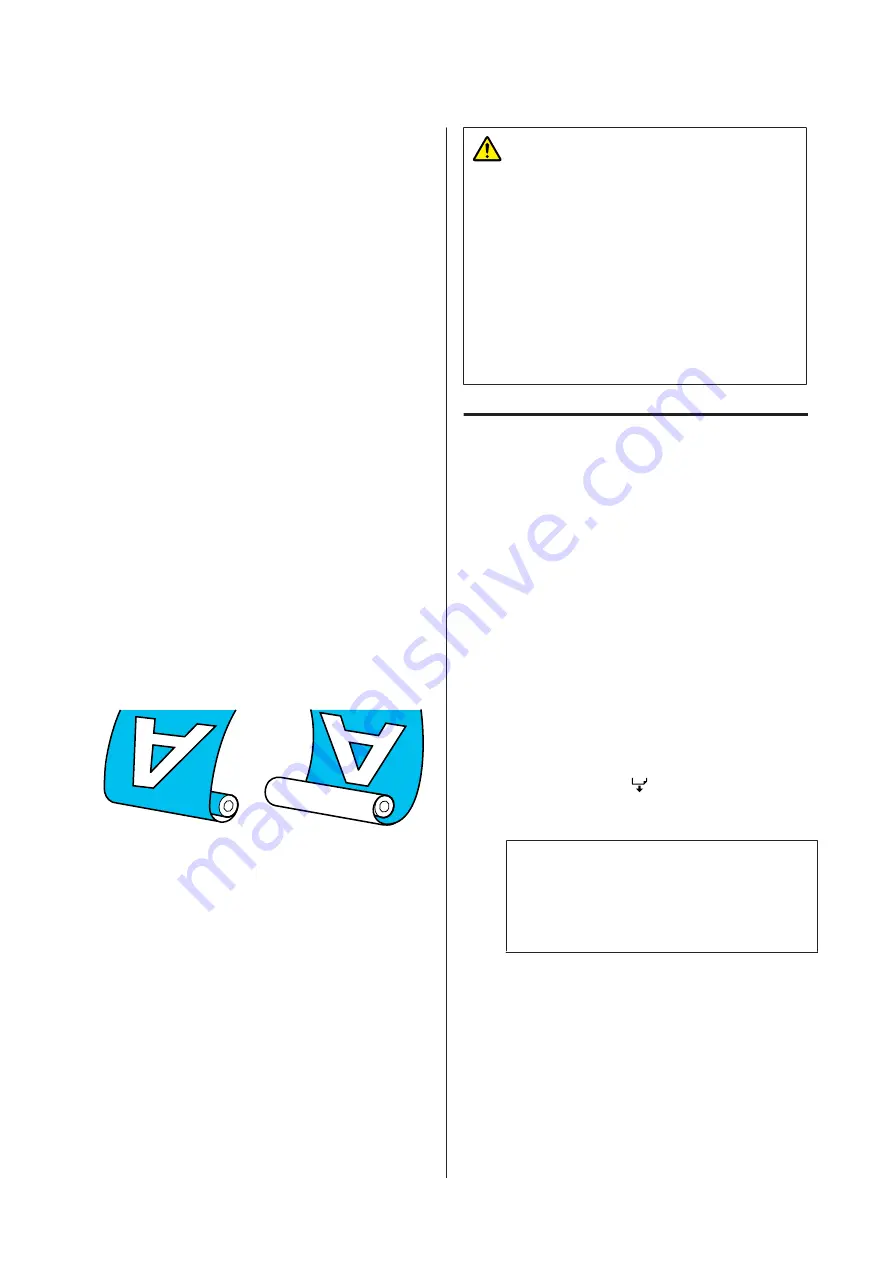
The Auto Take-up Reel Unit automatically takes up
media as it is printed, improving the efficiency of
unmanned operation.
The Auto Take-up Reel Unit for this printer can take
up media in either of the following directions.
Printed side out
Printed side in
Taking-up with printed side out places the printed
surface on the outside of the roll.
Taking-up with printed side in places the printed
surface on the inside of the roll.
You can check the procedure in a video on YouTube.
Caution:
❏
Follow the instructions in the manual when
loading media or roll cores or removing
media from the take-up roll.
Dropping media, roll cores, or take-up rolls
could result in injury.
❏
Be sure that your hands or hair do not get
caught in the Media Feeding Unit or Auto
Take-up Reel Unit while it is operating.
Failure to observe this precaution could result
in injury.
Attaching the Roll Core
Prepare a roll core that is longer than the width of
the media to be wound.
This allows the media to be taken up without
protruding from the core.
A
Feed the media to the sticking position.
When performing operations after loading
the media
Follow the on-screen instructions. Press
Feed
to Take-up Position
to feed the media to the
sticking position.
When performing something other than the
above
Press and hold the
button on the control
panel to feed the media to the media holder
position.
c
Important:
Do not pull the media by hand. If the media
is pulled by hand, the media may twist
during take-up.
SC-R5000 Series/SC-R5000L Series User's Guide
Basic Operations
55


