


D
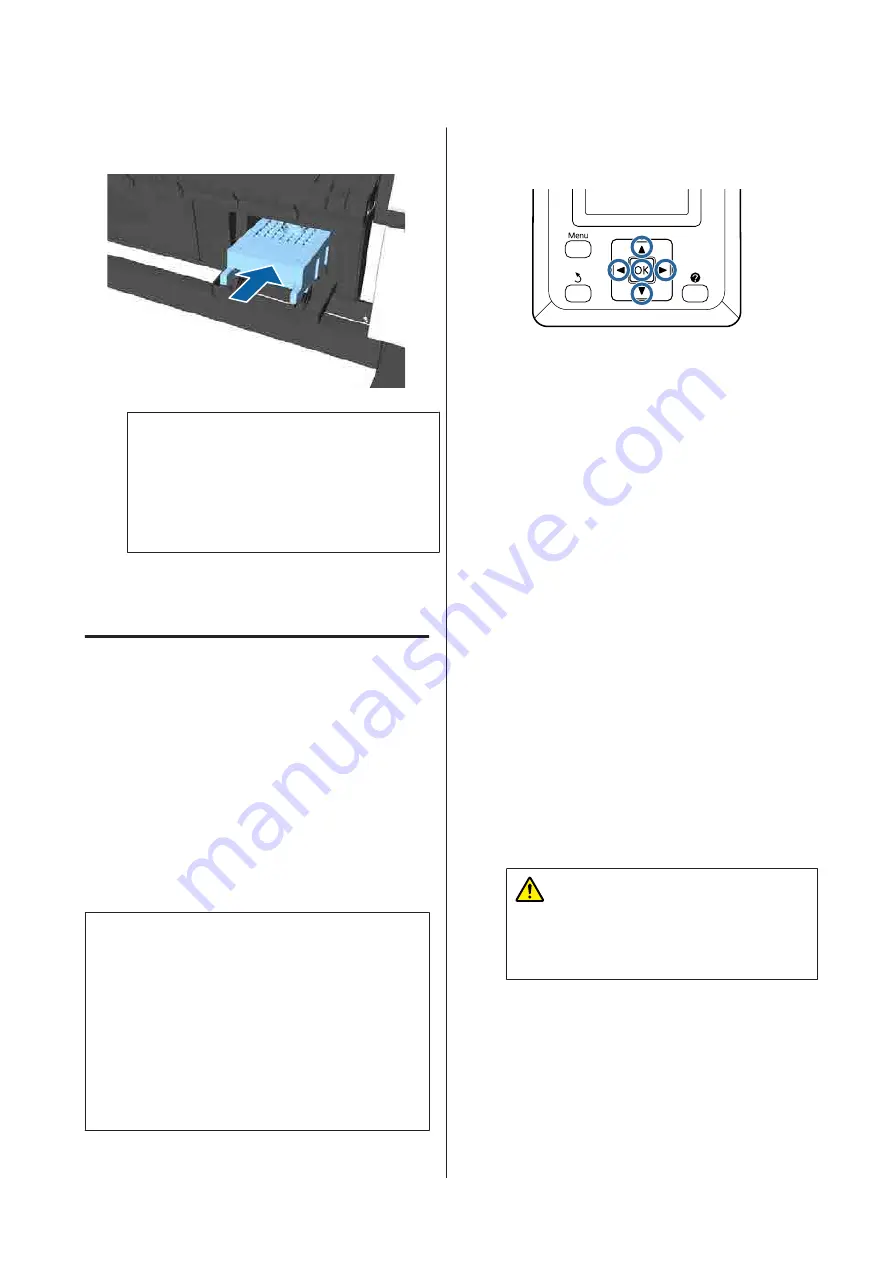
Install the new maintenance box.
c
Important:
Do not touch the IC chip on the maintenance
box.
Doing so may prevent normal operation and
printing.
E
Close the maintenance box cover.
Replacing the Cutter
Replace the cutter when it is not cutting paper cleanly.
Supported cutter
U
“Options and Consumable Products” on
Use a cross-head screwdriver to replace the cutter.
Make sure you have a cross-head screwdriver with
you before you start work.
c
Important:
❏
The inserted material is to protect the blade.
Do not remove the material while replacing
the cutter. When the material automatically
detaches itself from the cutter after
replacement, remove it from the printer.
❏
Take care not to damage the cutter blade.
Dropping it or knocking it against hard
objects may chip the blade.
Buttons that are used in the following settings
A
Remove any paper from the printer.
U
“Removing Roll Paper” on page 37
U
“Removing Cut Sheets” on page 40
U
“Removing Poster Board” on page 43
B
Press the
l
/
r
buttons to highlight
-
and press
the
Z
button.
The Maintenance menu will be displayed.
C
Press the
d
/
u
buttons to select
Cutter
Maintenance
, and then press the
Z
button.
D
Press the
d
/
u
buttons to highlight
Replace
Cutter
and press the
Z
button.
E
If a message is displayed, press the
Z
button.
The cutter will move to the replacement position.
F
Remove the old cutter from the printer.
Loosen the screw holding the cutter in place
using a cross-head screwdriver and pull the
cutter straight out.
Caution:
Store the cutter out of reach of children. The
cutter's blade could cause an injury. Pay
careful attention when replacing the cutter.
SC-P20000 Series/SC-P10000 Series User's Guide
Maintenance
153


