Automatically Correcting Photos
21
Automatically Correcting Photos
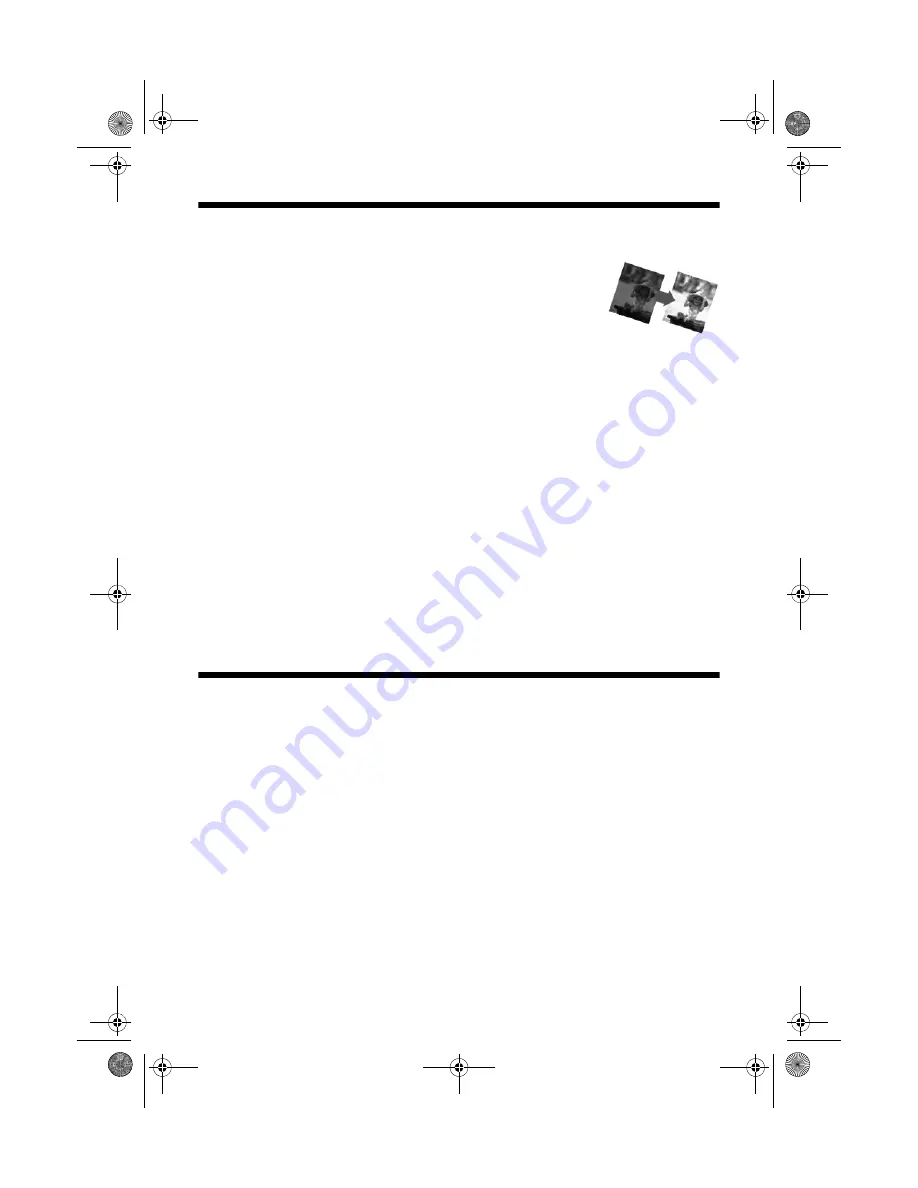
Your RX680 Series automatically analyzes your photos, and,
if necessary, adjusts the brightness, contrast, and saturation.
Auto Photo Correction (also called PhotoEnhance) is
enabled by default.
To preview the correction on the display screen:
1. Follow the instructions on page 20 to view your photos. You see
Preview
Auto Correct
in the lower left corner of the screen.
If the words
Preview Auto Correct
are orange, Auto Photo Correction will
significantly improve your photo. If the words are white, the correction will be
more subtle.
2. Press
d
. After a moment, the corrected image appears.
3. Press
d
again to return to the original view.
Note:
Auto Photo Correction (like other print settings) affects only your printed photos. It does
not change your original image files. Print settings are applied to all photos until you turn
off the settings. To return all settings to their defaults, press
y
Stop/Clear Settings,
then press
OK.
Printing Custom Photo Greeting Cards
You can create custom greeting cards using photos on your memory card or a USB
flash drive, and add your own handwritten or printed text. First you select a
photo, select settings for your cards, and print a greeting card template on plain
paper (for either a 4 × 6-inch card or three cards on one letter-size sheet). Then
you fill out the template, add your message, and print your cards.
Printing the Template
1. Load several sheets of letter-size, plain paper in the front paper cassette. (Use
only letter-size paper to print the template.)
2. Insert your memory card (see page 160) or USB flash drive (see page 19).
3. Press the
Specialty Print
mode
button.
sprx680_qg.book Page 21 Wednesday, June 6, 2007 8:40 AM


