


Using the Remote Control
47
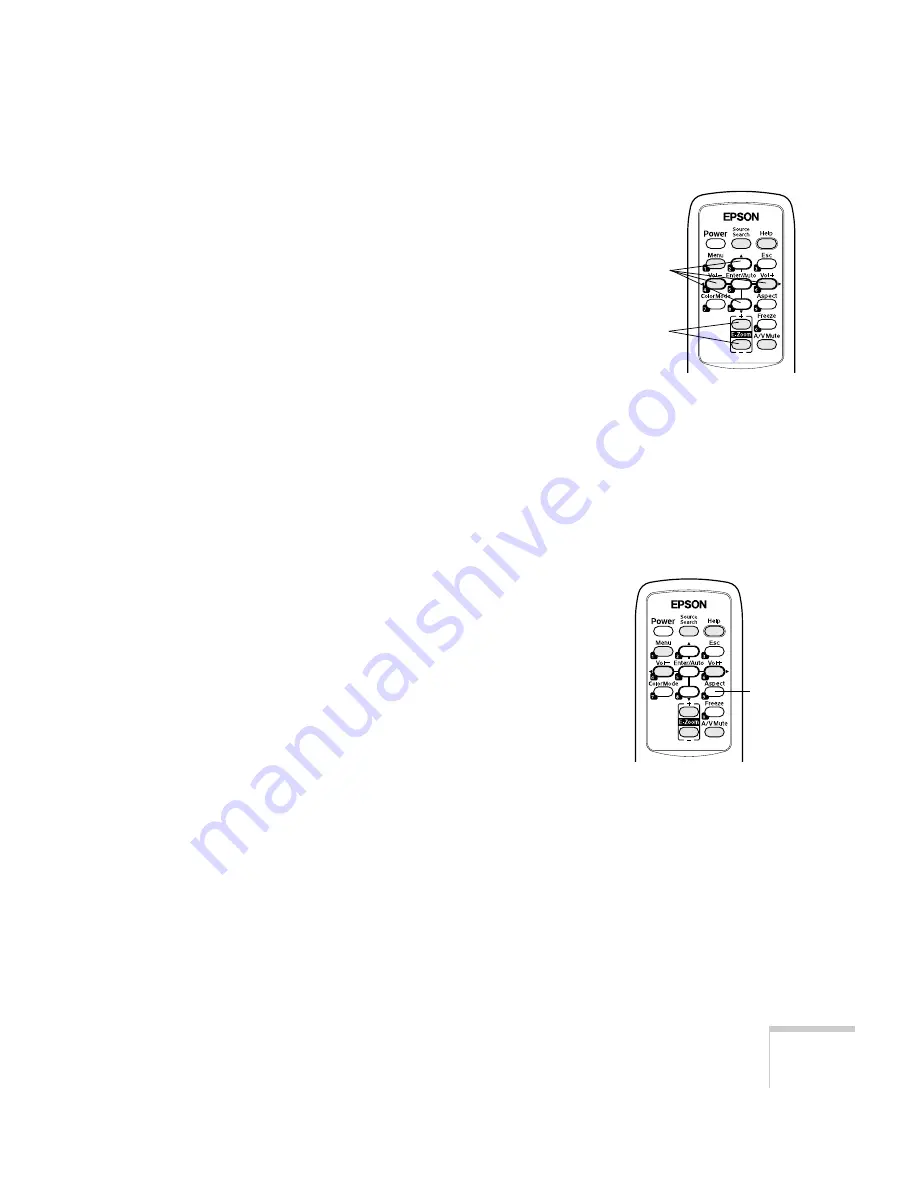
Zooming Your Image
Follow these steps to zoom in on a portion of the image:
1. Press the
E-Zoom +
button on the remote control.
You see a crosshair indicating the center of the zoom-in area.
2. Use the four “arrow” buttons on the remote control to position
the crosshair in the area you want to enlarge.
3. Continue pressing the
E-Zoom +
button to enlarge the selected
area up to 4 times.
4. While the image is enlarged, you can:
■
Use the arrow buttons to pan about.
■
Press the
E-Zoom –
button to zoom out.
5. When you’re done, press the
E
SC
button to return to the original
size.
Changing the Image’s Aspect Ratio
If you’re projecting a widescreen format image, you can use the
Aspect
button on the remote control to change the aspect (width to
height) ratio from
4:3
.
You can change video images to
16:9
(widescreen format), or
16:9
(Up)
or
16:9 (Down)
(to accommodate subtitles or supertitles).
You can change computer images to
16:9
(widescreen format) or
Normal.
Press the
Aspect
button again to cycle through the available options.
You can also change the aspect ratio using the projector’s Signal
menu. See page 54 for details.
E-Zoom
buttons
Arrow
buttons
Aspect
button
Summary of Contents for POWERLITE 83V+
Page 1: ...PowerLite 83V Multimedia Projector User sGuide ...
Page 14: ...14 Welcome ...
Page 32: ...32 Setting Up the Projector ...
Page 96: ...96 Technical Specifications ...
Page 100: ...100 Notices ...
Page 106: ......


