Note:
The projector converts the digital audio signal sent from your video source into a mono analog
signal for the internal speaker.
Parent topic:
Connecting to Video Sources
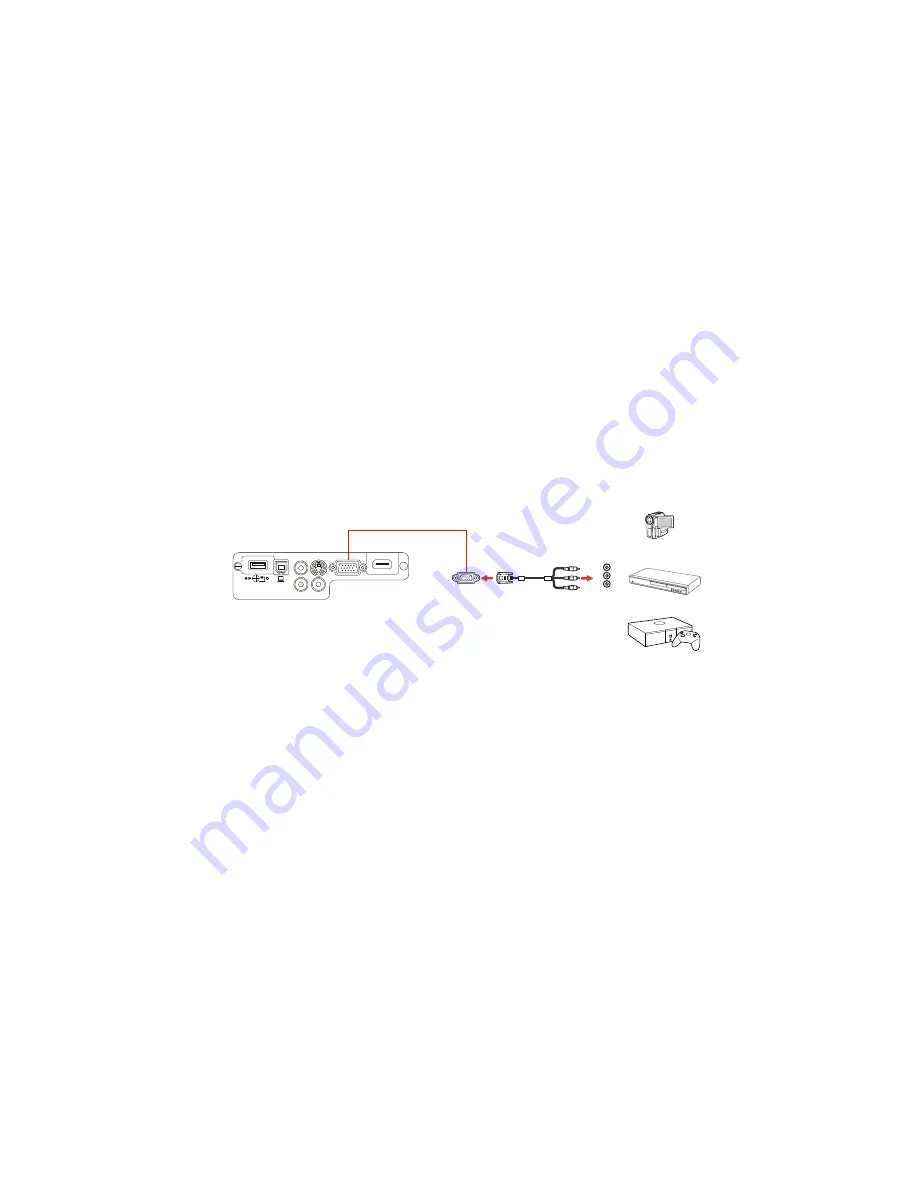
Connecting to a Component-to-VGA Video Source
If your video source has component video ports, you can connect it to the projector using an optional
component-to-VGA video cable. Depending on your component ports, you may need to use an adapter
cable along with a component video cable.
1.
Connect the component connectors to your video source's color-coded component video output
ports, usually labeled
Y
,
Pb
,
Pr
or
Y
,
Cb
,
Cr
. If you are using an adapter, connect these connectors
to your component video cable.
2.
Connect the VGA connector to a
Computer
port on the projector.
3.
Tighten the screws on the VGA connector.
If your image colors appear incorrect, you may need to change the
Input Signal
setting in the projector's
Signal menu.
Note:
If you connected a game console, it may take a few seconds for your image to appear when you
switch to the game console's input source. To reduce the potential lag in response time to game
commands, set your game console's output format to a progressive signal of 480p, 720p, or higher. See
your game console documentation for instructions.
Parent topic:
Connecting to Video Sources
Related references
Optional Equipment and Replacement Parts
31
Summary of Contents for PowerLite 1263
Page 1: ...PowerLite 1263W User s Guide ...
Page 2: ......
Page 9: ...PowerLite 1263W User s Guide Welcome to the PowerLite 1263W User s Guide 9 ...
Page 20: ...Related references Projector Light Status Projector Parts Remote Control 20 ...
Page 38: ...1 Open the battery cover 2 Insert the batteries with the and ends facing as shown 38 ...
Page 113: ...Parent topic Copying Menu Settings Between Projectors 113 ...
Page 225: ...Copyright Attribution 2014 Epson America Inc 8 14 CPD 41312 Parent topic Copyright Notice 225 ...


