


Maintaining PictureMate
67
R4CF95P
SHORT.bk
Rev. D
CHECK.FM
A5 size
2/15/05
R
Proof Sign-off:
H. Yamasaki CRE Nakano
M. Otsuka
editor name
En
glish
3.
Press
or
to select
Maintenance
, then press
.
4.
Press
or
to select
Clean Print Head
, then
press .
5.
Confirm the messages on the LCD panel, then
press
OK
to start head cleaning.
Cleaning takes several seconds, during which the
message
Print head cleaning is in progress.
Please wait.
appears on the screen.
6.
When cleaning is complete, you see a message
asking if you want to print a nozzle check pattern.
If you want to check to see if the nozzles are clean,
press
OK
and load a sheet of photo paper, then
press
to print the nozzle check.
If you don’t want to print a nozzle check, press
Back
to go back to the Maintenance Menu.
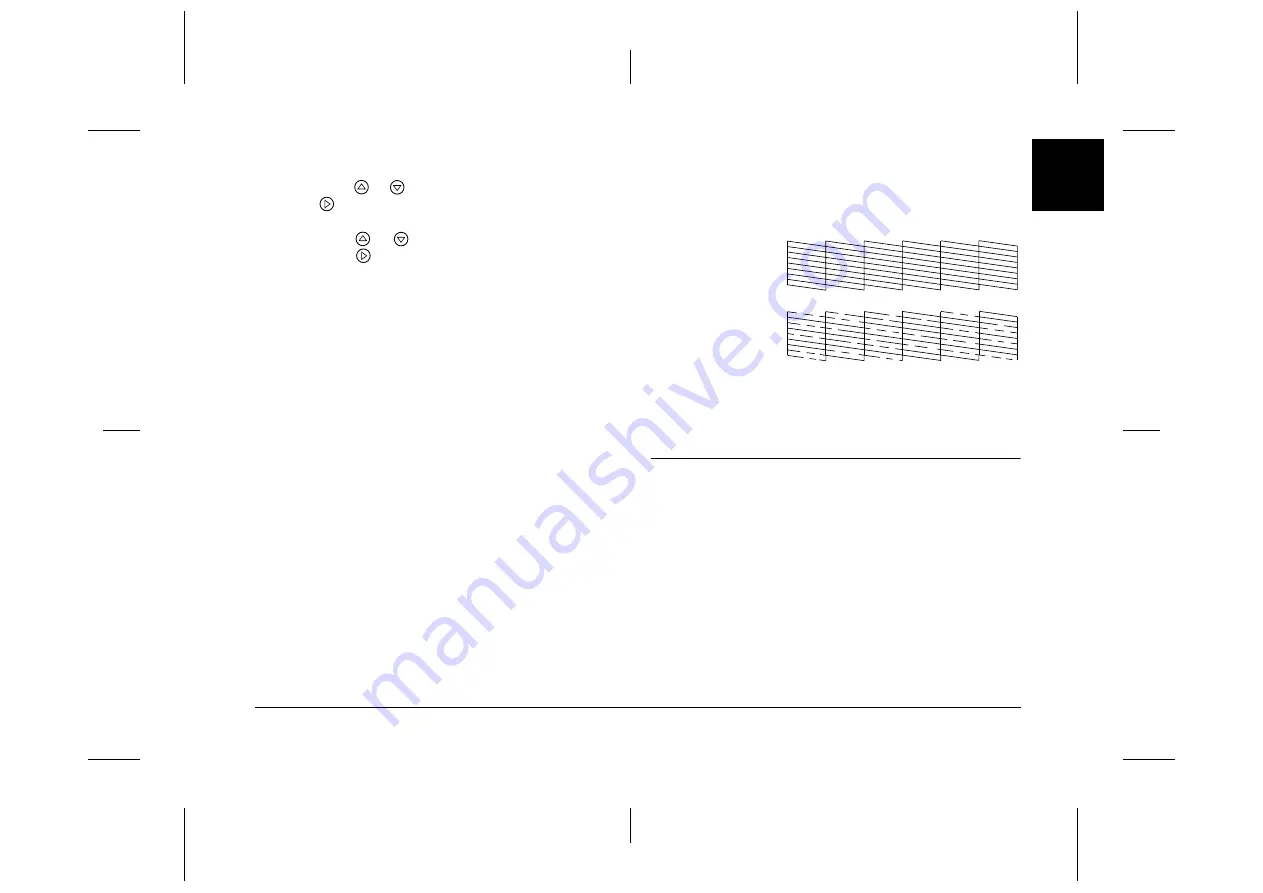
7.
Check the pattern to see if there are any gaps in
the lines.
8.
If there are gaps, press
OK
to clean the print head
again. If there are no gaps, press
Back
to go back
to the Maintenance Menu.
Aligning the Print Head
If you have moved PictureMate and print quality is
not as good as it was before—for example, you see
misaligned vertical lines or light or dark horizontal
banding—you may need to align the print head.
1.
Make sure that the printer is turned on and no
warnings or errors are displayed on the LCD
panel.
Okay
Needs Cleaning


