Note:
To view red, green, and blue levels at particular points in your preview image as you make
adjustments, click the
densitometer icon in the Preview window and move your cursor over
an image area. See Epson Scan Help for details.
Certain settings may not be available, or may be automatically selected, depending on the type of
image you are previewing and other settings you have selected.
You can customize how certain Epson Scan settings behave by clicking
Configuration
and
changing settings in the window that appears. See Epson Scan Help for details.
To undo any image quality adjustments you make to the preview image, click
Reset
if available,
turn off the setting, or preview your image again.
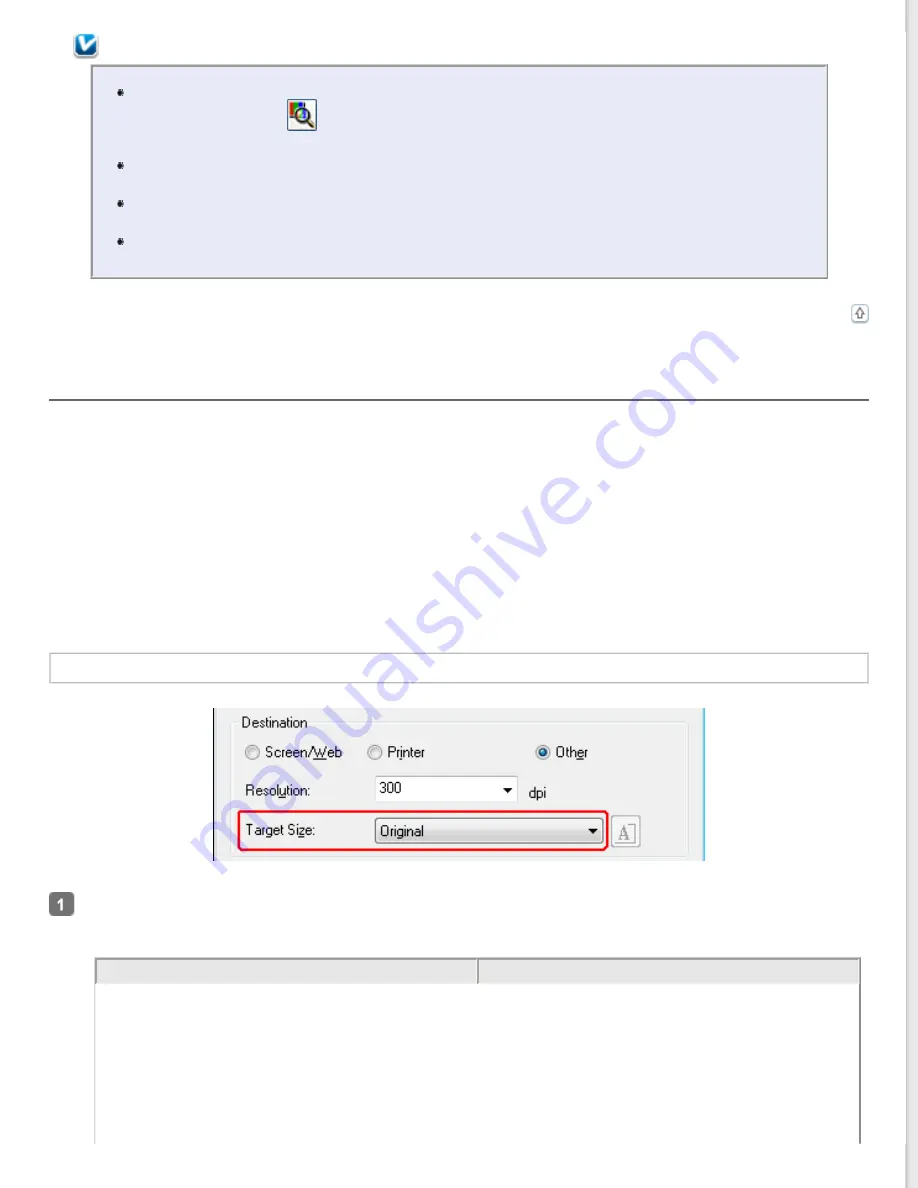
Selecting the Scan Size
You can scan your images at their original size, or you can reduce or enlarge their size as you scan them. You do this
using the
Target Size
setting.
If you are going to scan your image to a specific size, you should select the
Target Size
setting after previewing it, but
before adjusting your scan area indicated by creating a marquee. This sets the scan area to correct proportions so your
image will not be cropped unexpectedly.
To select the scan size, see one of these sections.
Home Mode:
Selecting the Scan Size in Home Mode
Professional Mode:
Selecting the Scan Size in Professional Mode
Selecting the Scan Size in Home Mode
You can select a predefined scan size from the
Target Size
list. Click the arrow to open the list and select the size
you want. A marquee (dotted line) proportioned for that size appears on your preview image.
Documents or photos
Film or Slides


