35
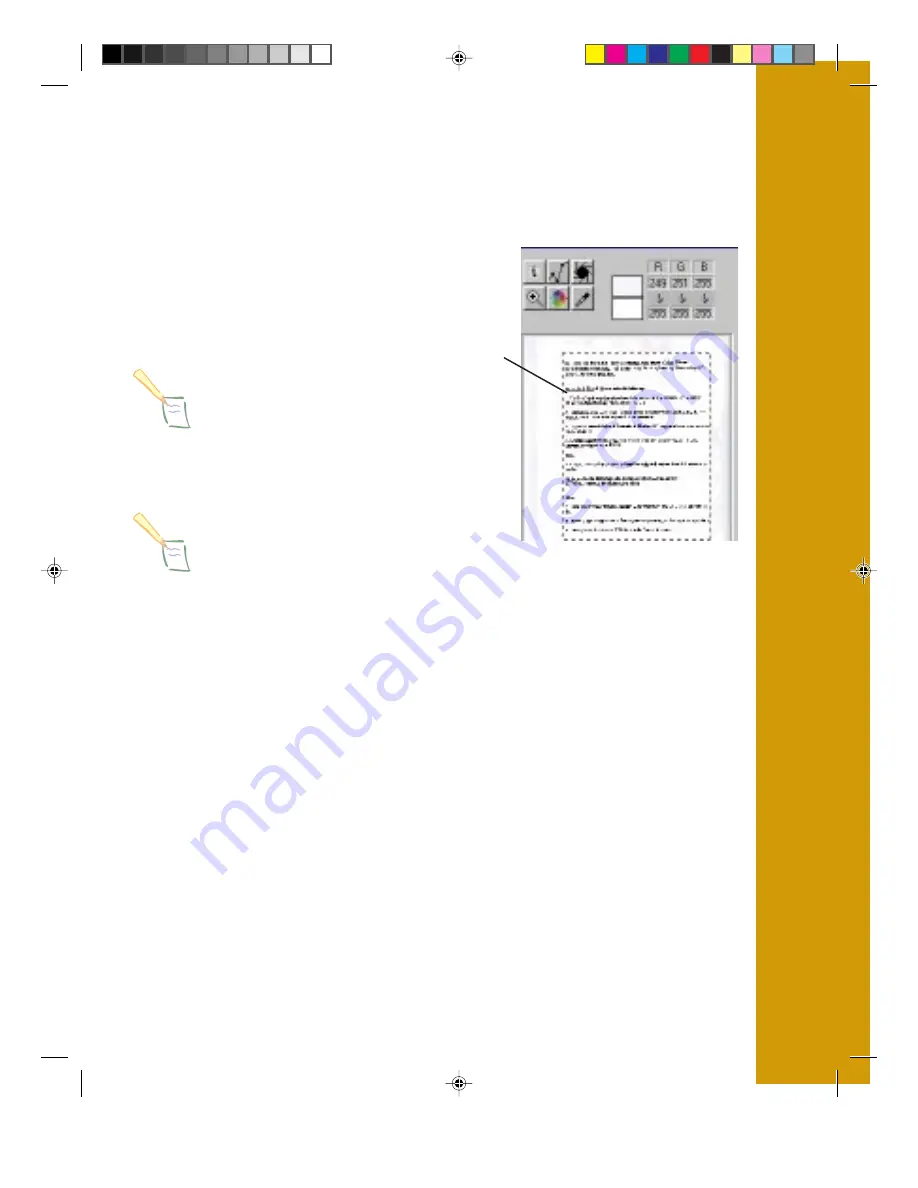
6. Click the
Prescan
button to show a
preview of your scan in the Prescan area.
Adjust the frame to select a portion of
the document to scan, or enlarge the
frame to fit the entire page.
Note
:
With Windows 3.1, click the
Preview
button.
7. Click the
Scan
button. After scanning
the image, close the EPSON Perfection
600 main window.
Note
:
If you have a Macintosh, the driver window
closes automatically.
The scanned image appears on PaperPort’s desktop. Although it looks
like text, you can’t edit it because it is still an image.
If you don’t want to edit the page, you can fax or e-mail it at this point.
Just drag the scanned image onto the icon for your fax or e-mail
application on PaperPort’s link bar. If you’re sending it now, skip steps
8 through 10. Otherwise, continue with step 8.
8. Drag the scanned image onto your word processing icon on PaperPort’s
link bar.
This step converts the image to text. You’ll briefly see the TextBridge
dialog box while conversion is underway.
When conversion is complete, your word processing application opens,
and the document is displayed.
9. Edit the document, then select
Save As
from the File menu to name
and save it to your hard disk.
10. Open your fax or e-mail application. Follow your application’s
instructions to send the document.
frame
Mint SG
10/27/97, 11:45 AM
39
Summary of Contents for Perfection 600
Page 1: ...QUICK START Guide CPD 5594 COLOR SCANNER Mint SG 10 27 97 12 22 PM 1 ...
Page 10: ...6 Mint SG 10 27 97 12 23 PM 10 ...
Page 24: ...20 Mint SG 10 27 97 11 42 AM 24 ...
Page 36: ...32 Mint SG 10 27 97 11 45 AM 36 ...
Page 42: ...38 Mint SG 10 27 97 12 44 PM 42 ...
Page 48: ...44 Mint SG 10 27 97 12 46 PM 48 ...
Page 49: ...45 SPECIFICATIONS Mint SG 10 27 97 12 46 PM 49 ...
Page 56: ...Mint SG 10 27 97 12 37 PM 56 ...


