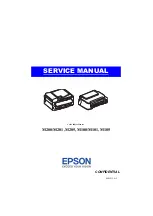
M200 / M205 / M100 / M105 Series
Revision A
Confidential
Troubleshooting
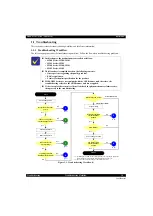
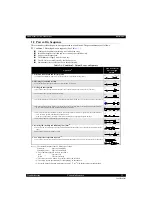
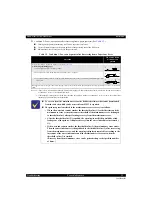
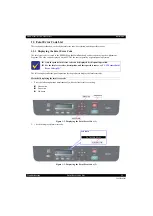
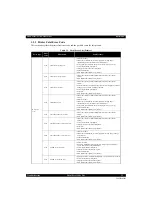
Troubleshooting Workflow
11
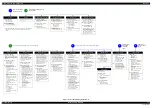
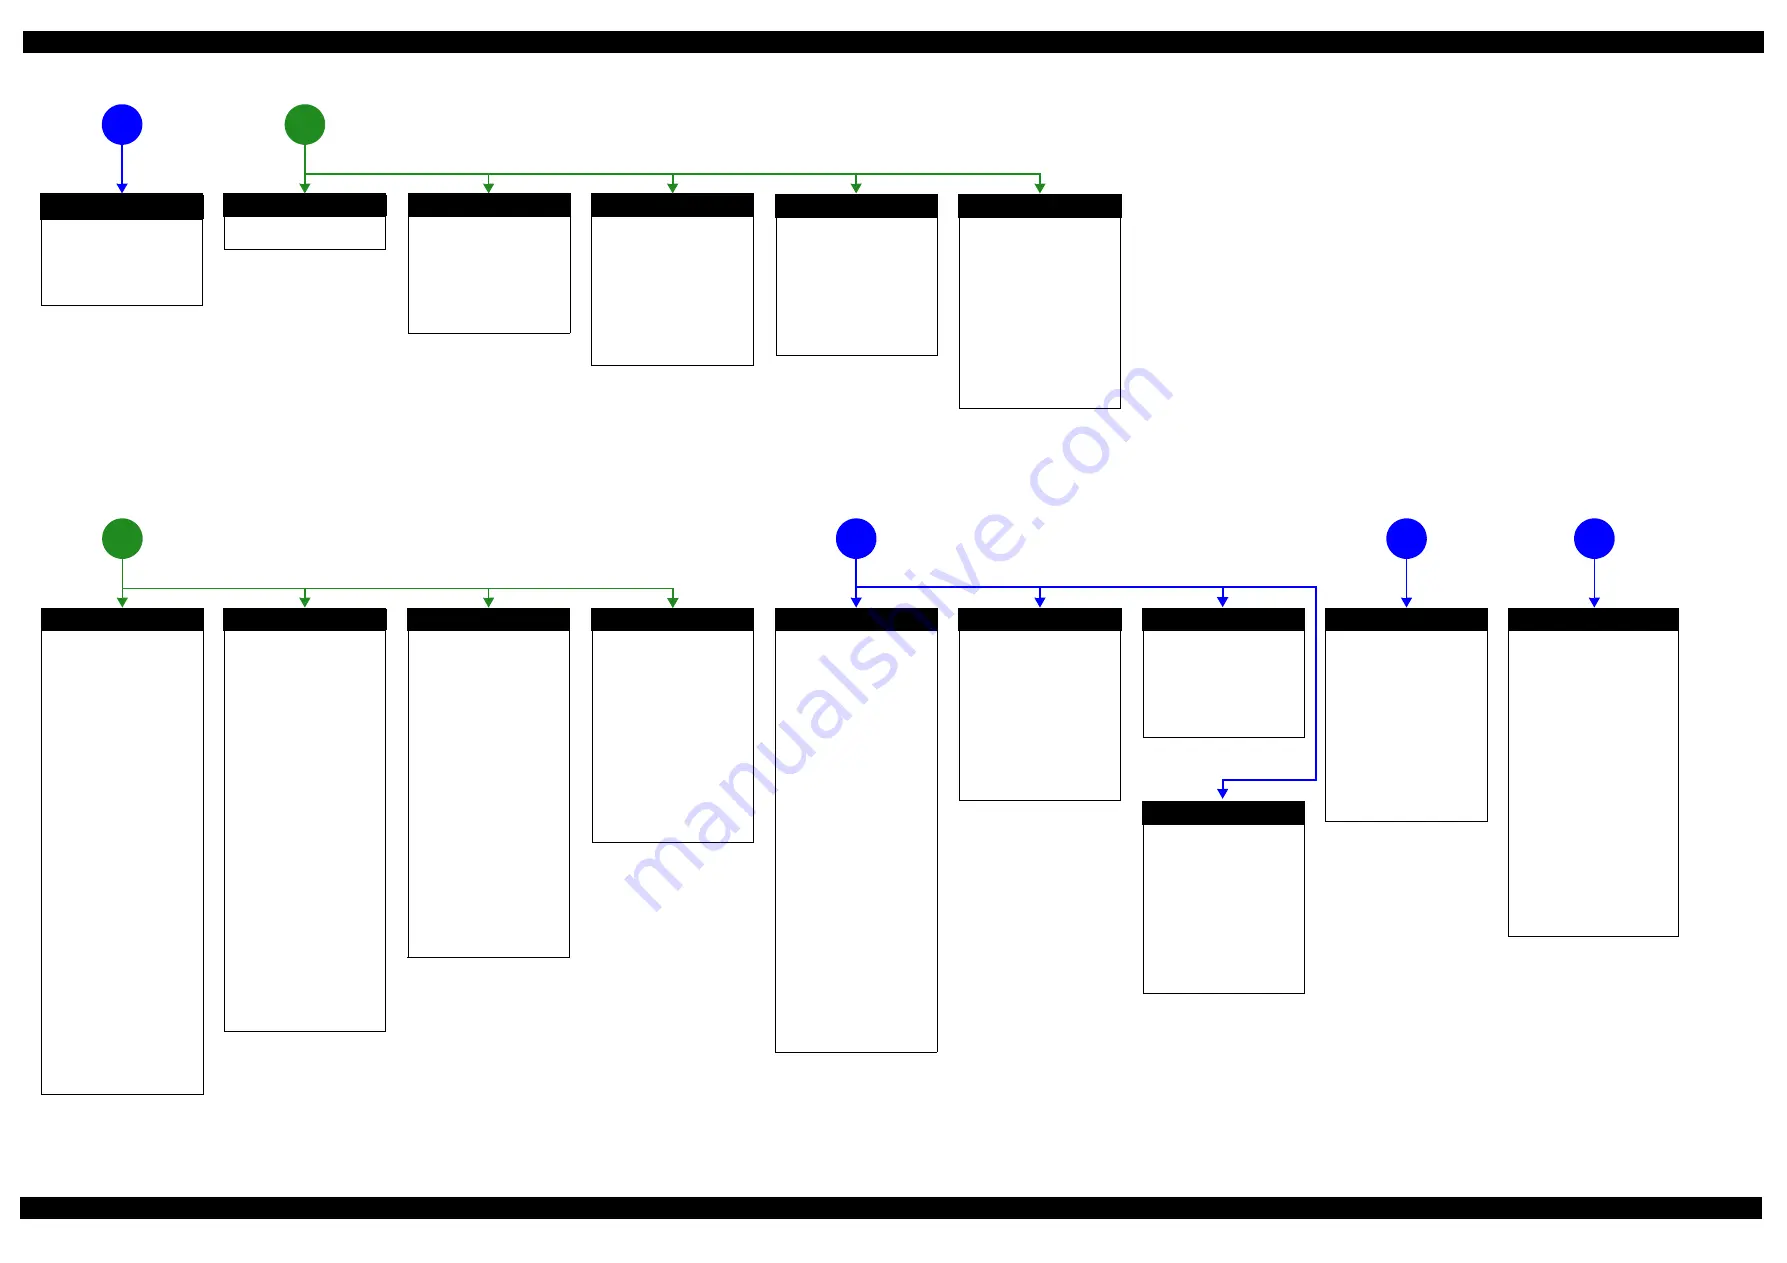
Figure 0-1. Troubleshooting Workflow (2)
Fatal error
Please refer to
Maintenance error
[Occurrence Condition]
This error occurs when
maintenance counter in EEPROM
exceeds the specified value.
[Major Occurrence Timing]
• Power-on timing
• Print start timing
• Cleaning timing
[Troubleshooting]
• Porous Pad replacement &
Maintenance counter reset
Ink End error
[Occurrence Condition]
This error occurs when ink in Ink
Cartridge is empty.
[Major Occurrence Timing]
• Power-on timing
• Print start timing
• Cleaning timing
[Troubleshooting]
• Refill ink and reset ink counter
by panel.
Paper Jam Fatal error
[Occurrence Condition]
This error occurs when CR Unit is
blocked by jammed paper.
[Major Occurrence Timing]
• Power-on timing
[Major Troubleshooting]
• Remove jammed paper
※
On this product, if CR Unit
touches jammed paper, CR Unit
moves back in the opposite
direction so that customer can
remove the paper. However, if CR
Unit cannot move in this
sequence, this error occurs.
Paper Jam error
[Occurrence Condition]
This error occurs when top/
bottom of paper is not detected by
PE Sensor in the specified steps of
paper loading / ejecting operation
correctly.
[Major Occurrence Timing]
• Power-on timing
• Paper loading timing
• Paper eject timing
[Major Troubleshooting]
1 Perform paper eject operation
from operation panel.
• Success
Starts paper feeding
operation again if printer has
print data.
• Fail
Occurs paper jam error
again.
2 If fail in the above 1, remove
the paper by opening Scanner
Unit.
3 Perform paper eject operation
from operation panel again.
• Success
Starts paper feeding
operation again if printer has
print data.
• Fail
Occurs paper jam error
again.
4 Check the following if failed in
Step 3.
• Foreign object
• Detached parts
• PE Sensor Lever
• PE Sensor
• Porous Pad on Paper Guide
Front
• Main board
No Paper error
[Occurrence Condition]
This error occurs when top of
paper can not be detected
correctly by PE Sensor in the
specified steps up to completion
of the paper loading operation.
(No paper / No loading / large
paper skew)
[Major Occurrence Timing]
• Paper loading timing
[Major Troubleshooting]
1 Set paper in ASF and perform
paper feed operation.
2 If the paper stops before
reaching PE Sensor, remove it
and check the paper condition.
3 A)If paper is OK, set paper in
ASF and move edge guides to
appropriate position, and
perform 2 again.
B)If damage in the above 2,
check foreign materials / parts
come-off / parts transformation
in paper path.
4 If the problem is not solved by
3-A) & 3-B), check the
following.
• Foreign object
• Detached parts
• Surface condition of LD
Roller or PF Roller
• PE Sensor Lever
• PE Sensor
• Main Board
• PF Motor
Double Feed error
[Occurrence Condition]
When manual duplex printing is
selected using the printer driver,
this error occurs if the actual
paper length detected by PE
Sensor does not match with the
paper length specified in the
printer driver. (The error occurs
when the actual length is longer
than the theoretical length
specified in the driver.)
[Major Occurrence Timing]
• Paper loading timing
• Paper eject timing
[Troubleshooting]
• PE Sensor Lever replacement
• PE Sensor replacement
(Main Board replacement)
• Main Board replacement
※
This error may occur in the
manual duplex printing if the
inverted sheet printed on the first
side sticks to the second sheet
when the first side printing is
complete and the sheet is inverted
and set to ASF to print on the
other side.
No Power
*
[Presumable Cause]
• PS Unit damage
• Main Board damage
[Major Troubleshooting]
• PS Unit replacement
• Main Board replacement
Poor Printing
[Phenomenon]
• Poor printing quality
• Ink stain on paper
• Dot missing
• Paper eject without printing
[Presumable Cause]
• Driver / Panel mis-setting
• Contamination of CR scale
• Contamination of Printhead
cover
• Printhead damage
• Ink clogging of Printhead
• Contamination on Cap Unit /
Wiper of Ink System Assy
• Ink System Assy damage
• Float of Porous Pad on Paper
Guide Front
• Narrower/Wider PG
(out of standard)
• PE Sensor Lever damage
• PE Sensor damage
• Ink tank ventilation film gets
wet.
[Major Troubleshooting]
• Driver / Panel re-setting
• CR Scale replacement
• Printhead cover cleaning
• Printhead cleaning
• Printhead replacement
• Rubber cleaning of Cap Unit
• Ink System Assy replacement
• Porous Pad re-installation
• Printer replacement
• PE Sensor Lever replacement
• PE Sensor replacement
(Main Board replacement)
• Ink tank replacement
Poor Paper Loading
[Presumable Cause]
• Use of 3rd party media
• Edge guide mis-setting
• Foreign material
• Part come-off
• Contamination of LD Roller or
PF roller
[Major Troubleshooting]
• Recommendation of EPSON
media
• Edge guide re-setting
• Foreign material removal
• Part re-installation
• Roller replacement
Abnormal Noise
[Presumable Cause]
• Foreign material
• Insufficient grease
• Gear damage
[Major Troubleshooting]
• Foreign material removal
• Lubrication of grease
• Gear replacement
Scanner failure
[Presumable Cause]
• Contamination of Scanner
Glass
• Contamination of Document
Pad
• CIS Unit bonding failure
• CIS Unit damage
• Scanner Motor damage
• Insufficient grease
[Major Troubleshooting]
• Scanner Glass cleaning
• Document Pad cleaning
• Document Pad replacement
• CIS Unit replacement
• Scanner Motor replacement
• Lubrication of grease
2
*:
If the printer can turn on but turns off right away, the protection
circuit may cut off the power due to an error such as a circuit
failure.
The power-on sequence
does not start
Paper Size Unmatch error
[Occurrence Condition]
This error occurs if the actual
paper length detected by PE
Sensor does not match with the
paper length specified in the
printer driver. (The error occurs
no matter when the actual length
is longer or shorter than the
theoretical length specified in the
driver.)
[Major Occurrence Timing]
• Paper eject timing
[Troubleshooting]
• PE Sensor Lever replacement
• PE Sensor replacement
(Main Board replacement)
• Main Board replacement
3
ADF Unit failure
[Phenomenon]
• Paper is not fed
• Multi-feed
• Paper jam
• Skewed document
[Presumable Cause]
• Deterioration of Pickup Roller
• Deterioration of ADF Pad Assy
• Damage to gears
• Damage to Scanner Motor
• Contamination on document
glass
• Foreign object
• Damage to ADF Paper Guide
Cover Assy
• Deterioration of Paper Eject
Roller
• Scanner Carriage
failure
[Major Troubleshooting]
• Replace ADF Paper Guide Cover
Assy
• Replace ADF Pad Assy
• Clean document glass
• Remove foreign material
• Replace ADF Unit
• Replace Scanner Unit
1
Error is indicated during power-on
sequence
Error is indicated during printing nozzle check pattern.
4
5
6
Problems related to print result or during printing
Scanning cannot
be performed
successfully
ADF does not
operate normally
Incomplete Initial Ink Charge
[Occurrence Condition]
Ink LED is ON and STM
indicates "Initial ink charging is
not complete".
[Major Occurrence Timing]
• Print start timing
[Troubleshooting]
• Perform initial ink charge
Blank printing
[Phenomenon]
• Blank printing
[Presumable Cause]
• Valve closes
• Ink tank ventilation film gets
wet
• Ink tube crumples
• Ink tube connection is
incomplete
[Major Troubleshooting]
• Open valve
• Ink tank replacement
• Ink tube re-installation
Summary of Contents for M200
Page 1: ...SERVICE MANUAL CONFIDENTIAL Color Inkjet Printer M200 M201 M205 M100 M101 M105 SEMF12 012 ...
Page 9: ...Confidential CHAPTER 1 TROUBLESHOOTING ...
Page 18: ...Confidential CHAPTER 2 DISASSEMBLY REASSEMBLY ...
Page 59: ...Confidential CHAPTER 3 ADJUSTMENT ...
Page 73: ...Confidential CHAPTER 4 MAINTENANCE ...

