


37
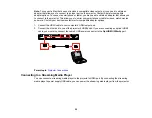
6.
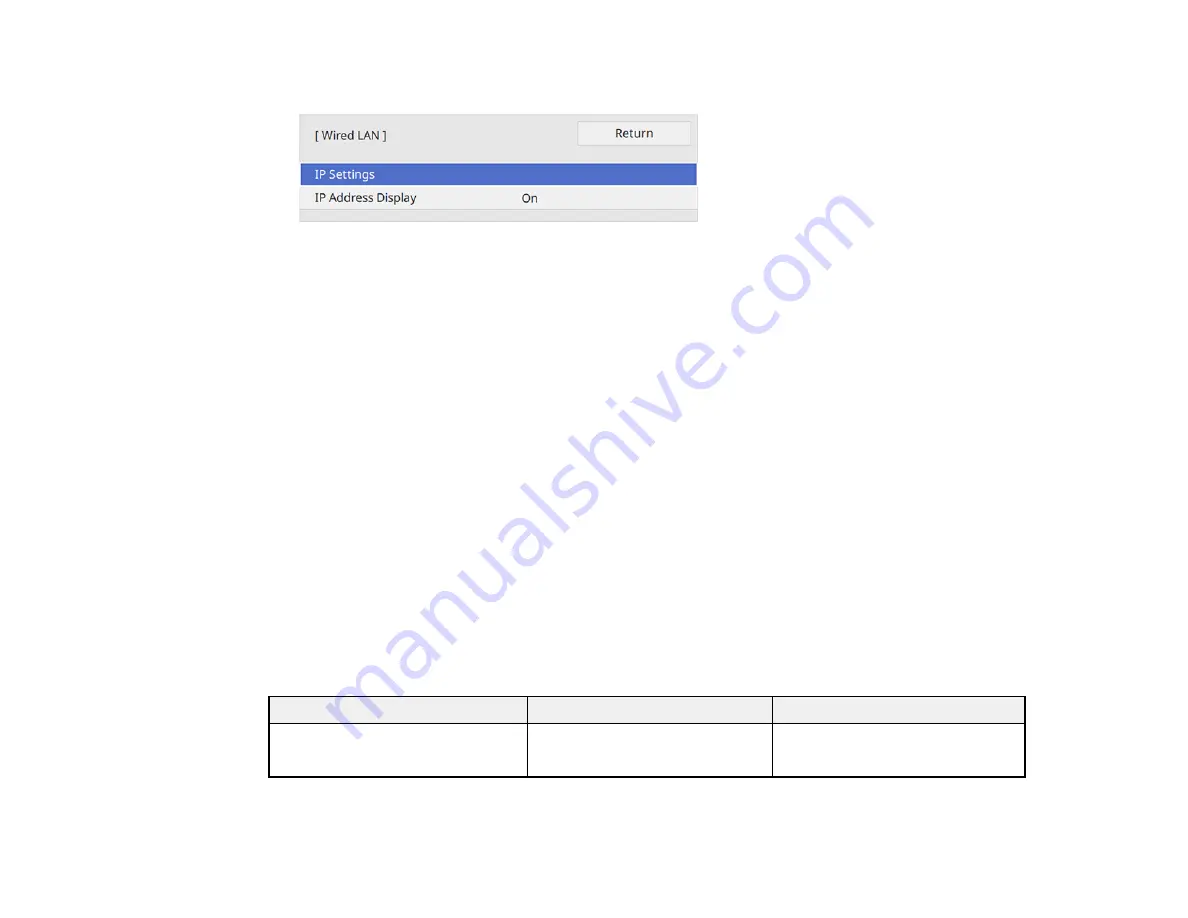
Select
Wired LAN
and press
Enter
.
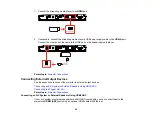
7.
Select
IP Settings
and press
Enter
.
8.
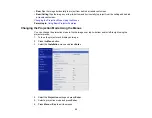
Select your IP Settings as necessary:
• If your network assigns addresses automatically, select
On
as the
DHCP
setting.
• If you must set addresses manually, select
Off
as the
DHCP
setting. Enter the projector's
IP
Address
,
Subnet Mask
, and
Gateway Address
as needed.
Note:
Use the displayed keypad to enter numbers. Press the arrow buttons on the remote control to
highlight numbers and press
Enter
to select them. Select
OK
when you are done.
9.
To prevent display of the IP address on the network information screen, select
Off
as the
IP
Address Display
setting.
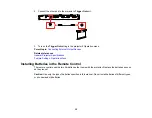
10. Select
Projector Control
and press
Enter
. Choose from the available options.
11. When you finish selecting settings, return to the
Network Settings
screen. Select
Set
and follow the
on-screen instructions to save your settings and exit the menus.
Parent topic:
Monitoring and Controlling the Projector
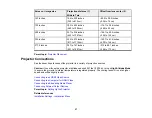
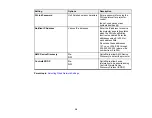
Projector Control Settings
You can select the following settings for controlling the projector over a network.
Setting
Options
Description
PJLink
On
Off
Set to
On
to enable the PJLink
notification function
Summary of Contents for LS11000
Page 1: ...Home Cinema LS11000 User s Guide ...
Page 2: ......
Page 8: ......
Page 22: ...22 Front Rear Front Ceiling ...
Page 152: ...152 As with any bright source do not stare into the beam RG2 IEC EN 62471 5 2015 Inside ...


