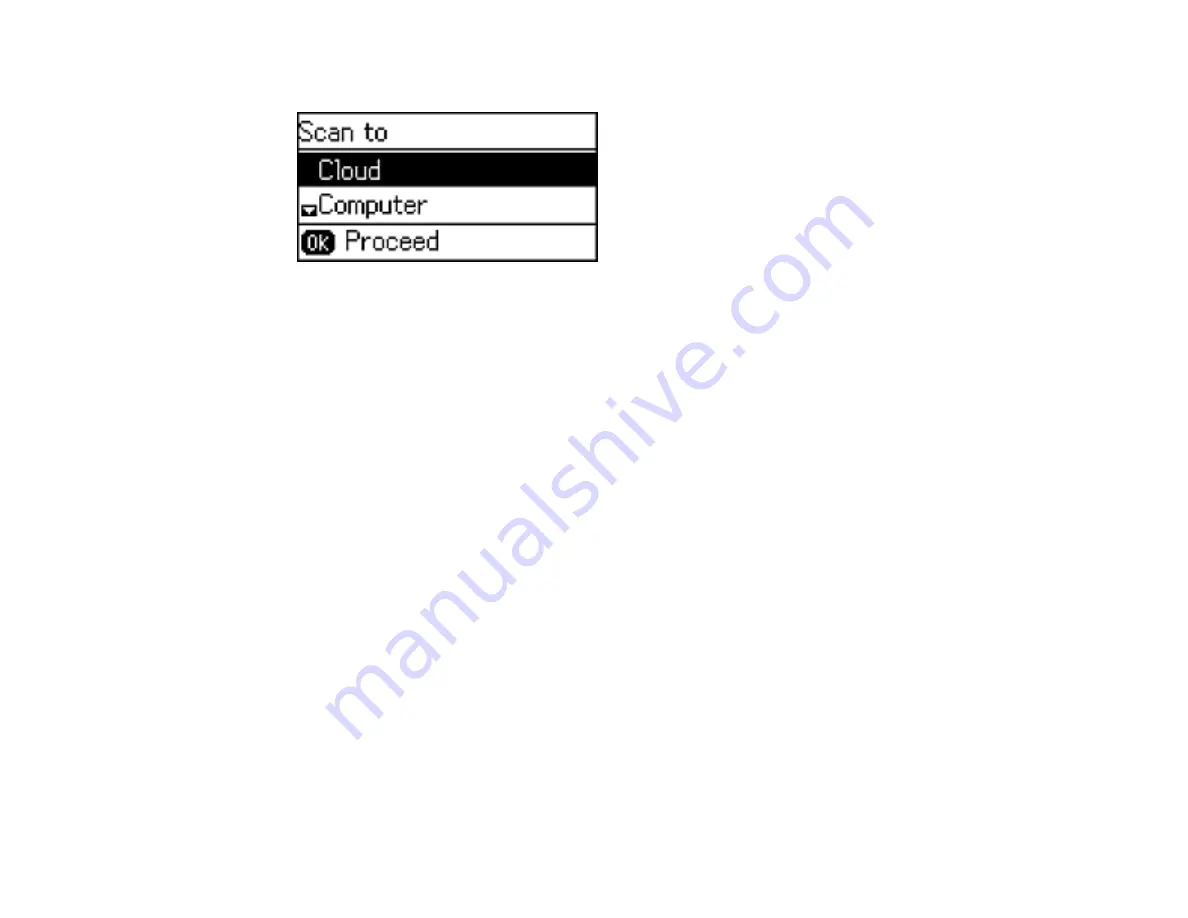
The scan options are displayed:
3.
Press the up or down arrow button to select a scan option and press the
OK
button.
•
Cloud
sends your scanned files to a destination that you have registered with Epson Connect.
•
Computer
saves your scan as a JPEG file to your computer or as an image capture in OS X.
•
Computer (WSD)
lets you manage network scanning in Windows 8.x, Windows 7, or Windows
Vista (English only).
Note:
To use this feature, you must first set up WSD (Web Services for Devices) on the Windows
7 or Windows Vista computer you want to scan to.
4.
To scan to your computer, you first need to select how you connected your product to your
computer:
• If your product is connected directly to your computer with a USB cable, press the up or down
arrow button to select
USB Connection
.
• If your product is connected to your computer over a network, press the up or down arrow button
to select the computer name from the list and press the
OK
button to begin scanning.
5.
Press one of the
Iniciar
buttons to start scanning.
Changing Default Scan Button Settings
Parent topic:
Related tasks
Changing Default Scan Button Settings
You can view or change the default scan settings your product uses when you scan to your computer
using the product buttons. You do this using the Event Manager program.
101
Summary of Contents for L655
Page 1: ...L655 L656 User s Guide ...
Page 2: ......
Page 12: ......
Page 21: ...1 Print head 2 Output tray 3 Edge guides 4 Paper cassette 21 ...
Page 22: ...1 Document cover 2 Scanner glass 3 Control panel Parent topic Product Parts Locations 22 ...
Page 61: ...Faxing 61 ...
Page 124: ...You see this window 124 ...
Page 171: ...You see this window 4 Select Speed Dial Group Dial List 171 ...
Page 205: ...You see a window like this 5 Click Print 205 ...


