46
6.
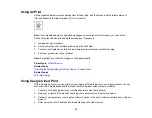
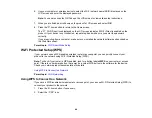
Use your computer or wireless device to select the Wi-Fi network name (SSID) displayed on the
LCD screen and enter the displayed password.
Note:
You can also scan the QR Code on the LCD screen to view online setup instructions.
7.
When you are finished, scroll down on the product's LCD screen and select
OK
.
8.
Press the
home button to return to the Home screen.
The
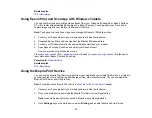
Wi-Fi Direct icon displayed on the LCD screen indicates if Wi-Fi Direct is enabled on the
product. If your device is not connected, repeat step 6 and make sure you enter the password
correctly.
If you are printing from a computer, make sure you installed the network software as described on
the
Start Here
sheet.
Parent topic:
Wi-Fi Protected Setup (WPS)
If your network uses a WPS-enabled wireless router or access point, you can quickly connect your
product to the network using Wi-Fi Protected Setup (WPS).
Note:
To check if your router is WPS-enabled, look for a button labeled
WPS
on your router or access
point. If there is no hardware button, there may be a virtual WPS button in the software for the device.
Check your network product documentation for details.
Using WPS to Connect to a Network
Parent topic:
Using WPS to Connect to a Network
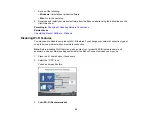
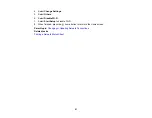
If you have a WPS-enabled wireless router or access point, you can use Wi-Fi Protected Setup (WPS) to
connect your product to the network.
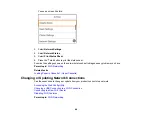
1.
Press the
home button, if necessary.
2.
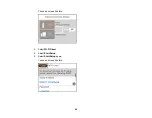
Select the
icon.
Summary of Contents for Expression Premium XP-6005
Page 1: ...XP 6000 User s Guide ...
Page 2: ......
Page 24: ...24 Product Parts Inside 1 Document cover 2 Scanner glass 3 Memory card slot ...
Page 57: ...57 1 Slide in the output tray 2 Open the front cover until it clicks ...
Page 131: ...131 You see an Epson Scan 2 window like this ...
Page 133: ...133 You see an Epson Scan 2 window like this ...
Page 135: ...135 You see this window ...
Page 183: ...183 1 Open the front cover 2 Raise the control panel ...


