


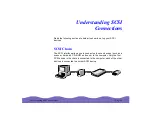
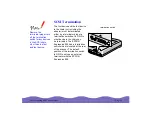


Understanding SCSI Connections
Page 21
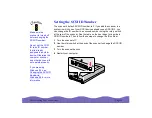
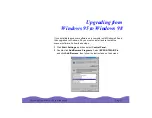
Changing the SCSI ID Number in Windows 98
If you are using your scanner with Windows 98 and you want to change
the scanner’s SCSI ID number, follow the steps below.
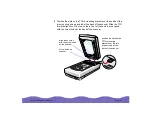
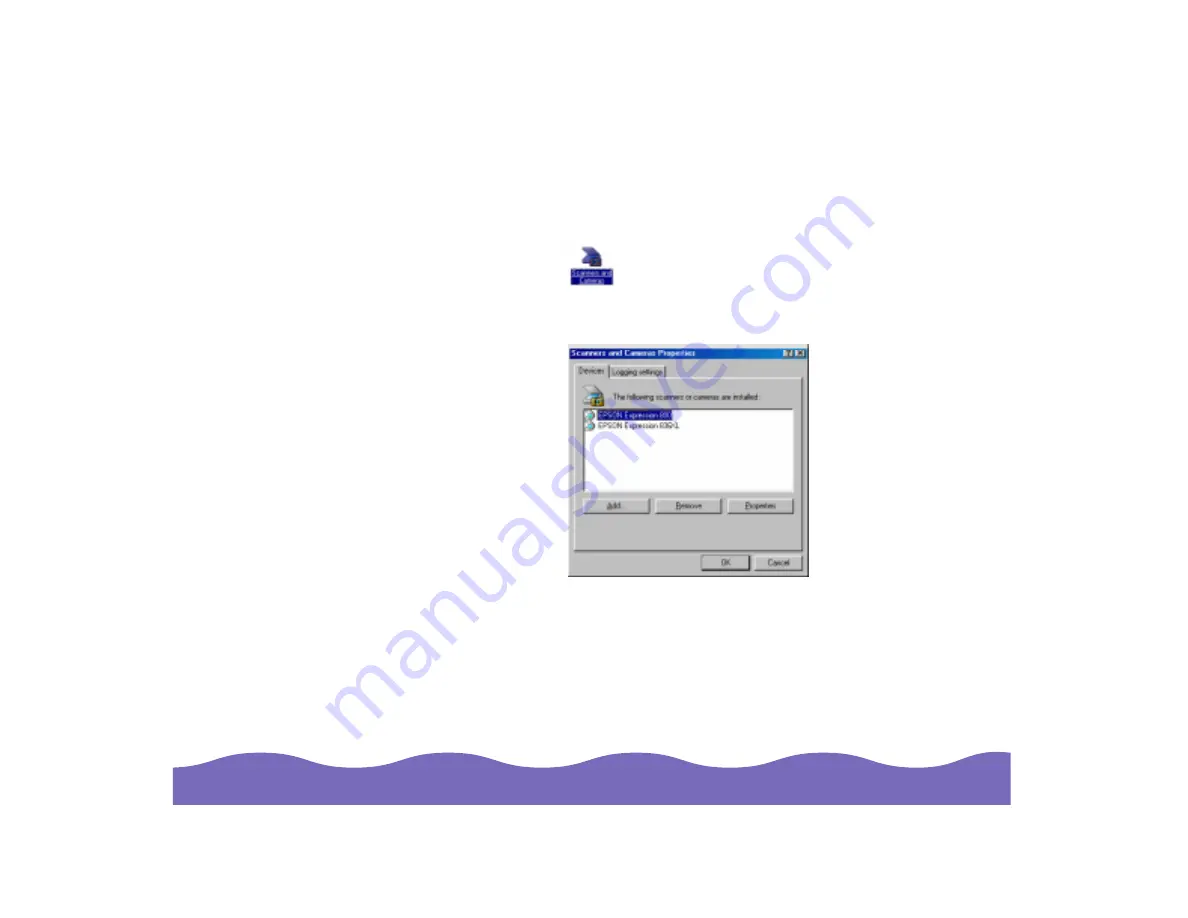
1 Double-click the
Scanners and Cameras icon in the Control
Panel.
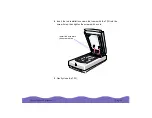
2 Select your scanner in the installed devices list, then click
Remove
.
3 Click OK and close the dialog box.
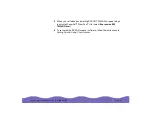
4 Shut down Windows 98 and turn off your PC and scanner.
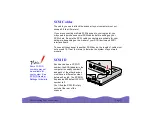
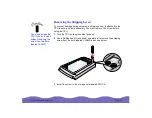
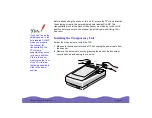
5 Use the rotary switch at the back of the scanner to change the
scanner’s SCSI ID number.
6 Turn on your scanner, and then turn on your PC.
7 Follow the instructions on the screen.