(3)
Unify the brightness and tint of the images
s
(4)
Splice the images to create one, large image
s
Tiling
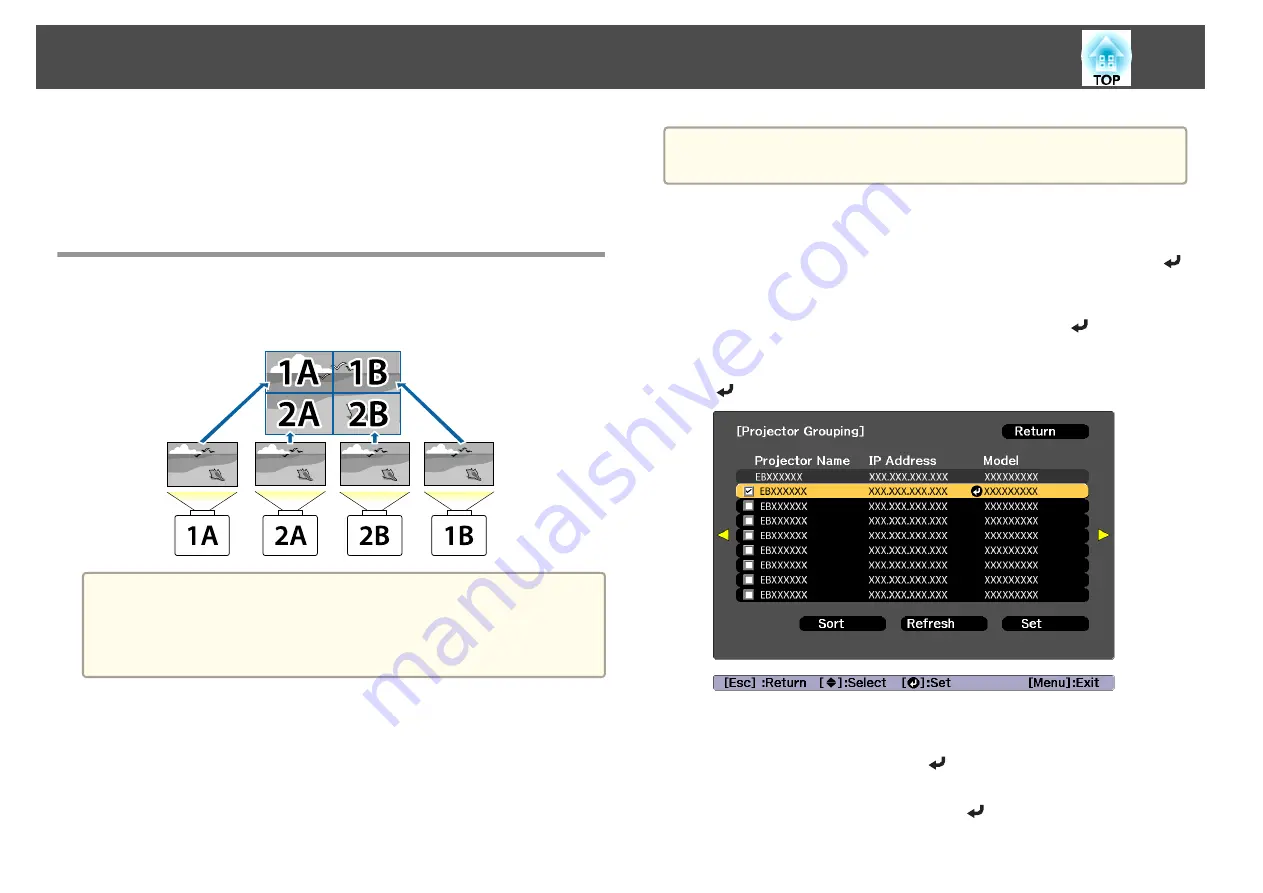
When using multiple projectors to create one large image, assign a
projection position to each projector.
a
Before performing tiling, adjust the projected image so that it is a
rectangle. Also, adjust the size and focus of the images.
s
s
Performing tiling automatically
Automatically sets the arrangement for the projectors being used. You can
make settings by operating only the master projector.
a
Location setup is performed using the camera built into the front of
the projector. Do not block the camera or the projected images.
a
Press the [Menu] button while projecting.
b
Select
Multi-Projection
from
Extended
, and then press the [
]
button.
c
Select
Projector Grouping
, and then press the [
] button.
d
Select the projectors that will be used for tiling, and then press the
[
] button.
(1)
Select the projectors you want to use to enter a checkmark.
Select
Refresh
to update the list. Select
Sort
to sort the projector order.
(2)
Select
Set
, and then press the [
] button.
e
Select
Tiling
, and then press the [
] button.
Multi-Projection Function
89
Summary of Contents for EB-L30000U
Page 1: ...User s Guide ...
Page 16: ...Introduction This chapter explains the names for each part ...
Page 56: ...Basic Usage This chapter explains how to project and adjust images ...
Page 120: ...Security Functions 120 ...
Page 136: ...Configuration Menu This chapter explains how to use the Configuration menu and its functions ...
Page 229: ...Appendix ...


