


Soft keyboard operations
The Network menu contains items that require input of alphanumerics
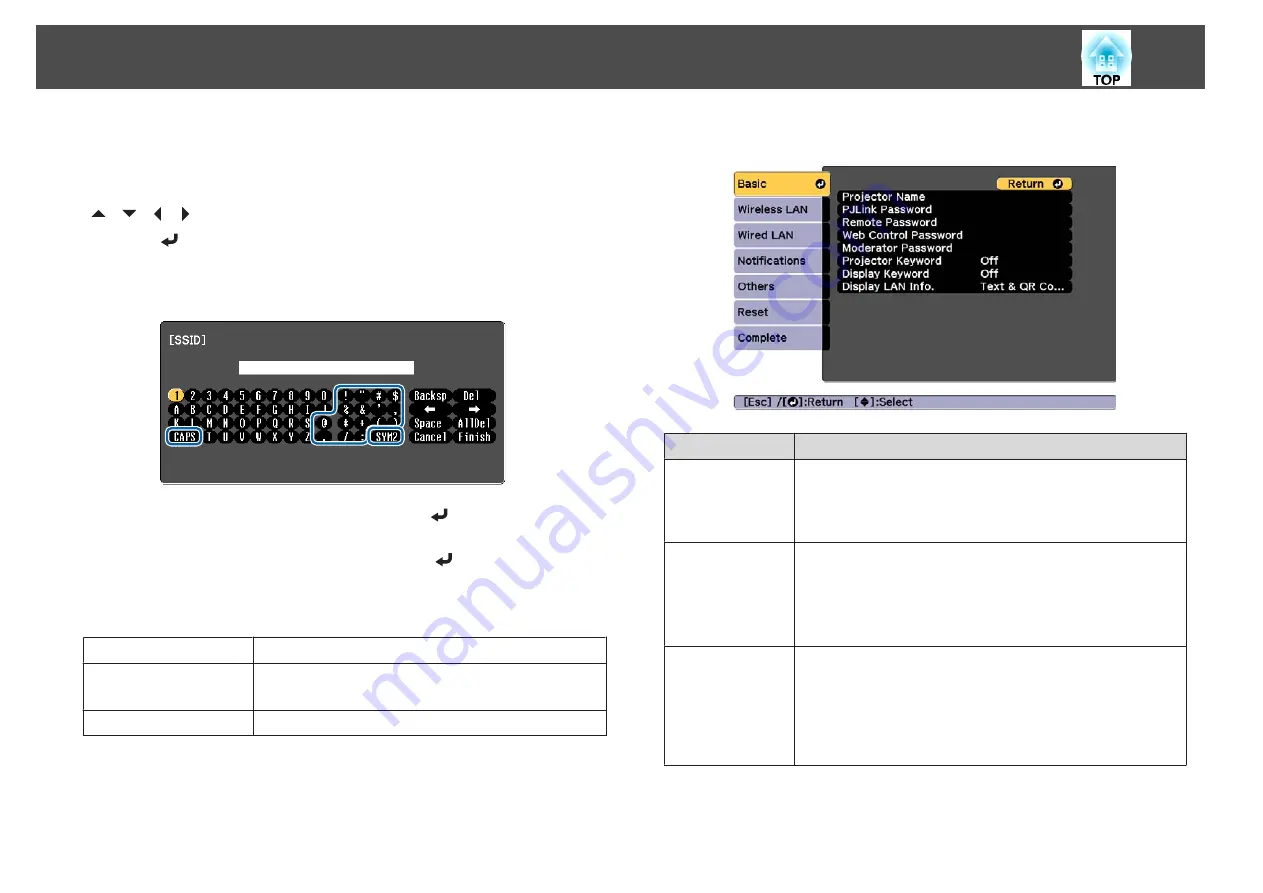
during setup. In this case, the following software keyboard is displayed. Use
[
][
][ ][ ] buttons to move the cursor to the desired key, and then
press the [
] button to enter the selected character. Enter figures by
holding down the [Num] button on the remote control, and pressing the
numeric buttons. After inputting, press
Finish
on the keyboard to confirm
your input. Press
Cancel
on the keyboard to cancel your input.
•
Each time the
CAPS
key is selected and the [
] button is pressed, it
sets and changes between upper case and lower case letters.
•
Each time the
SYM1/2
key is selected and the [
] button is pressed, it
sets and changes the symbol keys for the section enclosed by the frame.
The following types of character can be entered.
Numbers
0123456789
Letters
ABCDEFGHIJKLMNOPQRSTUVWXYZ
abcdefghijklmnopqrstuvwxyz
Symbols
! " # $ % & ' ( )
*
+ , - . / : ; < = > ? @ [ \ ] ^ _ ` { | } ~
Basic menu
Submenu
Function
Projector Name
Enter the projector name used to identify the projector over a
network.
When editing, you can enter up to 16 single-byte alphanumeric
characters. ("
*
+ , / : ; < = > ? [ \ ] ` | and spaces cannot be used.)
PJLink Password
Set a password to use when you access the projector using
compatible PJLink software.
You can enter up to 32 single-byte alphanumeric characters.
(Spaces and symbols cannot be used.)
s
Remote Pass-
word
Set a password to use Remote in Epson Web Control. You can
enter up to 8 single-byte alphanumeric characters. (
*
: and spaces
cannot be used.) The default user name is "EPSONREMOTE"
and the default password is "guest".
s
"Changing Settings Using a Web Browser (Epson Web
List of Functions
158
Summary of Contents for EB-L1490U
Page 1: ...User s Guide ...
Page 15: ...Introduction This chapter explains the names for each part ...
Page 58: ...Connecting Equipment 58 ...
Page 59: ...Basic Usage This chapter explains how to project and adjust images ...
Page 140: ...Configuration Menu This chapter explains how to use the Configuration menu and its functions ...
Page 219: ...Appendix ...