91
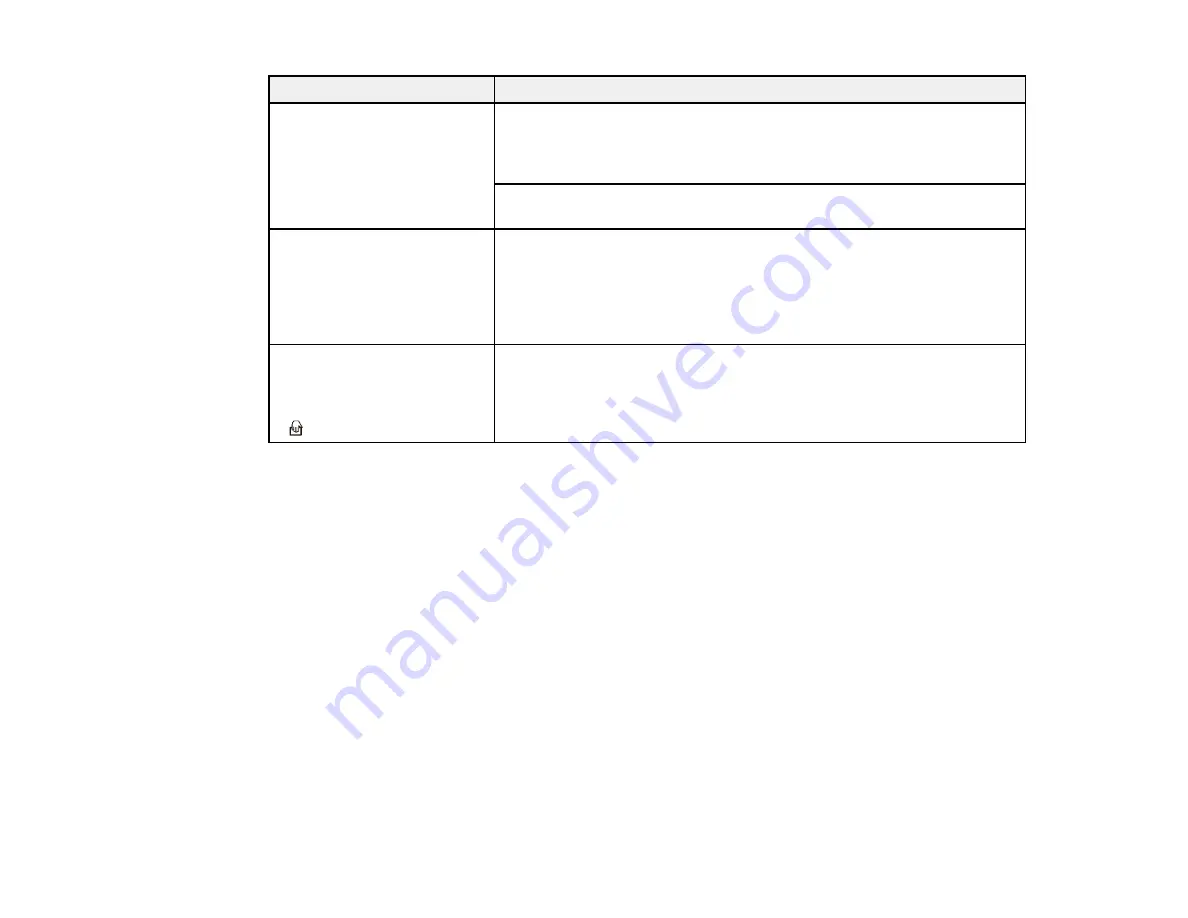
Light status
Condition/solution
The
!
error light is on and the
ready light is flashing
A paper jam or a double feed has occurred. Remove any paper loaded
in the input tray. If the light continues to flash, a scanner error may have
occurred. Turn the scanner off and then back on again. If the error
continues, contact Epson for support.
The scanner cover is open. Make sure the scanner cover is closed and
there is no jammed paper inside.
The following lights are
flashing separately or
simultaneously:
• ready
•
!
error
A fatal error has occurred. Try the following:
• Check the scanner connection to your computer to make sure it is
secure.
• Turn the scanner off and then back on again. If the error continues,
the scanner may be malfunctioning. Contact Epson for support.
The ready light is off and any
of the following lights are on:
•
!
error
•
automatic feeding mode
The firmware update has failed and the scanner is in recovery mode.
Try updating the firmware again.
Parent topic:
Solving Scanning Problems
Check these solutions if you have problems scanning with your product.
Scanner Does Not Turn On or Turns Off Unexpectedly
Scanner Button Does Not Work as Expected
Scanning Software Does Not Operate Correctly
Cannot Start Epson Scan 2
Original Feeds Incorrectly in Scanner
Original Jams in Scanner
Scanning is Slow
Parent topic:
Summary of Contents for DS-320
Page 1: ...DS 320 User s Guide ...
Page 2: ......
Page 6: ......
Page 10: ...10 7 ADF Automatic Document Feeder 1 Power inlet 2 USB port ...
Page 15: ...15 2 Press the power button to turn on the scanner if necessary 3 Extend the paper guide ...
Page 23: ...23 4 Raise the input tray edge guides and adjust them to the width of the receipt ...
Page 27: ...27 2 Press the power button to turn on the scanner if necessary 3 Extend the paper guide ...
Page 40: ...40 You see an Epson Scan 2 window like this ...
Page 42: ...42 You see an Epson Scan 2 window like this ...
Page 44: ...44 You see a window like this 3 Click the Scan icon ...
Page 47: ...47 You see this window ...
Page 62: ...62 You see your scanned image 8 Click on the Export icon ...
Page 63: ...63 9 Select the program or format you want to scan to and click Next ...
Page 71: ...71 3 Pull the edge of the scanner cover firmly at the arrow mark to open it ...
Page 75: ...75 8 Press the pickup roller cover latch and pull up the cover to remove it ...
Page 82: ...82 5 Press the pickup roller cover latch and pull up the cover to remove it ...
Page 85: ...85 9 Squeeze the tabs on the sides of the separation pad and pull up to remove it ...
Page 95: ...95 3 Pull the edge of the scanner cover firmly at the arrow mark ...


