


Control Panel
Buttons and Lights
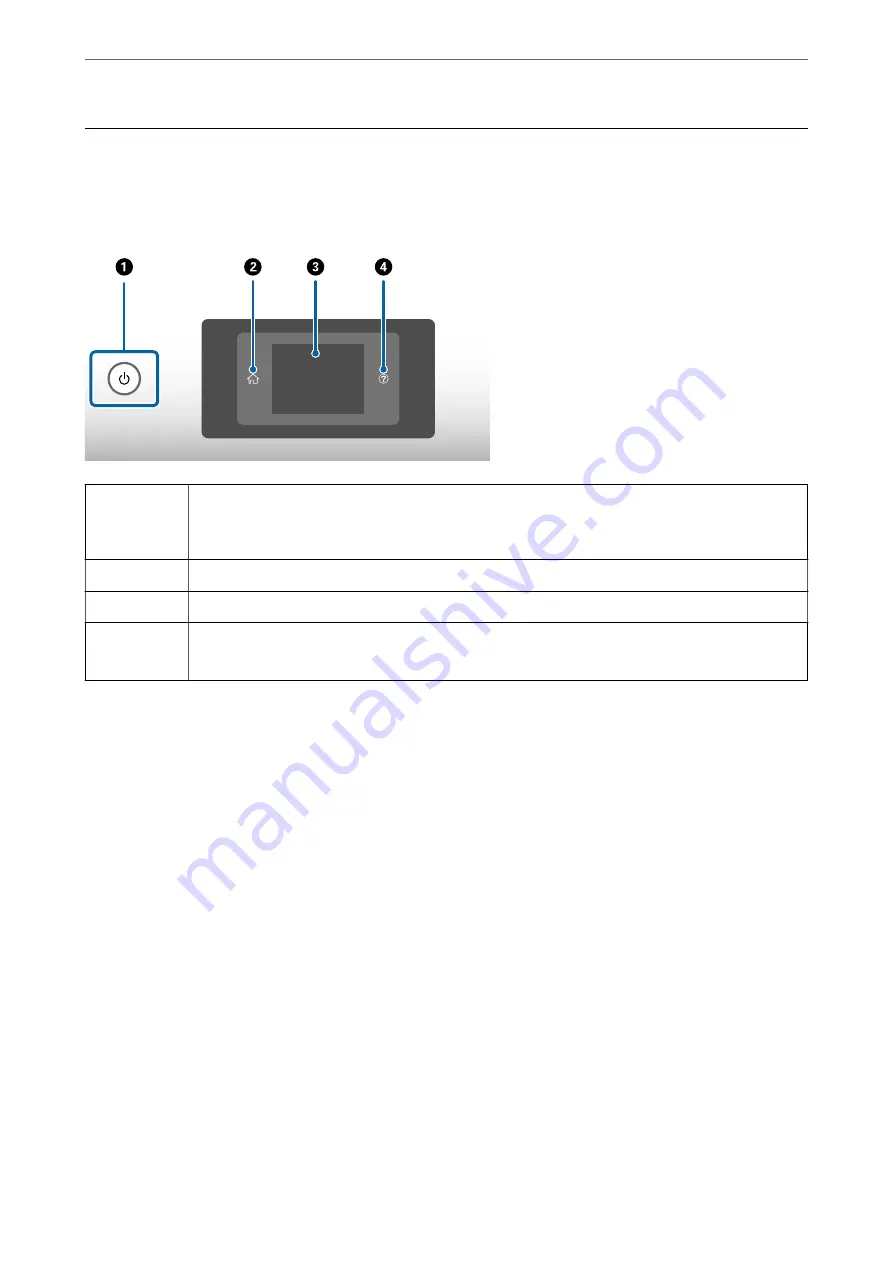
A
Turns the scanner on or off.
Do not turn off the scanner while the light surrounding the button is flashing because the scanner is
operating or processing a job.
B
Used to display the home screen.
C
Displays menus and messages.
D
Used to display the help screen.
You can check how to solve problems and how to load originals.
Guide to the Screen
The screen on the scanner displays various items and messages.
>
>
16