


Scanning a Photo or Document
27
Note:
If you need to scan a thick document, you can remove the document cover; see
page 7.
2. Close the cover gently so you don’t move the original.
3. Do one of the following to start EPSON Scan:
■
Windows
: Double-click the
EPSON Scan
icon on your desktop.
■
Macintosh
: Double-click
EPSON Scan
in the Applications folder.
■
If you are scanning from an application, start your application. Then
open the File menu, choose
Import
or
Acquire,
and select
Epson Stylus
CX4200 Series
or
Epson Stylus CX4800 Series
.
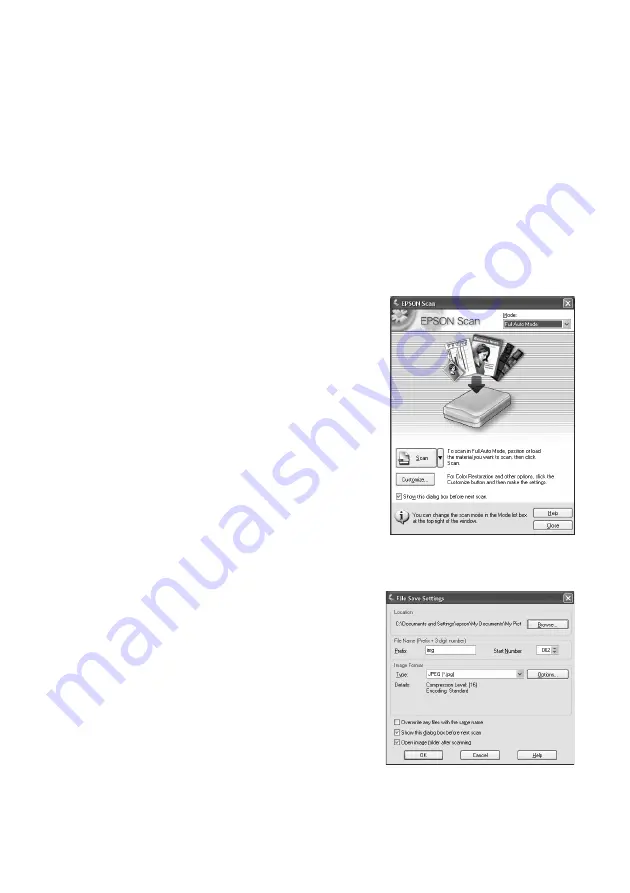
You see the EPSON Scan standby
window:
4. If the Mode setting in the upper right
corner is set to
Full Auto Mode
, click the
Scan
button.
Note:
If you want to automatically restore a color
photo as you scan, click the
Customize
button and see page 28 for instructions.
If you are in Home or Professional Mode,
you see a different EPSON Scan settings
window. (You can change the mode using
the Mode selector in the upper right
corner. For details, see the on-screen
User’s Guide
.)
5. You see the File Save Settings window:
Choose the location where you want to
save your scanned file and type a name for
it in the Prefix box. Select a file format in
the Image Format box.
6. Click
OK
. The image is scanned and you
see its icon in an open folder.