177
•
Select from the sent fax history
: Select
Recent
to display the sent fax history. Select a recipient
from the list.
Note:
To delete entered recipients, select the recipient field, select the recipient you want to delete,
and select
Close
.
5.
If you need to change any fax settings, select
Fax Settings
and select your settings.
6.
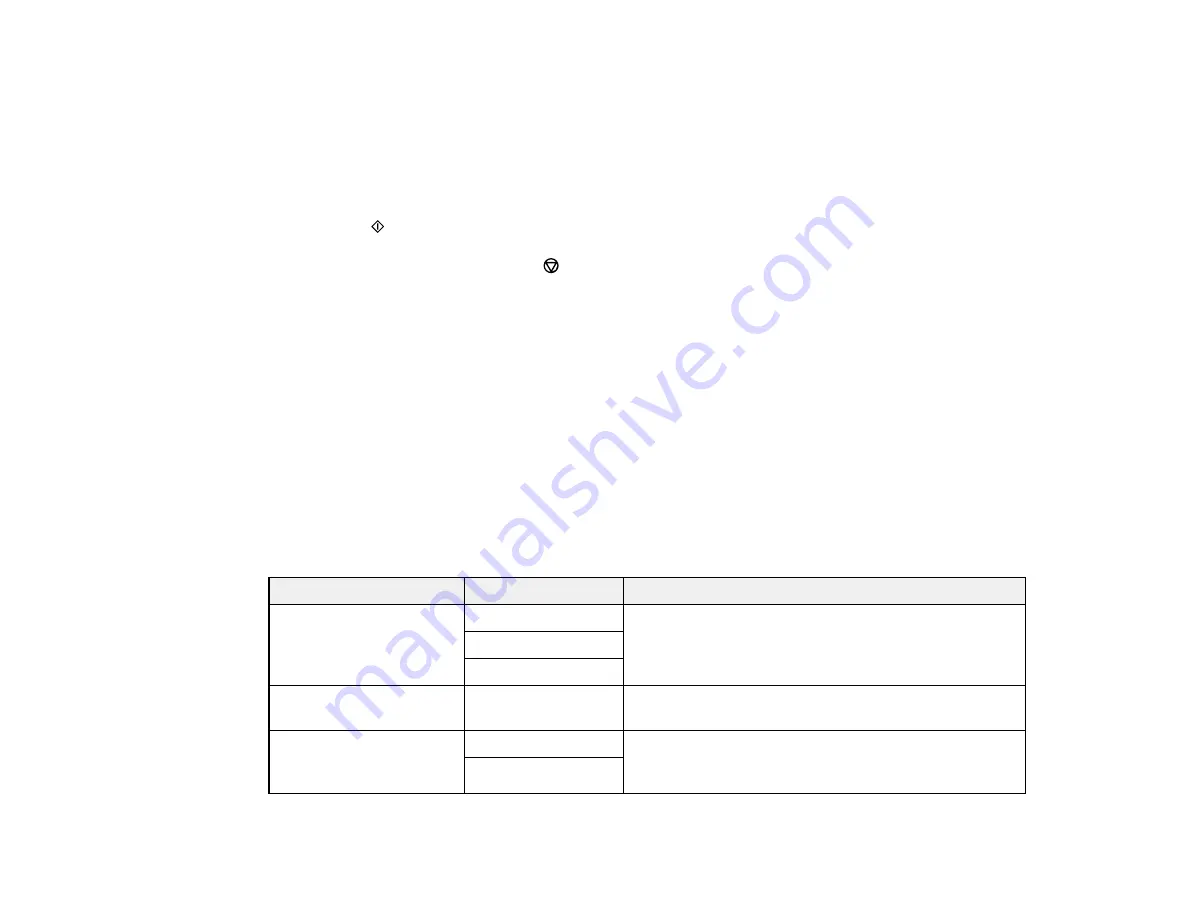
Press the
start button to send the fax.
Note:
To cancel faxing, press the
cancel button.
After scanning your originals, your product dials the number and sends the fax.
Parent topic:
Sending Faxes from the Product Control Panel
Related references
Related tasks
Related topics
Setting Up Contacts Using the Product Control Panel
Placing Originals on the Product
Fax Sending Options
While sending a fax, you can select
Fax Settings
and select these options.
Setting
Options
Description
Resolution
Standard
Adjusts the scan resolution and print quality of
outgoing faxes
Fine
Photo
Density
Varying levels
available
Lets you select from various density levels
ADF Continuous Scan
Off
Select
On
to have the product to ask if you want to
scan another page after a document in the ADF has
finished scanning
On
Summary of Contents for C11CG31201
Page 1: ...WF 2850 User s Guide ...
Page 2: ......
Page 137: ...137 You see an Epson Scan 2 window like this ...
Page 139: ...139 You see an Epson Scan 2 window like this ...
Page 141: ...141 You see this window ...
Page 230: ...230 Print Head Cleaning ...
Page 249: ...249 3 Open the scanner unit 4 Carefully remove any paper jammed inside the product ...


